Creating Web Push messages
To create a new Web Push newsletter, follow these steps:
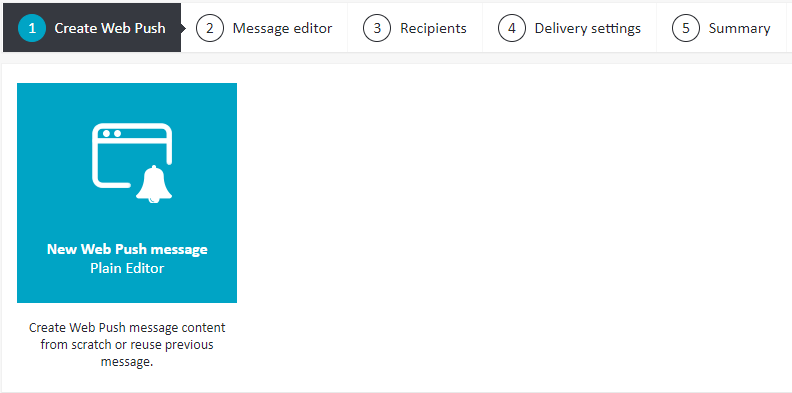
Preparation
- Select Web Push Messages > Newsletters from the left-hand navigation.
- Under Manage Web Push newsletters, click Create Web Push newsletter. You will be taken to the Web Push Newsletter wizard.
- In the first step of the wizard, choose the default option (plain editor) and click Next.

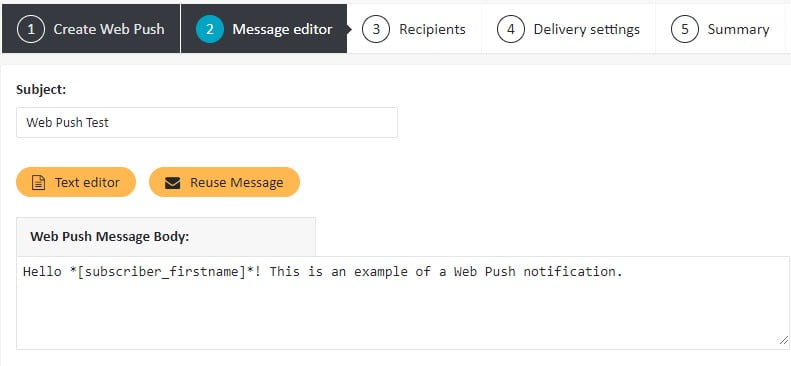
Compose your message
- Enter the subject of the notification.
- Enter the text of the Web Push notification. Click the Text Editor icon to access the editor, or choose Reuse Message to copy content from another message. Please keep in mind that you may use Personalization Tags and Dynamic Content here!

Link your notification to your offers
- Under Link, enter the link to which the user will be redirected after clicking the notification.
- Under Images, specify the icon which will be displayed in the notification. The supported file formats are .jpg and .png (.svg is currently not supported). The recommended resolution is at least 192x192px and for Chrome, 360x240px or 720x480px. The icon is used for counting the number of notification displays.

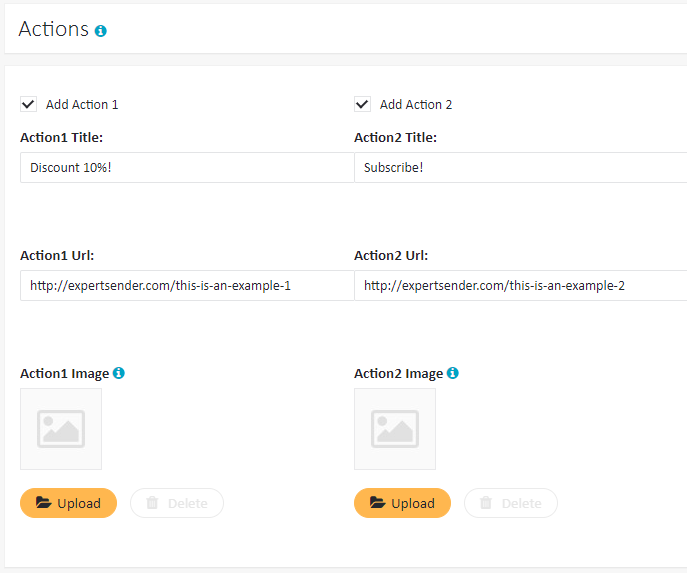
- Under Actions, specify one or two actions which will be embedded in the notification (for example, “Get a discount”, “Subscribe to a newsletter”, etc.). You may associate each action with a link and, optionally, an image.


Polish, test and preview
- You may also explore some additional options offered by the system:
Google Analytics
If you use Google Analytics, you may integrate it with your ExpertSender messages in order to gain access to the insights offered by this tool. Simply check Enable Google Analytics and fill in the fields. To learn more about Google Analytics integration, read Use Google Analytics with ExpertSender.
Require interaction
You may choose to require interaction from your user. If you check this field, the notification will disappear only after the user clicks or dismisses it.
URL integrations
URL integrations enable you to add custom information to the URLs in your message. For instance, you may include a personalization tag or any other variable. Later, you may use this information to carry out statistical analysis. To learn more about URL integrations, click URL integrations.
Live preview
With the Live preview utility you may verify how your message will be displayed for a specific email address. Live preview is particularly useful if you want to test your Dynamic Content. For example, you may check if a subscriber will receive a message with their name displayed properly.
- If you are not satisfied with the result, continue editing your notification. Otherwise, click Next.
Add recipients
- Select the subscriber list or segment you want to send your notification to.

- In order to double-check how many recipients will receive your message, select Recount recipients at the bottom of the page.
- Click Next to proceed.

Choose delivery settings
- Select the Sending start date for your message and the Time Zone.
- The option Override delivery cap refers to the limit on the number of notifications which may be sent to one subscriber within a given period of time. Delivery capping by default prevents your subscribers from being flooded with too many messages and it is advisable to set a sensible cap for each list (see Managing lists for more information). However, if you need to send more than one message to a subscriber within a short period of time, allow the cap to be overridden so that your message will not be blocked even in case it reaches the limit.
- Select the appropriate method of message delivery. Throttling slows down the delivery of your message and allows you to adjust sending time to the number of receivers. With a large subscriber list, it is advisable to throttle the notification for technical reasons, i.e. in order not to flood the server with too many requests at once. By choosing throttling you may still deliver all of your notifications, albeit some of them with a small delay.
- You may also add some tags to your notifications, such as “discount” or “special offer”. Later on, you may use a tag to find a specific notification more easily, or to create a segment of subscribers who, for example, have already received a “special offer” notification.
You’re almost there!
- Carefully analyze the summary. If you would like to make any changes to the notification content, selection of recipients or delivery settings, feel free to return to any of the previous steps.
- If you are ready, click Finish! Your message will be sent or scheduled shortly.