Customizing product appearance and prices in recommendations
This article will show you how to customize the appearance of products in recommendations based on your needs, choosing which elements should be visible and in what order, such as product image, name, regular price, or promotional price.
Adding recommendations in the drag & drop editor
If you want to use recommendations in your designed content:
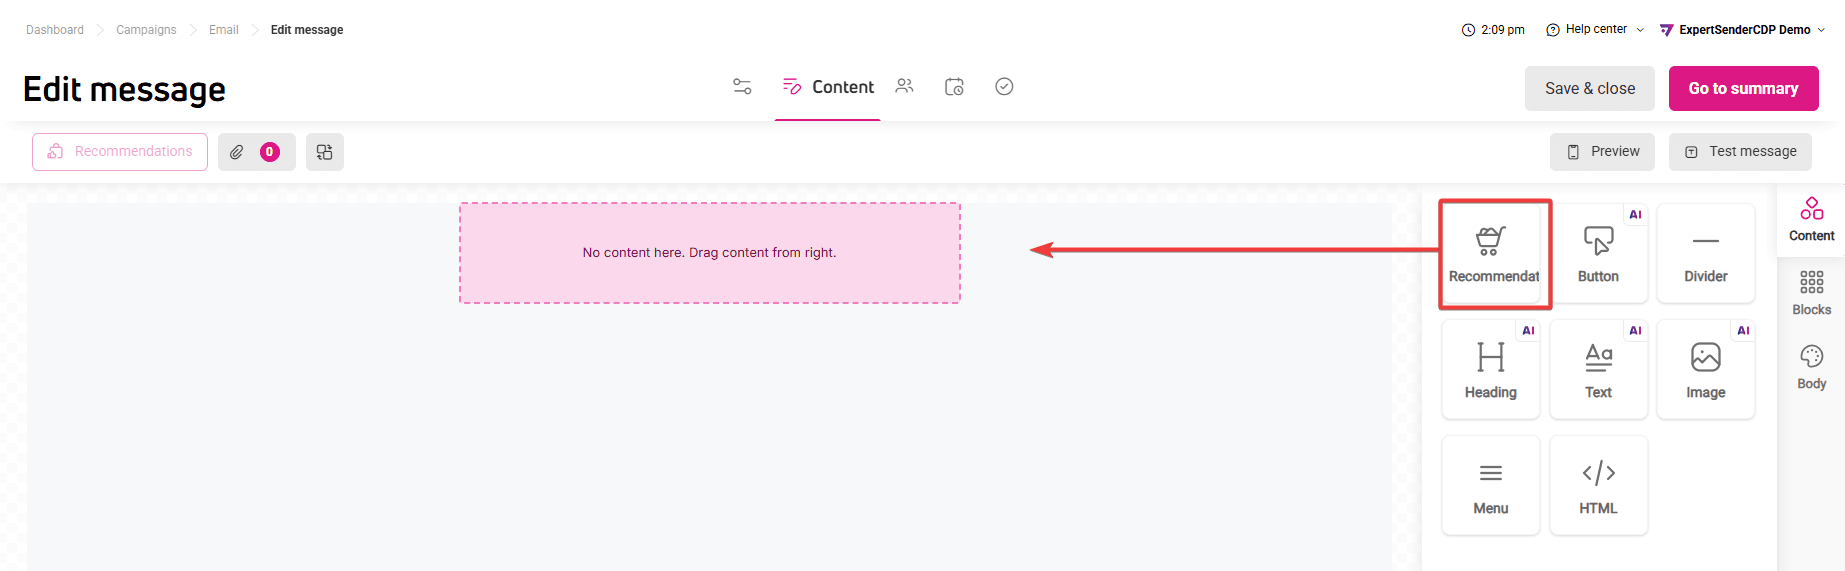
- Go to the content editor.
- Add the appropriate content block to your workspace:
- Recommendations – if you’re creating an email message.


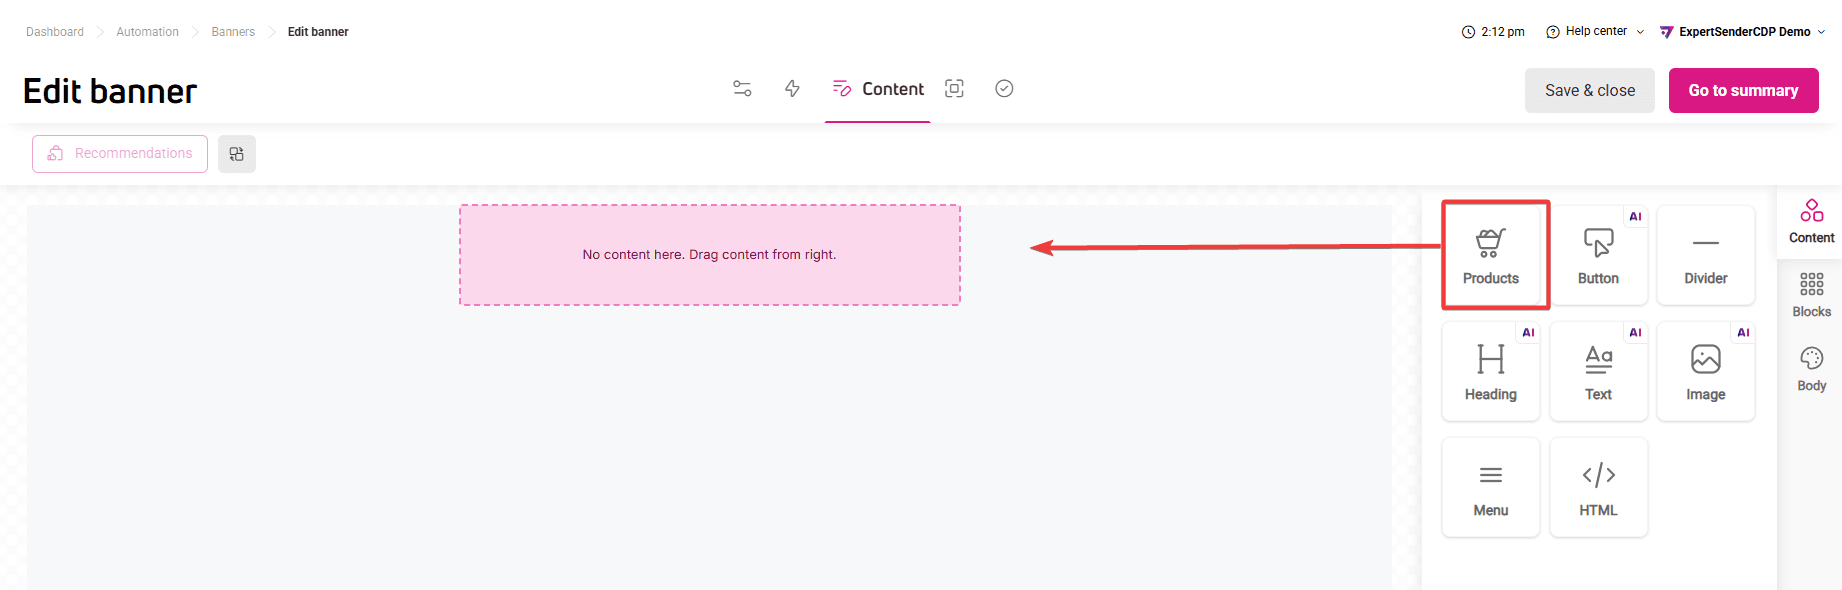
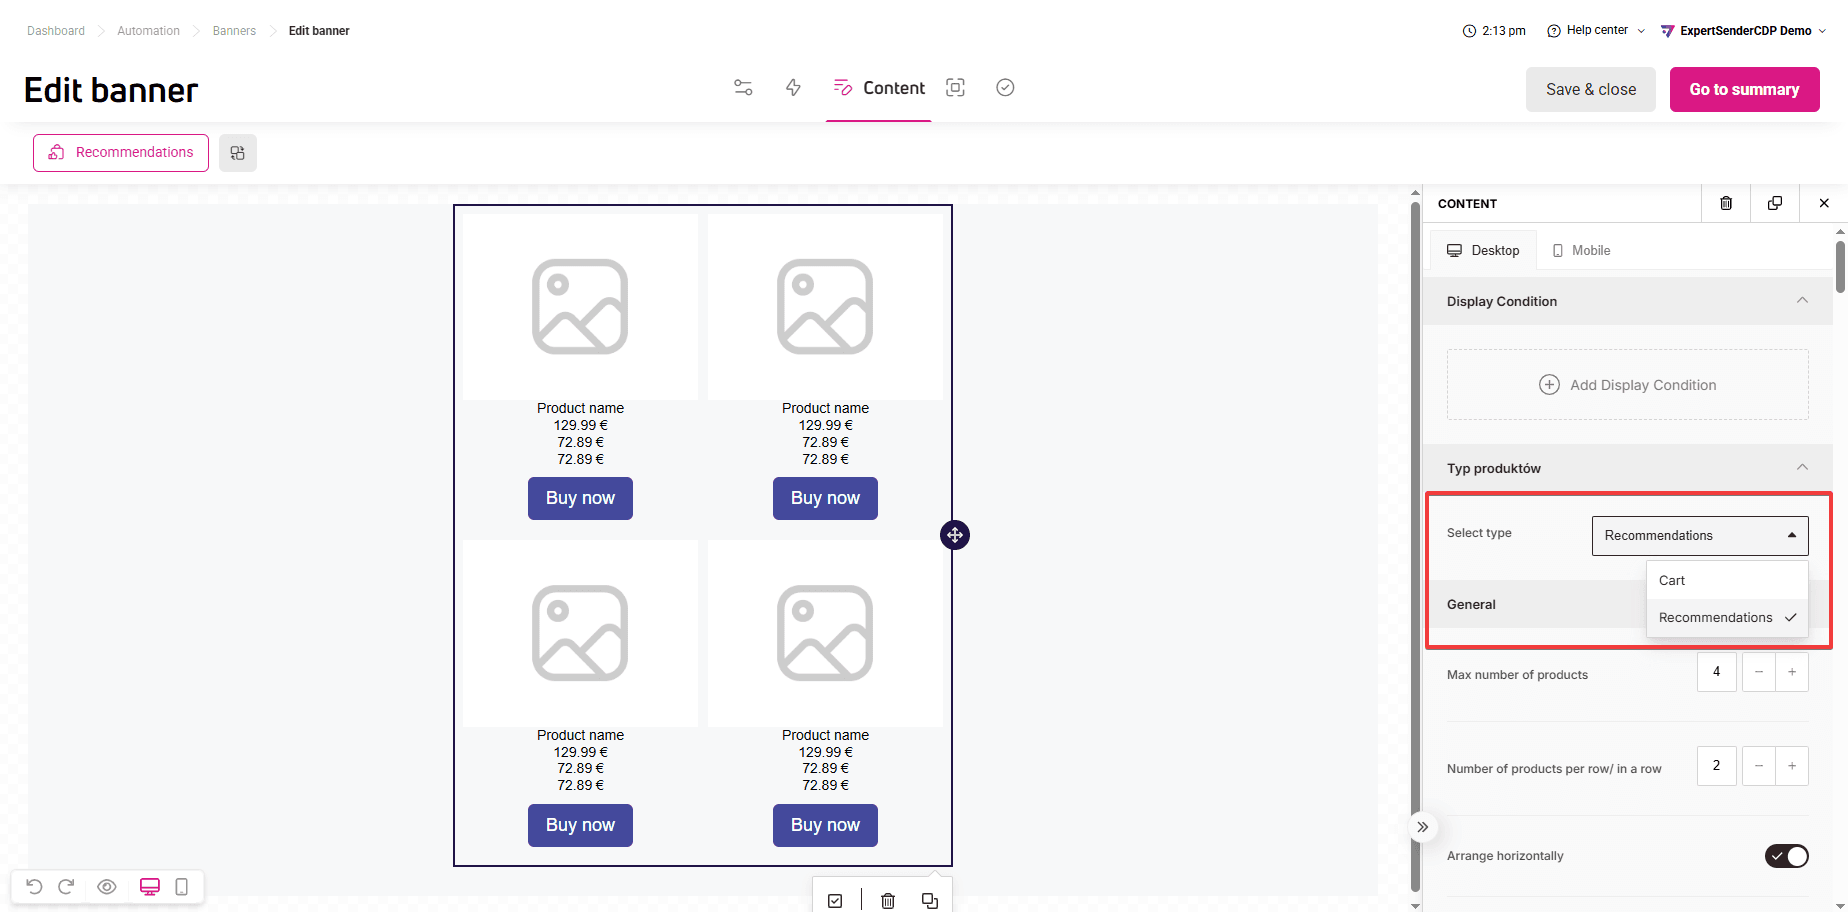
- Products – if you’re creating a pop-up, banner, or email content in a scenario. Then in the Product type section, select Recommendations.


- Recommendations – if you’re creating an email message.
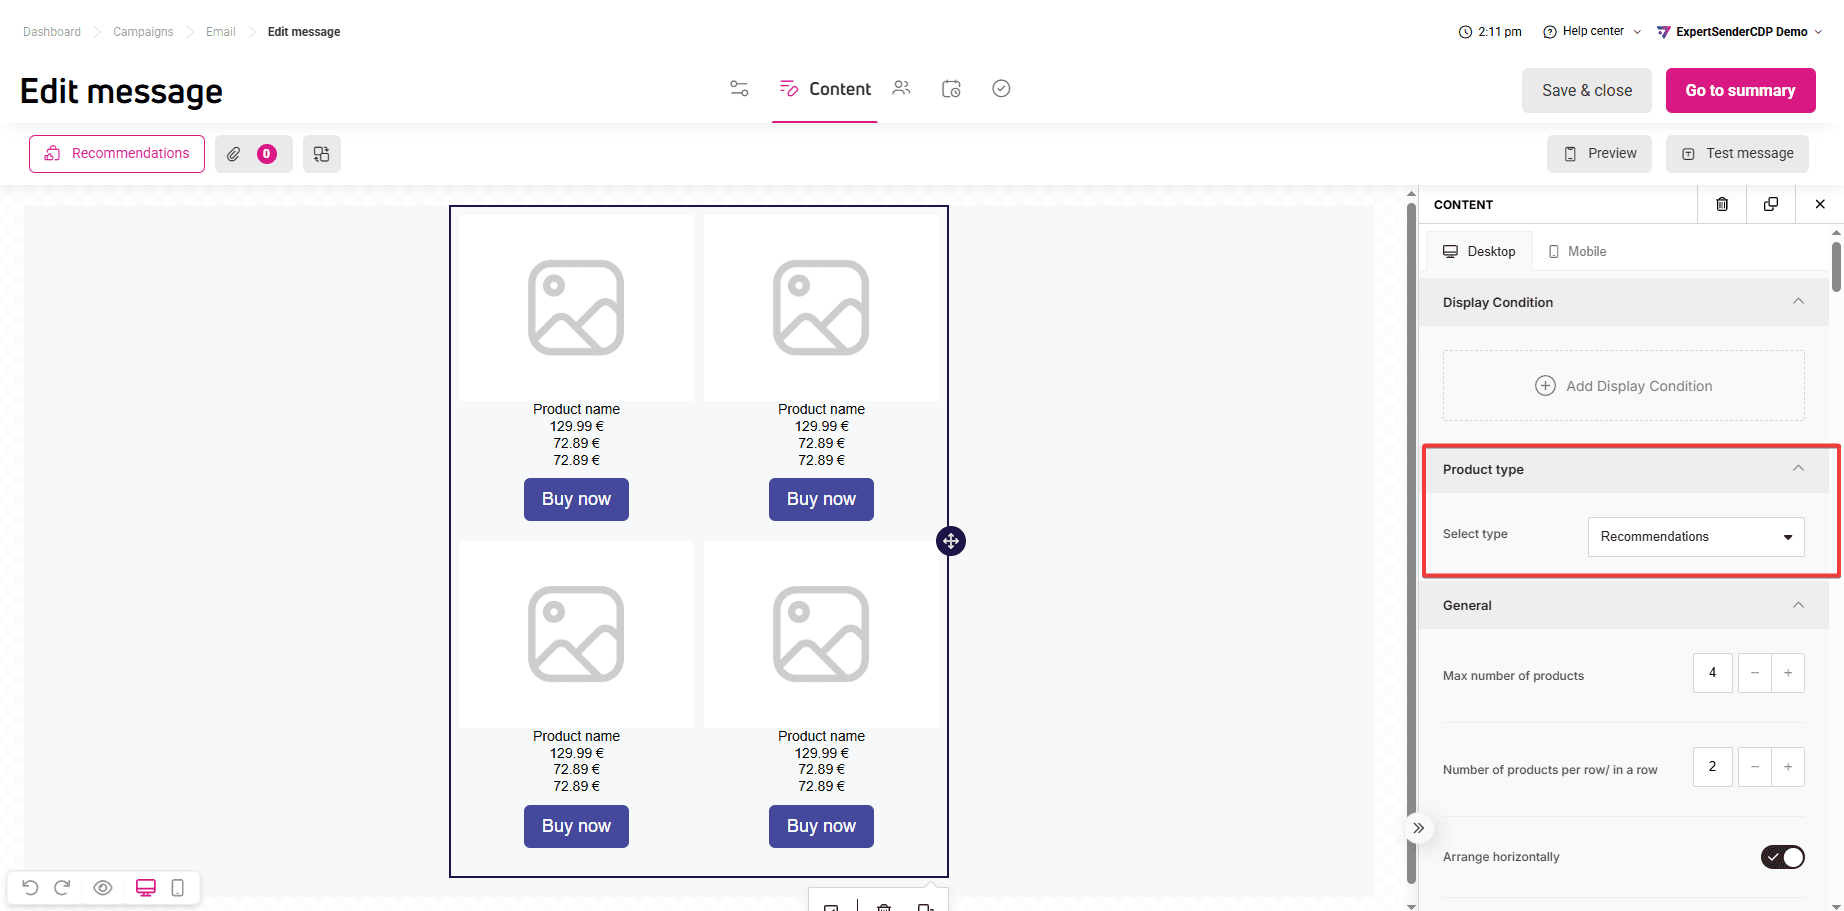
In the panel on the right side, you’ll find the block settings where you can choose the number of recommended products and customize their appearance, e.g., font type and color, the display order of product information.
You can set the displayed recommendations and filters and boosters in a separate window available under the Recommendations button on the top toolbar. You can use them only after adding the appropriate content block to your workspace.
Product appearance in recommendations#
Let’s start customizing how they look.
- Click the Recommendations block in your workspace.
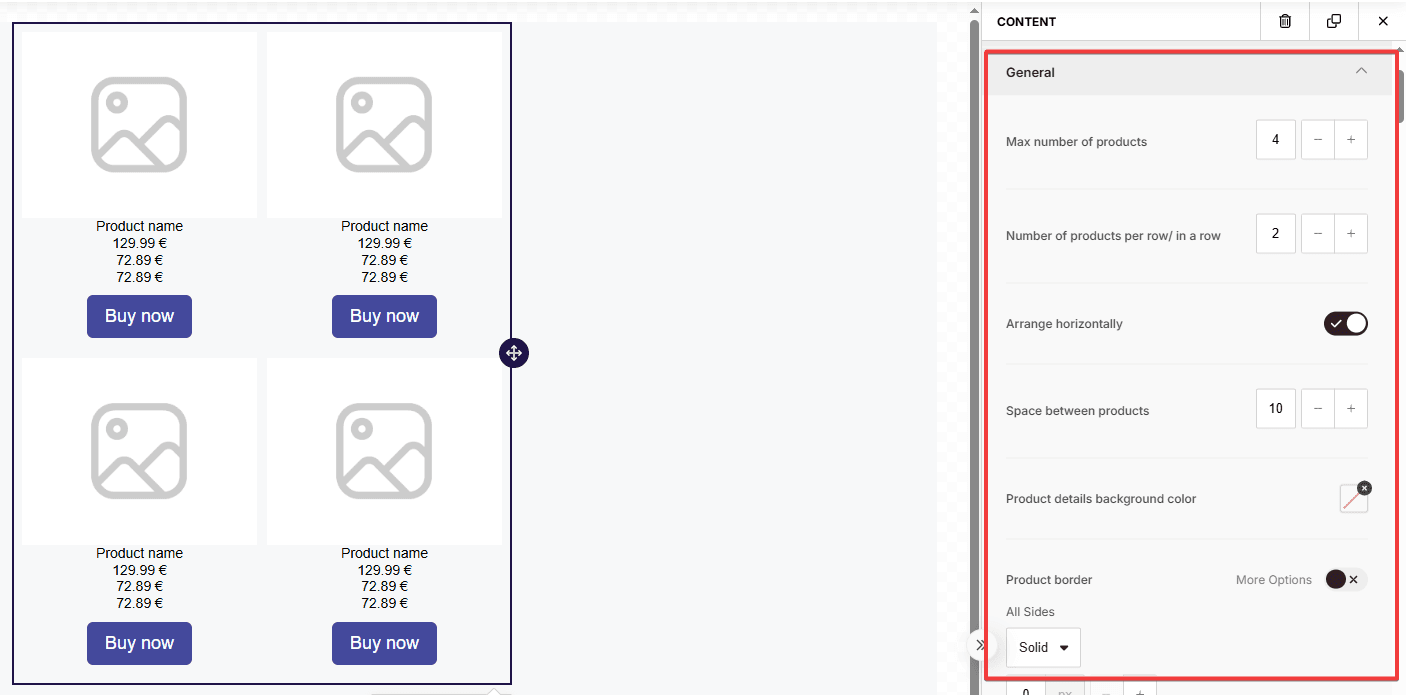
- The panel on the right will display the following product appearance settings:
- General block settings – maximum number of products, layout (vertical/horizontal), border, and margins.
- Product data – ID, name, images, and number of products displayed.
- Button – appearance and text.
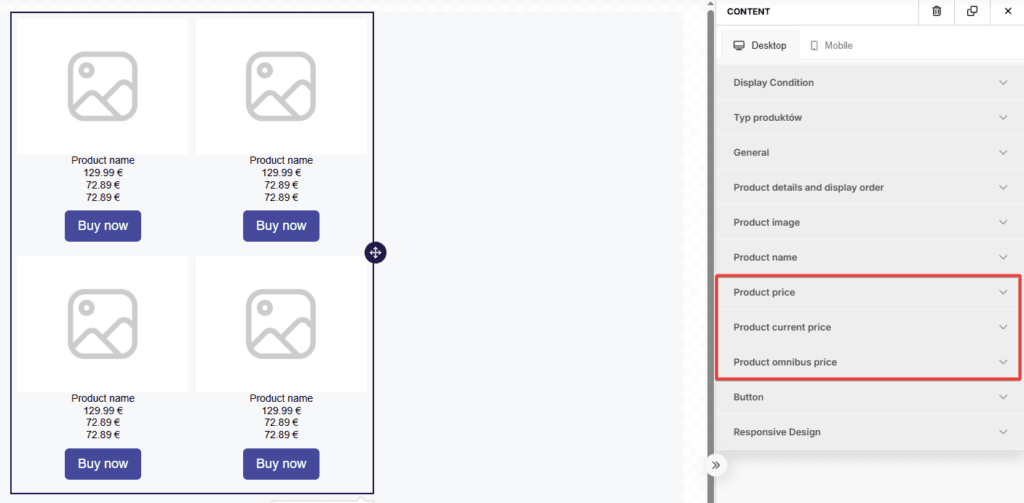
- Product prices – regular, discounted, and Omnibus price.
- Display order – product details and their layout.
- Responsiveness – display on computers and mobile devices.

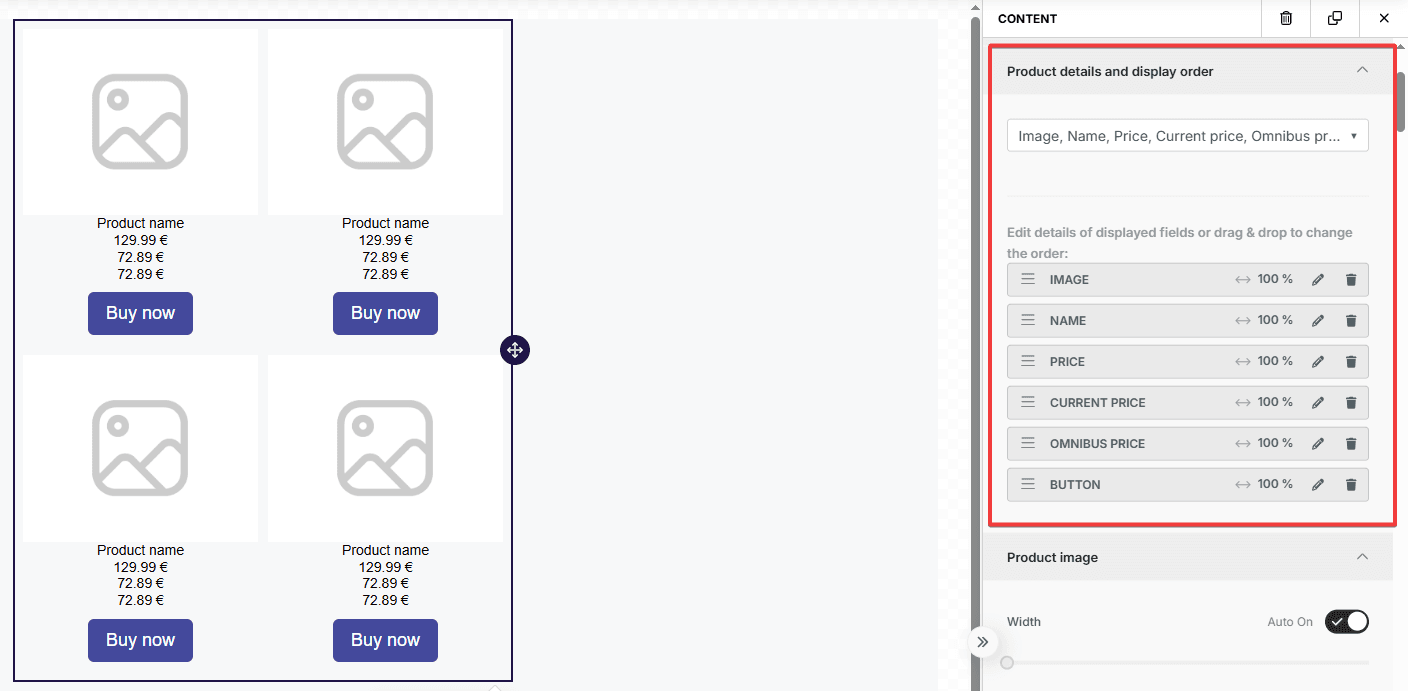
Product details and their display order
In this section, you’ll set how and in what order to display details for each product:
- Choose which product information should be visible.
- Display multiple fields in one row, e.g., price before and after discount.
- Add description texts before and after each field except the button, e.g., for price it could be “Lowest price from the last 30 days.”
- Decide in what order the information should appear.

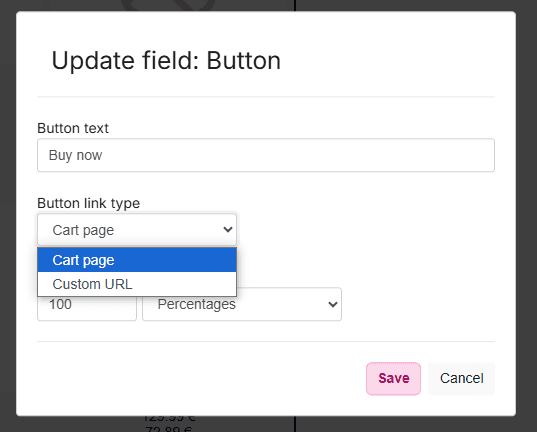
For the Button field, you’ll set:
- Text on the button, known as call-to-action (CTA).
- Decide which of the two pages it should lead to: the cart page or the product page.
- Adjust the button width, in pixels or percentages.

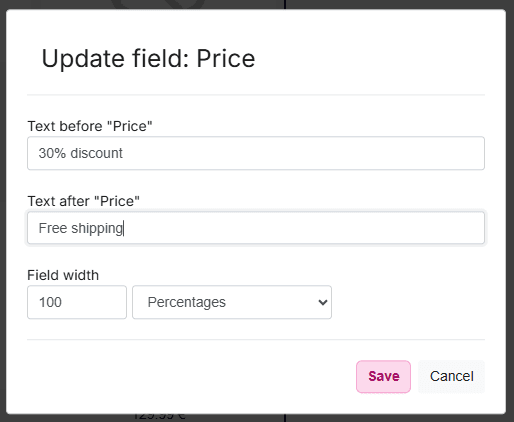
For the Image, Name, Price, Current (discounted) price fields, you’ll set:
- Text before the field, e.g., for price it could be “Lowest price from the last 30 days.”
- Text after the field, e.g., for regular price it could be “With free delivery.”
- Adjust the field width, in pixels or percentages.

Types of prices displayed for products
The displayed prices are pulled directly from your store’s website, allowing real-time information updates. Since your store may have both regular and promotional prices simultaneously, you can decide which price types should be visible in the cart or recommendations.

Additionally, to comply with European Union regulations, we’ve added the option to display the Omnibus price, which aims to protect consumers from unfair pricing practices.
You can configure three types of prices displayed in your content:
- Regular product price
- Shows the standard product price last seen by your customer.
- If the product is available at a discounted price, the regular price will be crossed out.
- When there’s a permanent change to the regular price (not promotional in nature), we’ll display the updated price.
- Current (discounted) price
- Shows the current, reduced price of the product.
- Not displayed if there’s no discount, if it equals the regular price, or if it’s 0.
- Perfect for highlighting current promotions and discounts.
- Omnibus price
- Shows the lowest product price from 30 days before the last discount was introduced.
- Required by regulations stemming from the Omnibus Directive to ensure transparency in promotions for consumers.
- We only display it when a discounted price is available, so users can see the context of price changes.
Showing different prices not only supports your marketing goals and improves conversion but also builds trust among your customers through transparent information about discounts.
Next steps
- Configuring recommendation types and display modes
- Filters and boosters — precise recommendation matching
See also: