Managing data fields
Every Data Field to be used in a workflow needs to be added by clicking the Manage data fields button over the workflow events toolbar:

This opens the Manage Data Fields dialog:
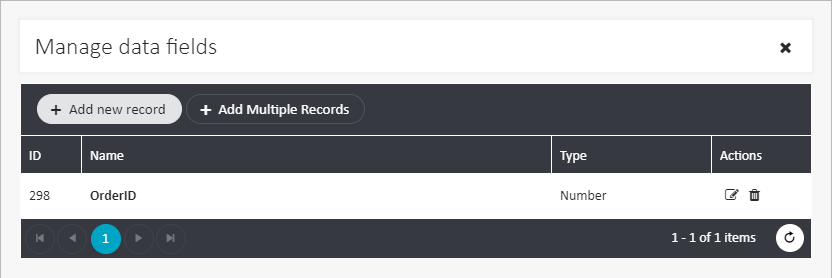
To add a new data field, use the Add new record button.
Once defined, Data Fields can be used within the workflow settings of the following elements: Start event and Set data event, API call, Execute Code, and Data switch. The values of Data Fields may also be used for personalization within the content of email messages used in workflows.
To insert the value of a Data Field in email message content, an API call, or the Execute Code element, use the following personalization tag format:
*[wf_datafieldname]*
For example, the OrderID data field would utilize the following personalization tag:
*[wf_OrderID]*
It is also possible to use the Data Fields with the Dynamic Content syntax:
${WorkflowDataField('datafieldname')}For example, the OrderID data field would utilize the following Dynamic Content syntax:
${WorkflowDataField('OrderID')}In the Dynamic Content mode it is also possible to check, if a Data Field was set using the following function:
WorkflowDataFieldExists('datafieldname')For example, the OrderID data field can be checked using the following Dynamic Content syntax:
WorkflowDataFieldExists('OrderID')To set the value of a workflow data field, use the following code:
SetWorkflowDataField('datafieldname',dataFieldValue)Please refer to the API documentation for more information about triggering custom events.