What should I include in a message?
Each email message sent by ExpertSender must contain the following elements:
Optional elements include:
Reason for receiving an email
The phrase “You are receiving this email because you opted in to receive a (daily/weekly/monthly) newsletter at (www.expertsender.com)” helps you keep your spam complaint rate low, as well as it lowers the risk of complaints coming from Internet Service Providers (ISPs). Note that some ISPs include such a requirement in their general guidelines for bulk mailing.
It is also advisable to specify the email address of the subscriber within this phrase, since it makes it clear to the user which address he or she used for the subscription (useful for users with several addresses and redirection of messages).
#
Unsubscribe link
It is essential that each subscriber have a chance to unsubscribe from your mailing list at any time. There are two types of unsubscribe links which can be used in a message: internal (provided by ExpertSender) and external (unsubscription is implemented on the client side).
Unsubscribe links in ExpertSender#
Unsubscribe links are included in messages with the help of personalization tags *[link_unsubscribe]* and *[link_unsubscribe_multiple_lists_x_yy_zzz]*, which should be specified as link targets in HTML:
<a href="*[link_unsubscribe]*">Unsubscribe</a>
<a href="*[link_unsubscribe_multiple_lists_x_yy_zzz]*">Unsubscribe</a>
The code will be rendered as an unsubscribe link in his or her email client. If the link is followed, the subscriber will be immediately unsubscribed and will not receive any other emails. Note that you can track statistics on unsubscriptions in Reports.
Unsubscribe from all lists#
By default, if the user follows the unsubscribe link in a message, they will be unsubscribed only from the list to which this message was sent. In case one subscriber is included in several lists, unsubscribing them from one list will not prevent them from receiving messages in the future. This, in turn, may lead to complaints.
Therefore, whenever a subscriber expresses his or her willingness to unsubscribe, it is advisable to unsubscribe them from all lists at once. Go to Settings > Business Unit > Subscribers and tick the Remove from all lists upon unsubscribe checkbox.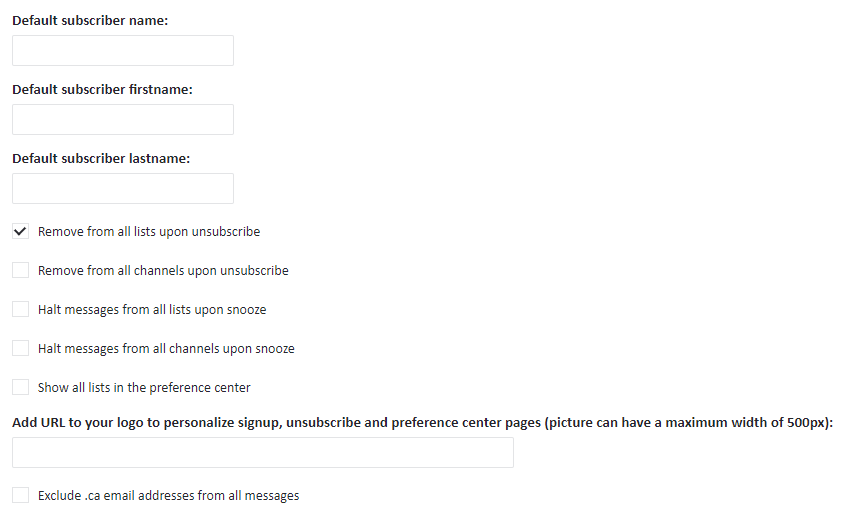
Give your subscribers a choice#
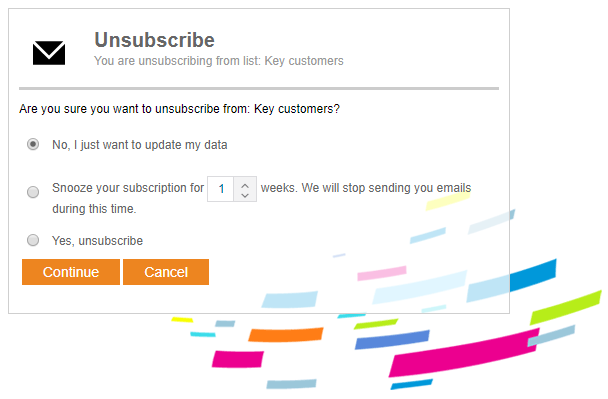
The unsubscribe link can work in two ways: unsubscribe in one click, or try to retain the subscriber by offering them some other options, for example, allow them to suspend messaging for several weeks, or update their contact data.
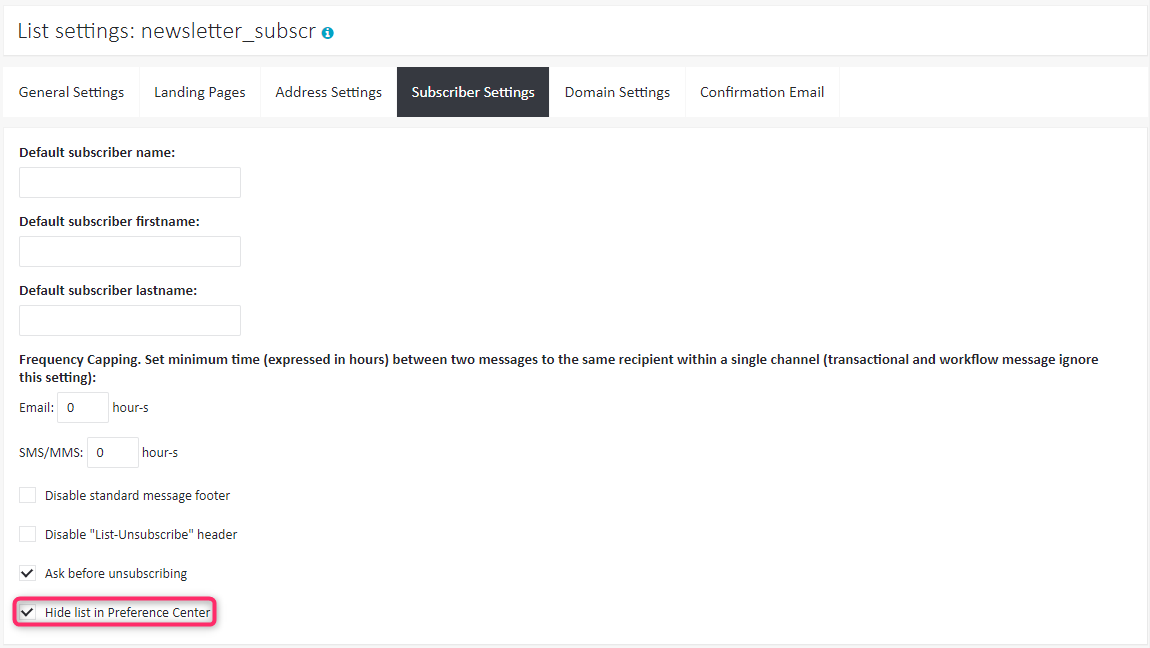
The way the unsubscribe link works is selected separately for each list. To set up the unsubscribe mode in one click, go to the list settings on the Subscriber settings tab and uncheck the Ask before unsubscribing option.

The default option allows the user to update user data, suspend the subscription for a period from 1 to 52 weeks, or still unsubscribe. When selecting a reply, the user can also specify the reason why they are unsubscribing.
Redirect to the site after unsubscribe
After unsubscribing, the user is by default redirected to an ExpertSender system page, which allows you to get some feedback on the reason of unsubscribing:
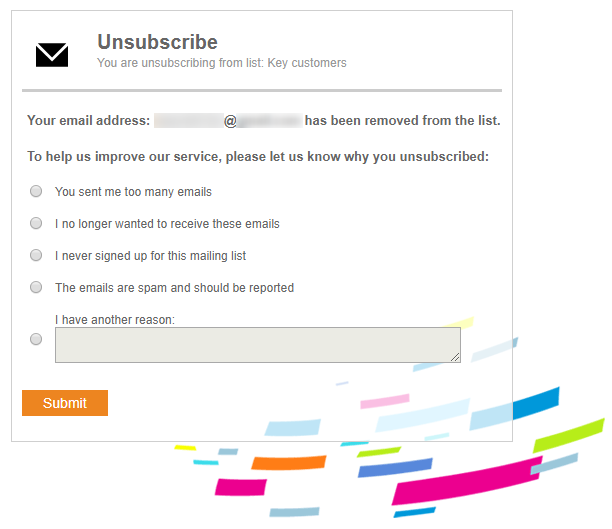
If you want to redirect the user to any page of your site after unsubscribe, you need to use an unsubscribe link.
Unsubscribe on the client side#
It is also possible to carry out the unsubscribe scheme on the client side. This solution has many advantages, since you can implement the unsubscribe process in any way you want. For example, you may create pages with your own branding and content, or try to retain the subscriber by offering them a special discount.
In order to unsubscribe on your side, include in your email message a regular link to the unsubscribe page on your site. However, it is also crucial that the unsubscribe event be sent to ExpertSender, so that the subscriber list can be updated. There are two ways to achieve it:
- Use regular import of subscribers in the database synchronization mode (then all subscribers deleted from your database will be deleted from ExpertSender).
- Remove subscribers from the database in real time using API and the Delete subscriber method.
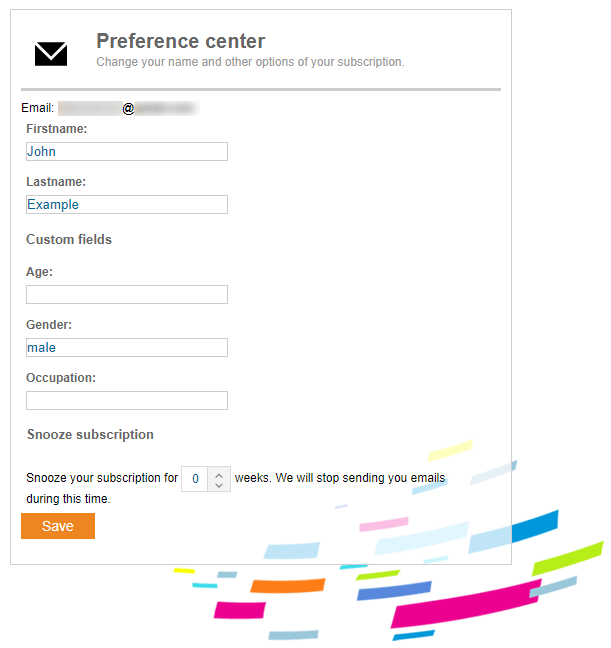
Preference center
A preference center is a website on which your subscribers can update their personal data or suspend their subscription. All changes made by a subscriber on this page will be automatically saved to the platform.
Add a preference center to a list#
You may specify a different preference center for each list. To add a preference center link:
- Select Subscribers > Lists from the left-hand navigation.
- Choose the list to which you want to add a preference center link and click Settings under List actions.

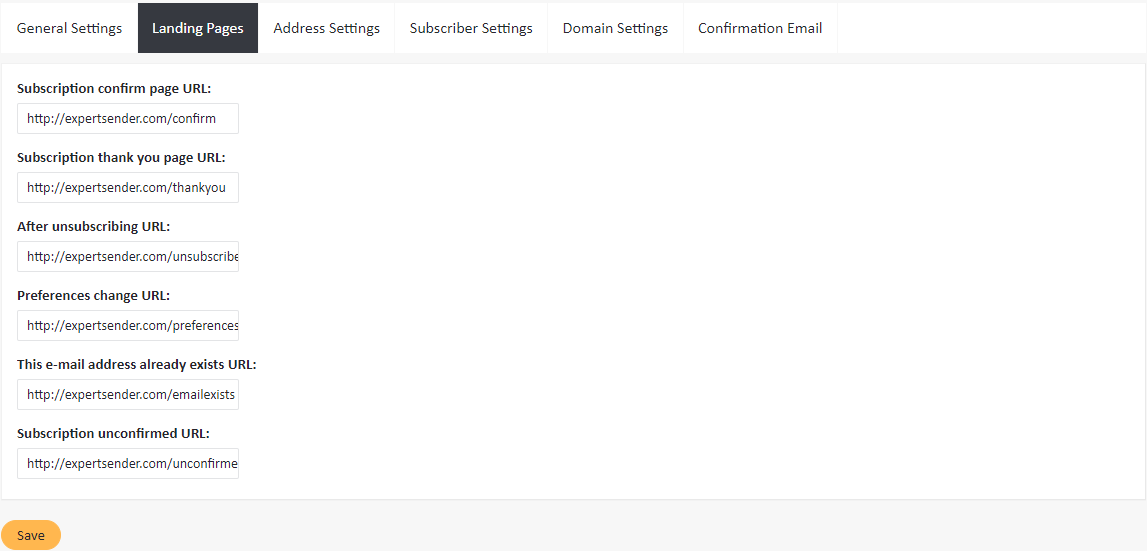
- Go to the Landing Pages tab.
- Enter the link to the preference center under Preferences change URL.


Preference links, like unsubscribe links, are included in messages with a personalization tag. Specify the tag *[link_preferencecenter]* as a link target in HTML in the following way:
<a href="*[link_preferencecenter]*">Preference center</a>
The code will be rendered as a preference center link in your subscriber’s email client.
In the preference center, the subscriber’s first and last names are displayed by default, as well as visible custom fields and the mailing lists.
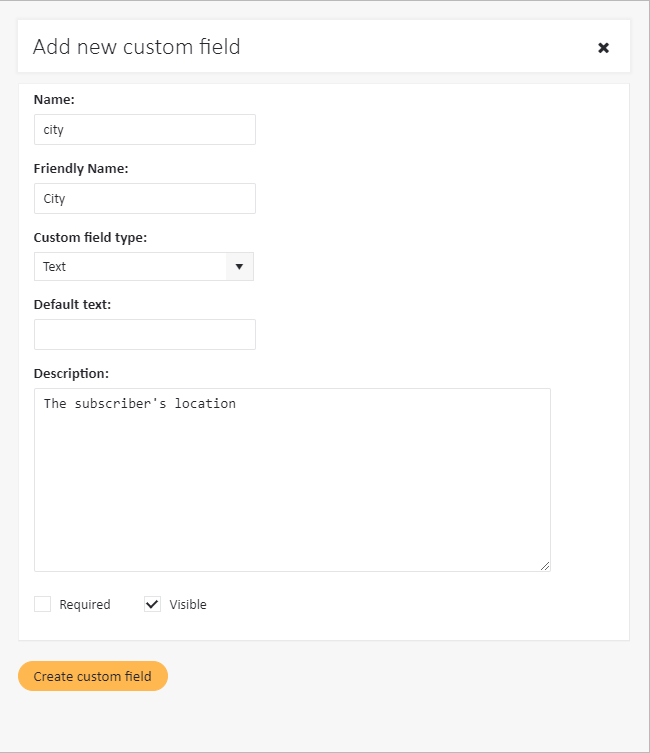
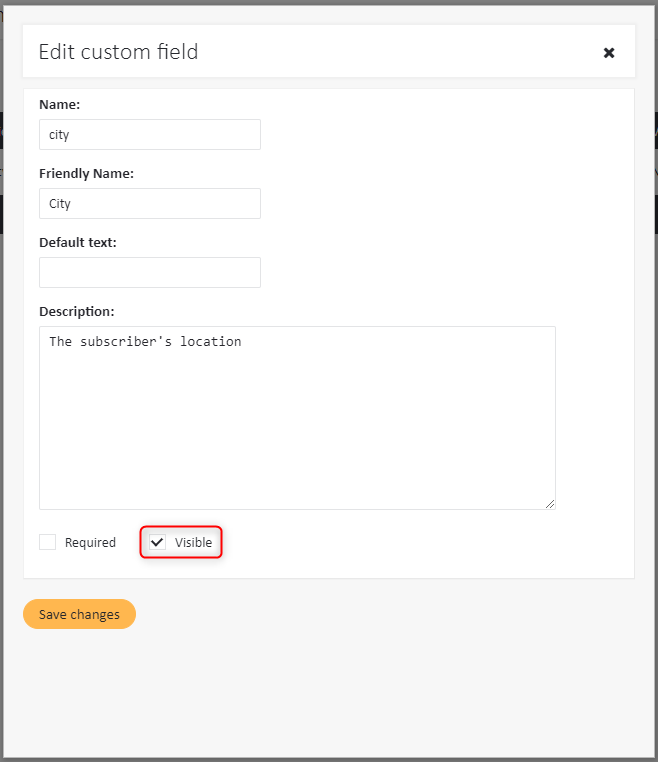
If you want an additional custom field to appear on the page of the preference center, you need to make it visible. To make a new custom field visible, tick the Visible checkbox when creating it:
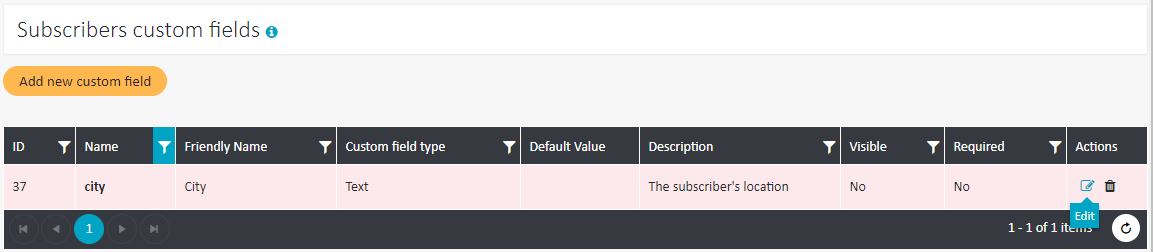
To make an existing custom field visible, follow these steps:
- Select Subscribers > Custom Fields from the left-hand navigation.
- Find the custom field you want to make visible and select Edit under Actions.

- Tick the Visible checkbox.

- Save changes.
Your subscribers will immediately be able to see and update the field in the preference center.
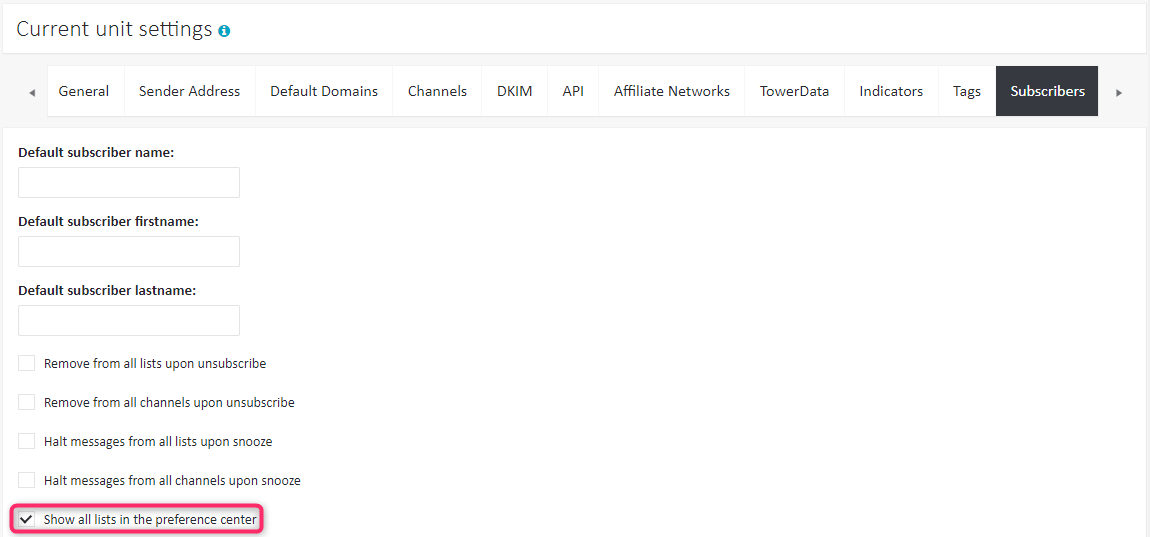
Another option which you can enable in the preference center is showing your customers all the mailing lists they belong to and allowing them to unsubscribe from selected lists. To enable this option, follow these steps:
- Select Settings > Business Unit from the left-hand navigation.
- Go to the Subscribers tab.
- Select Show all lists in the preference center.
However, you may also choose to exclude individual lists from the preference center view. If you want to hide any specific list, do the following:
- Select Subscribers > Lists from the left-hand navigation.
- Go to the list you want to hide and select Settings under List actions.
- Go to the Subscriber Settings tab.
- Select Hide list in Preference Center.