Create email header and footer using modules
In this article, you will learn how to create a header and a footer for your email message and how to save them as modules for future use.
Create a header
The email header is the first thing your subscribers see when they open your message. It’s a great opportunity to display your brand, even though it only includes a company name, a logo and a menu.
With the Drag&Drop editor, designing a unique header is quick and easy. Follow these steps:
1. Open the Drag&Drop editor.
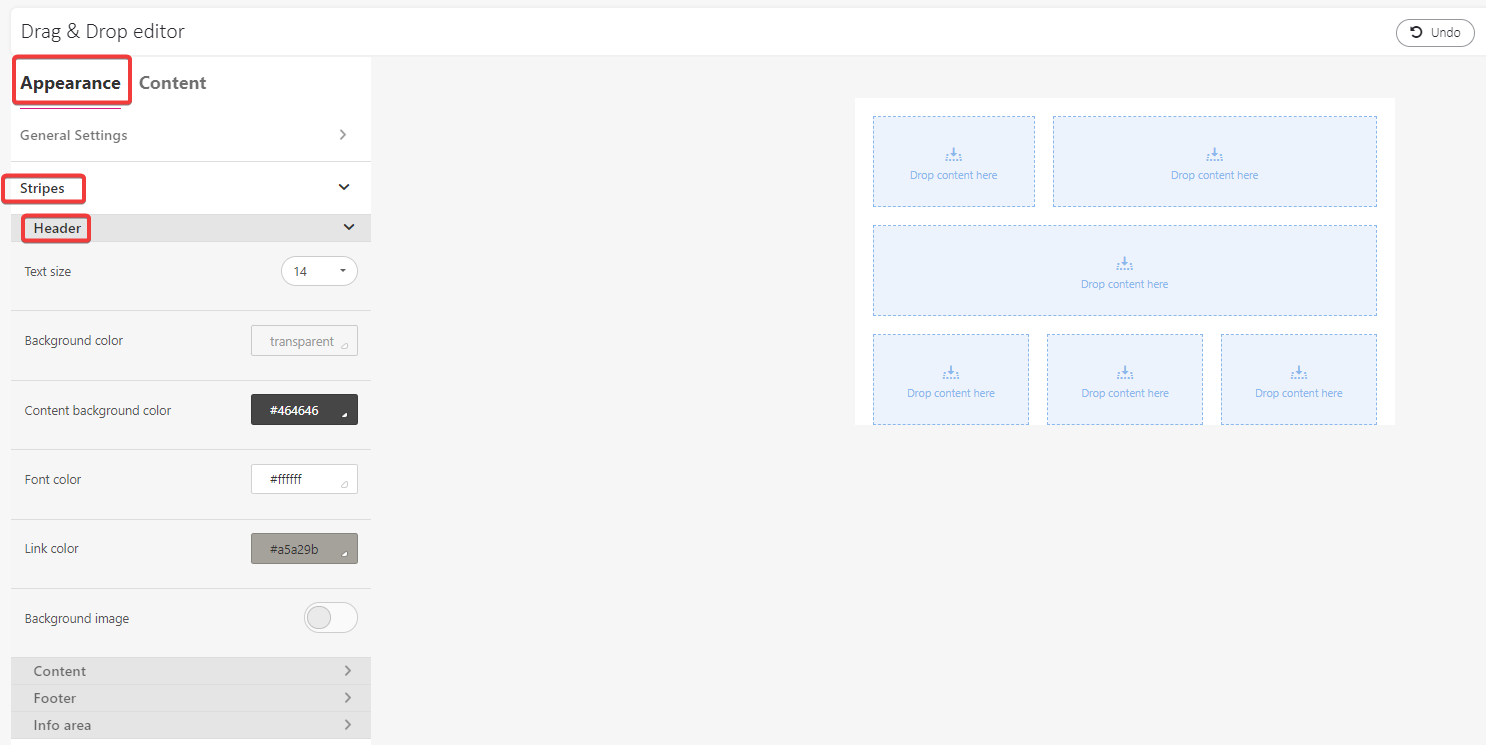
2. Go to Appearance menu > Stripes > Header.
3. Choose the main style for your header, such as stripe and content background color, content border, or whether to hide the header on a desktop or mobile devices.
4. Go back to the working space and add or remove structures to fit your header design idea.
5. Once you have your structures in place, click the working area to enable the structure edit menu on the left.
6. Define the message area as header. The header settings will automatically apply to all structures included in the header stripe. 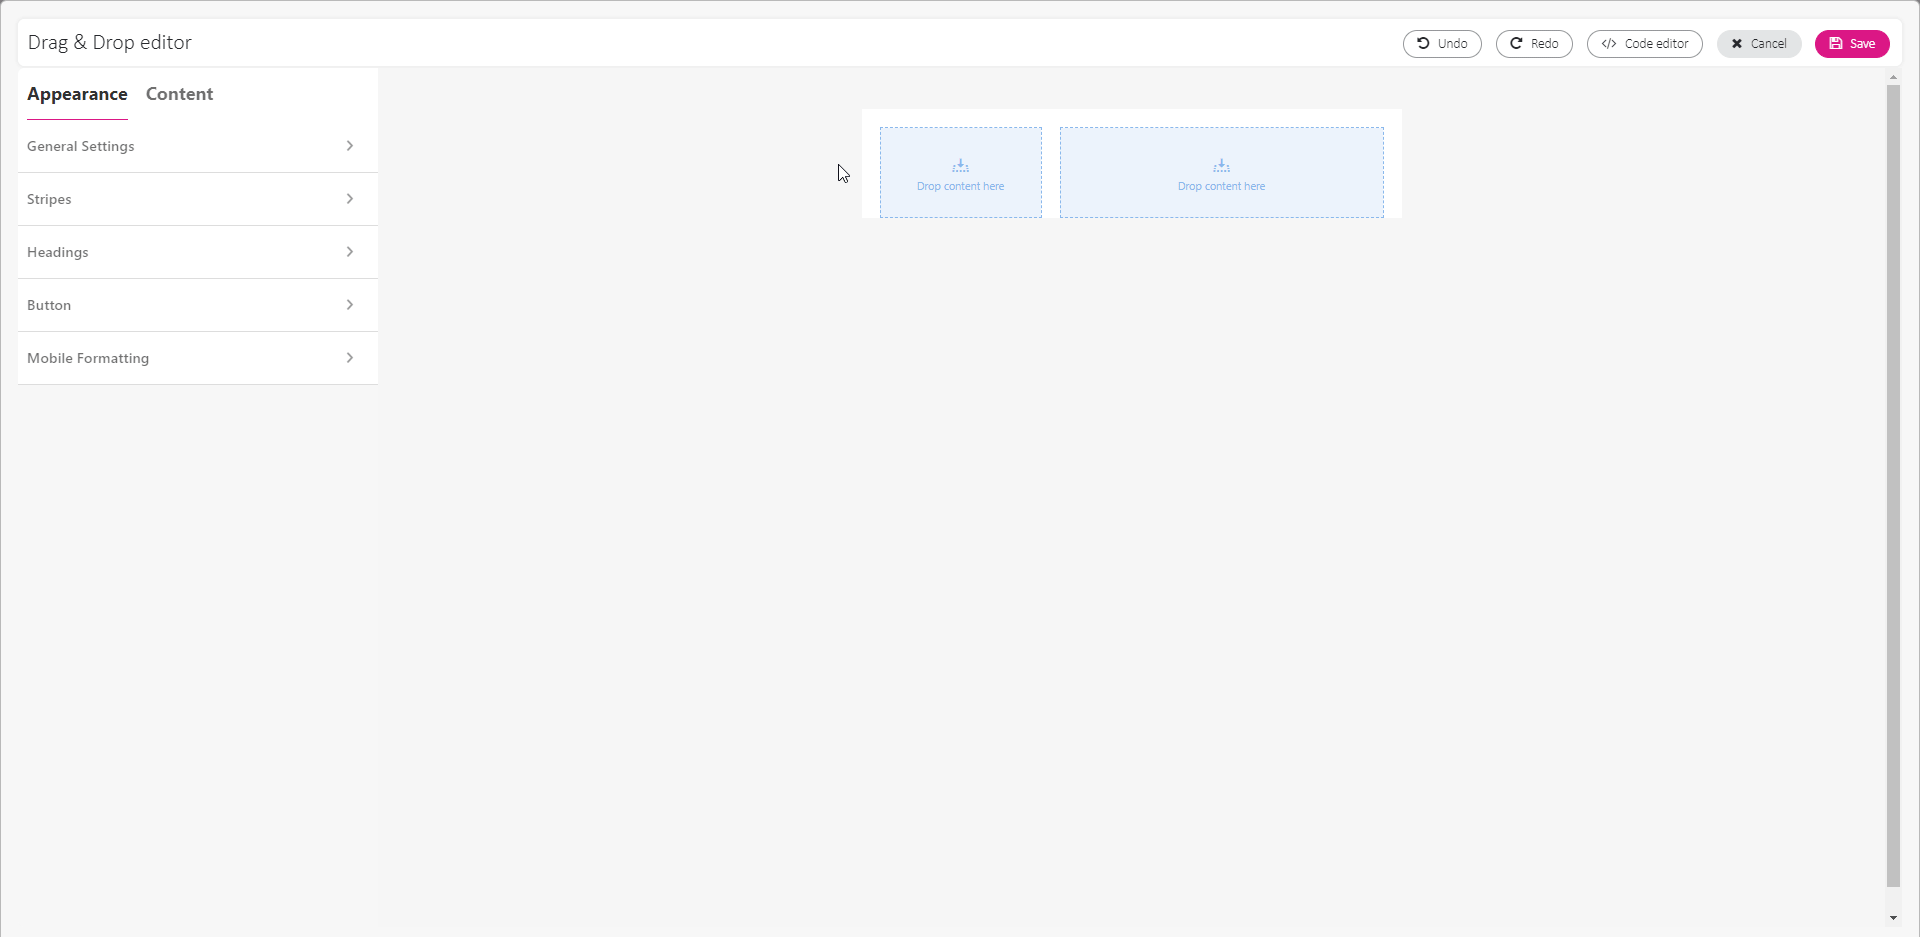
7. Go to Content menu > Blocks.
8. Start adding blocks and fill them with content you want to include in the header:
• Use the Image block to add company logo,
• Use the Menu block to add links for product and service categories. 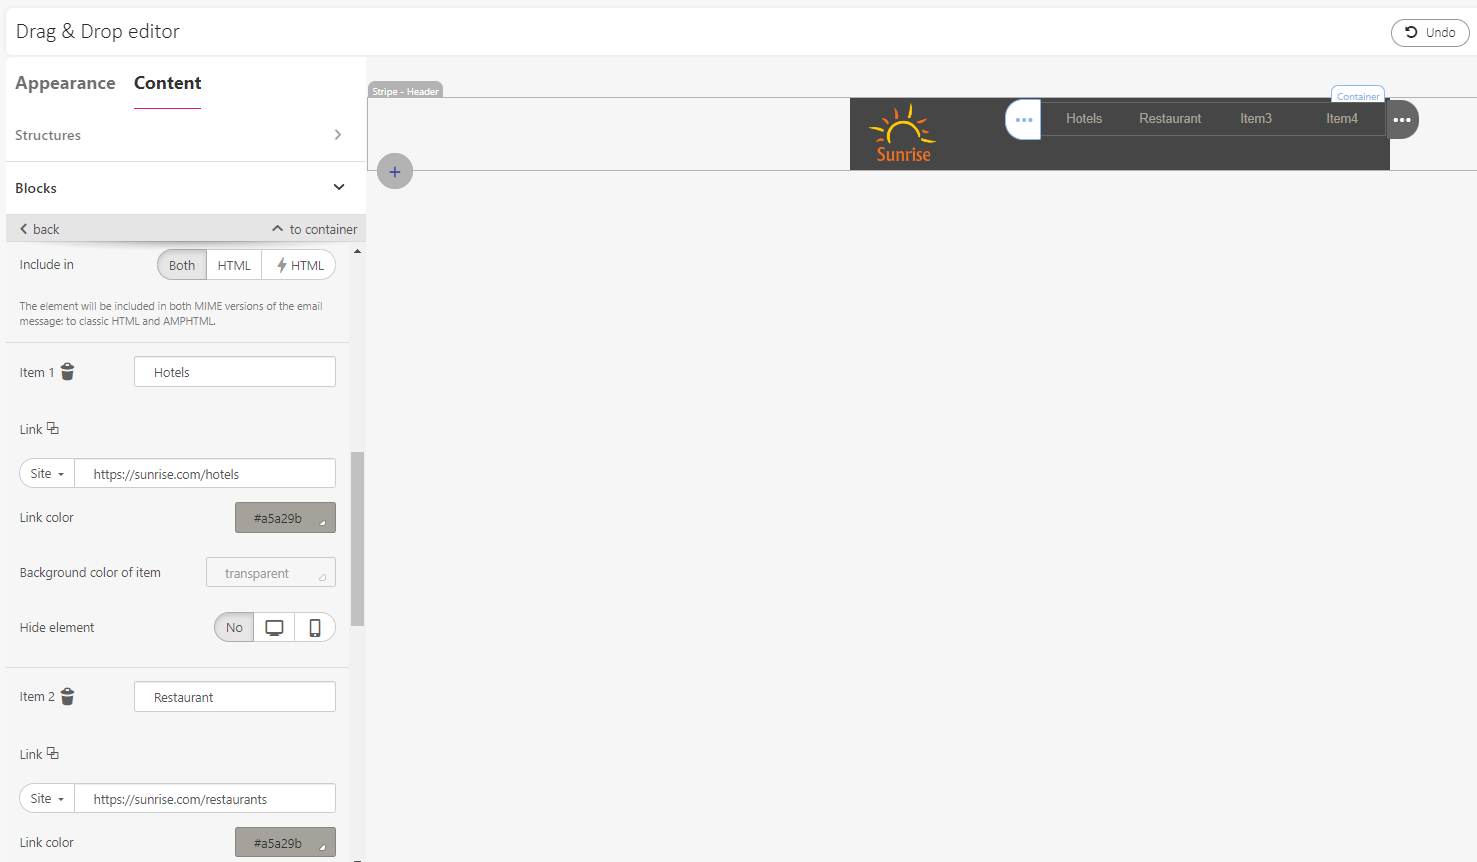
9. Once you’re done, hover over the stripe menu and click Save as module. 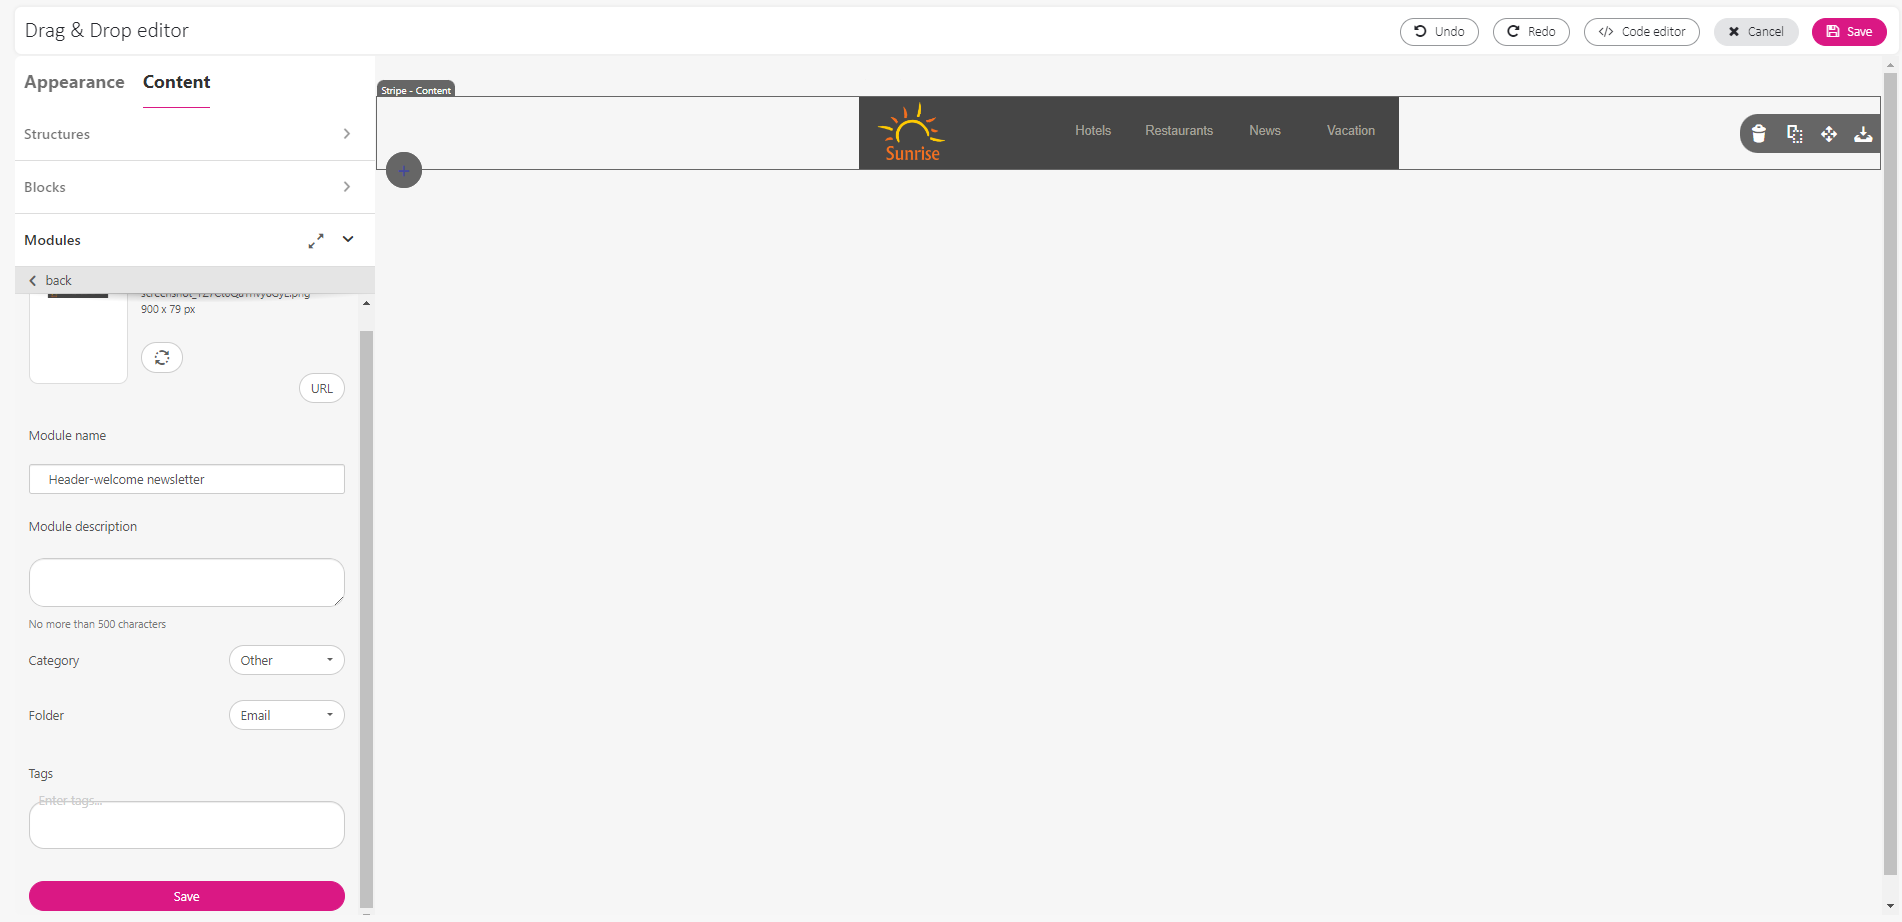
10. Enter the module name and click Save.
11. To add the header module to a new email message, go to Content menu > Modules.
12. Enter module’s name and Save it.
That’s it You’ve successfully created a header module. To reuse it, find the header in the module section and drag and drop it into the working space. 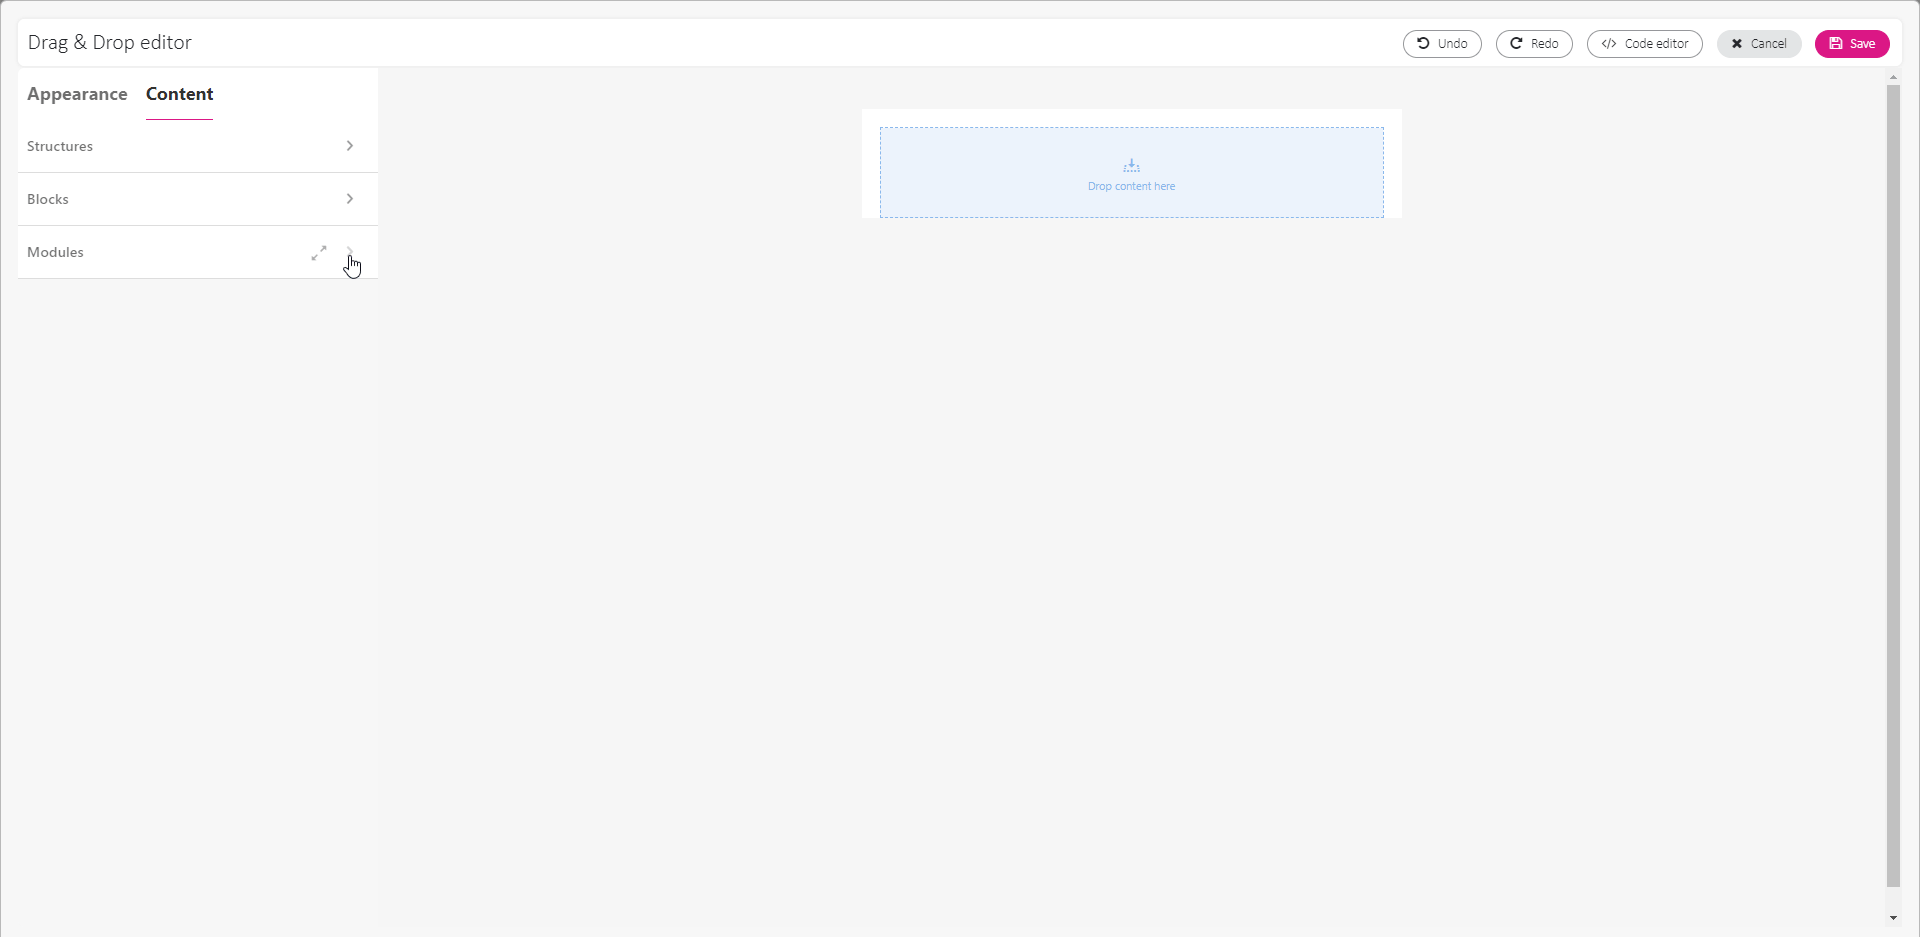
Create a footer
The email footer usually contains important information like company contact details, social media links, legal disclaimers, and unsubscribe options. It’s a valuable space to leave a lasting impression, provide additional information, and ensure compliance.
Creating an useful email footer in Drag&Drop editor is also quick and easy. Follow these steps:
1. Open the Drag&Drop editor.
2. Go to Appearance menu > Stripes > Footer.
3. Apply the general style settings for the footer, including text size, background colors, font and link colors. 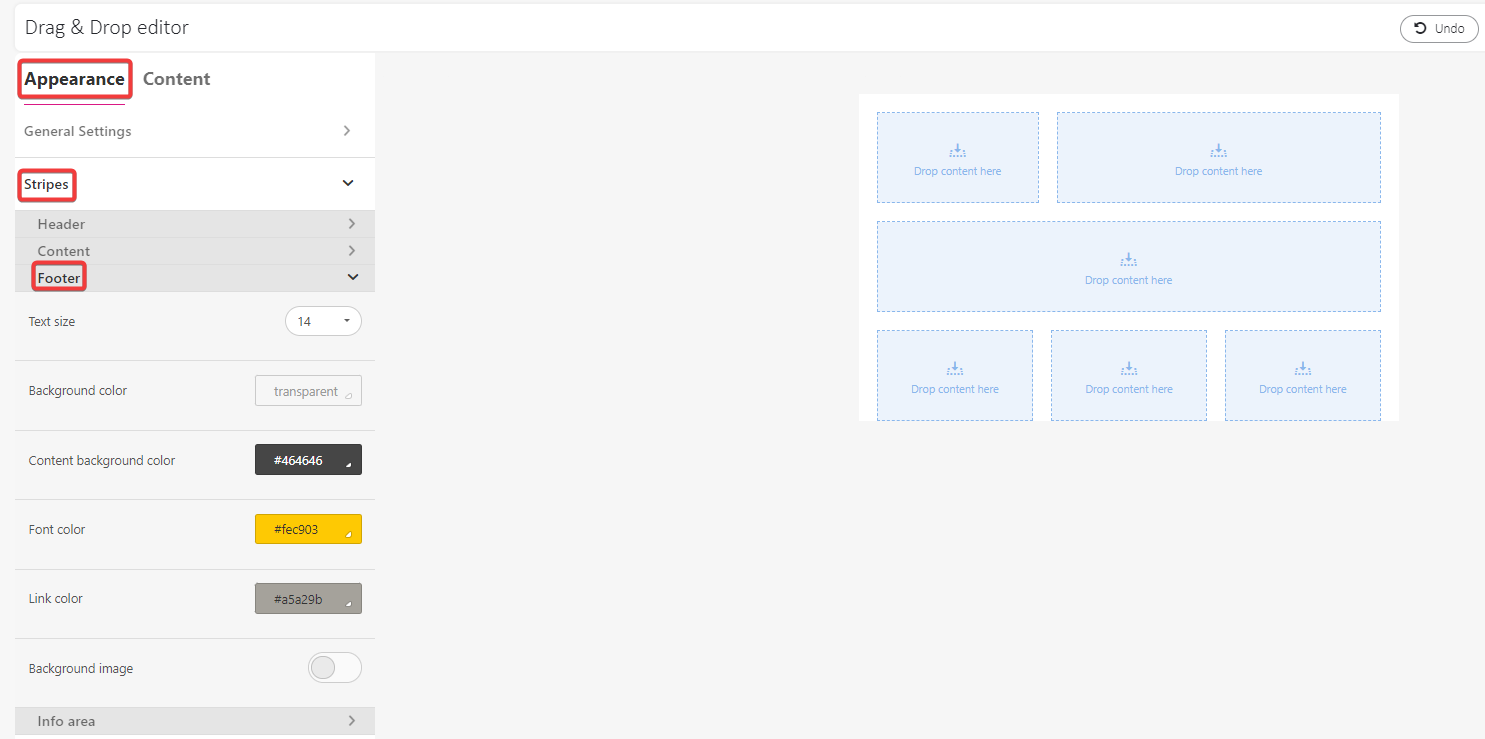
4. Go back to the working space. Add or remove structures to fit your header design idea.
5. Once you have your structures in place, click the working area to enable the structure edit menu on the left.
6. Define the message area as footer. The general style settings will automatically apply to all structures included within this stripe. 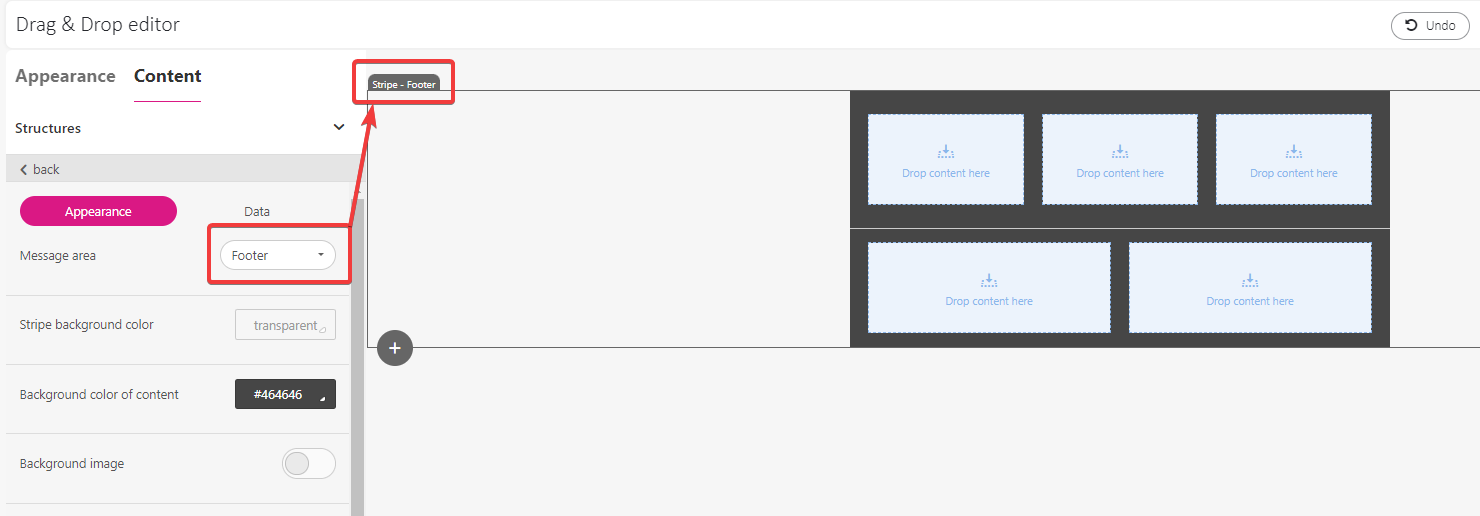
7. Go to Content menu > Blocks.
8. Depending on what you want to include in the email footer, add respective content blocks:
• Use the Image block to add your company logo.
• Use the Social block to add social media links.
• Use the Text block to add company details and links. For information on adding links to your email message, read Add unsubscribe link and preference center link. 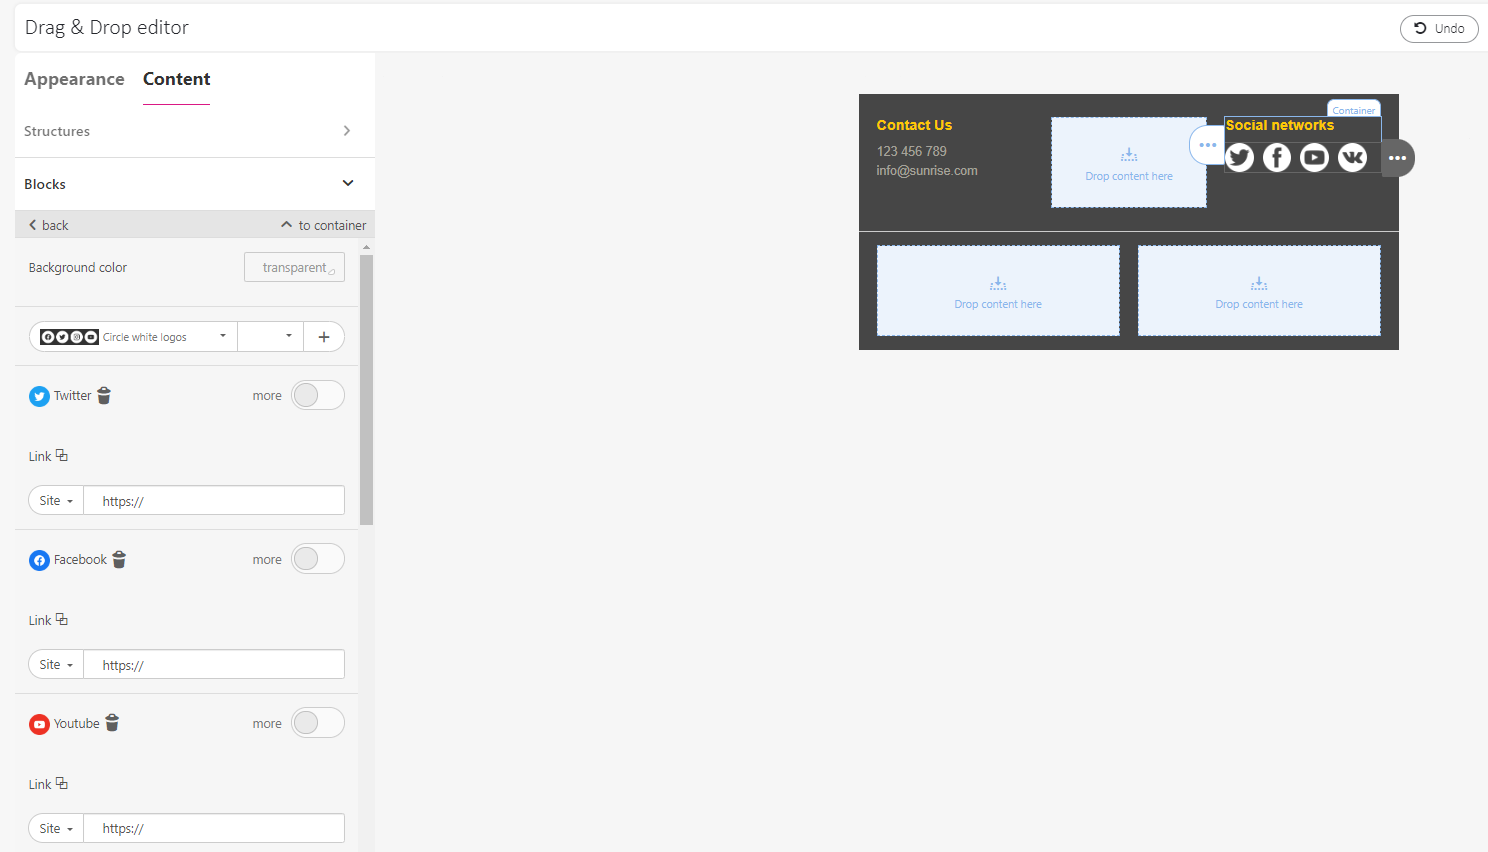
9. Once it is ready, hover over the stripe menu and click Save as module. 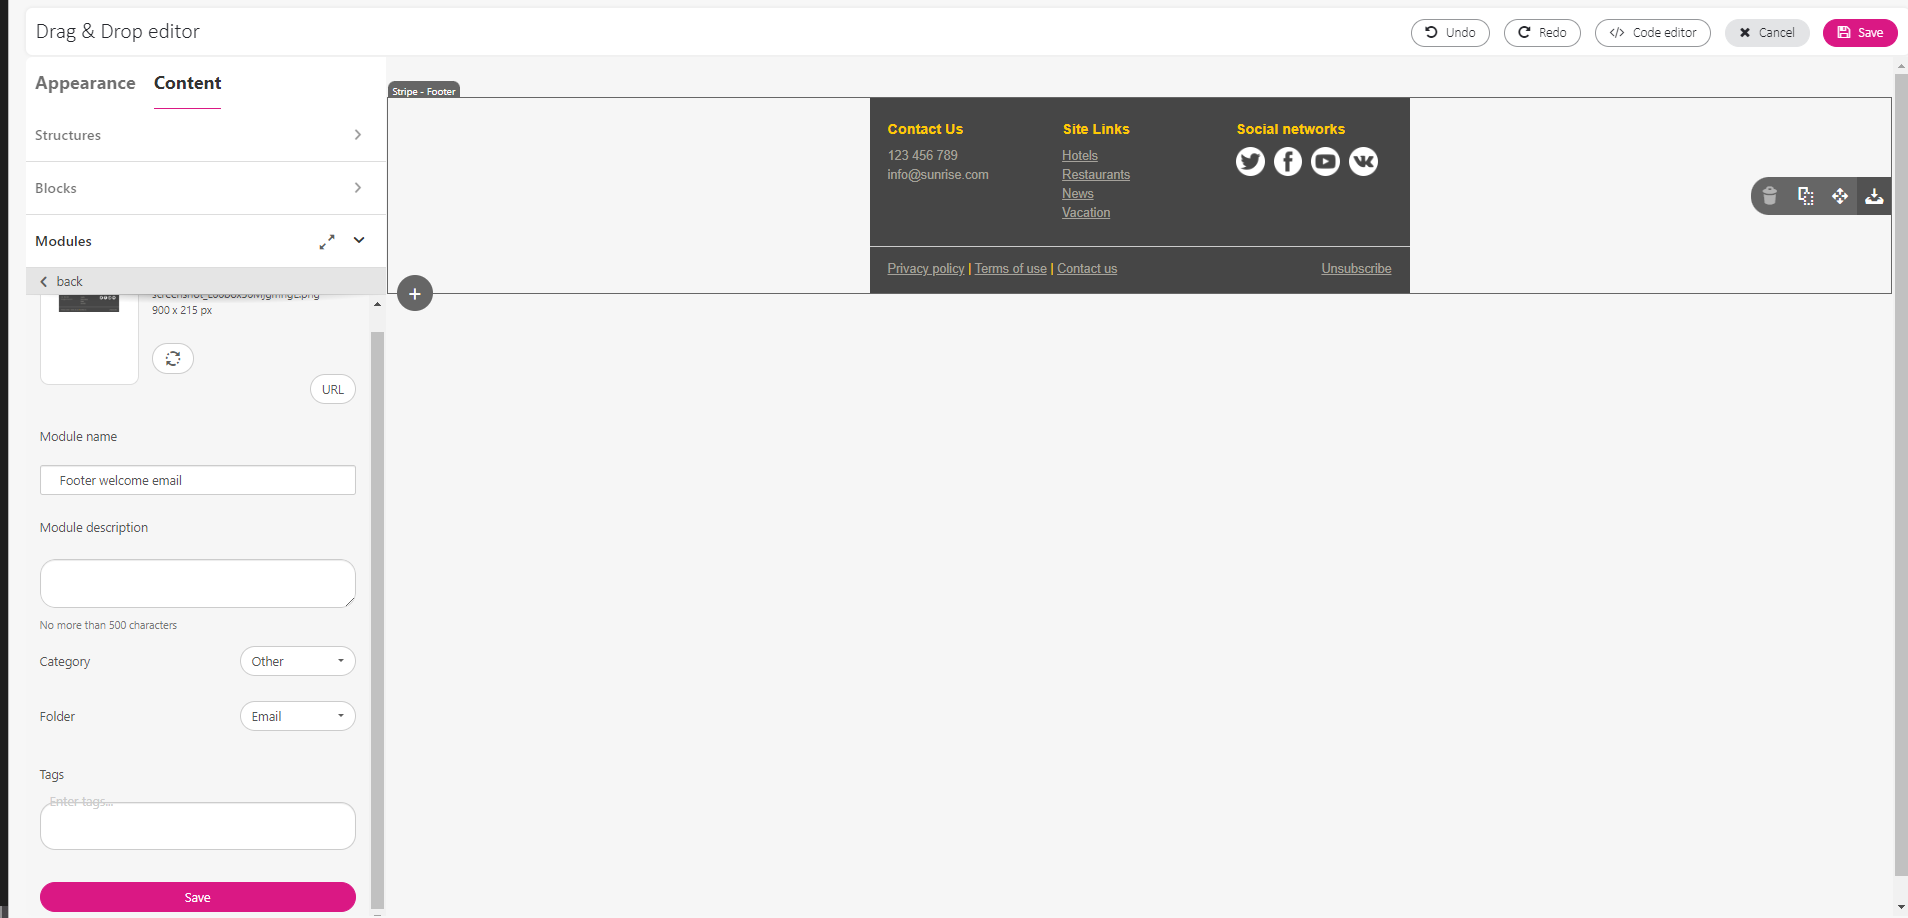
10. Enter the module name and click Save.
Your footer module is now ready.