Setting up the Web Module
To start working with the ExpertSender Web Module, there are a number of settings which require your attention, such as configuring the website which will use the channel and adding a product feed.
Please note that the Web Module does not use the same panel as the other channels. If you purchased access to the web channel, you should have received credentials for the Web Module. If you haven't, please contact your Account Manager!
Website#
All Web Module functionalities must be associated with a specific website. Each business unit is linked to one website, so if you want to use Web Module on more than one website, you also need to request access to more business units. Please note that one website means one domain, so <yourcompany.com> is a different website than <yourcompany.de>.
To add a website, follow these steps:
- From the left-hand navigation, select Websites.
- Click Add a new website.
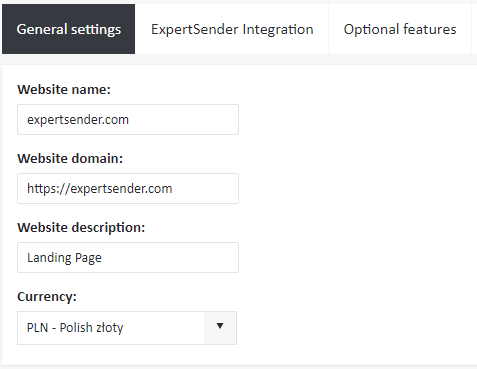
- In the General settings tab, enter:
- The website's name (use the following format: domain.com)
- The website's domain (URL in the following format: https://www.domain.com)
- Optionally, the website's description (e.g. retail shop)
- The currency which will be used for calculating expenses on the website.

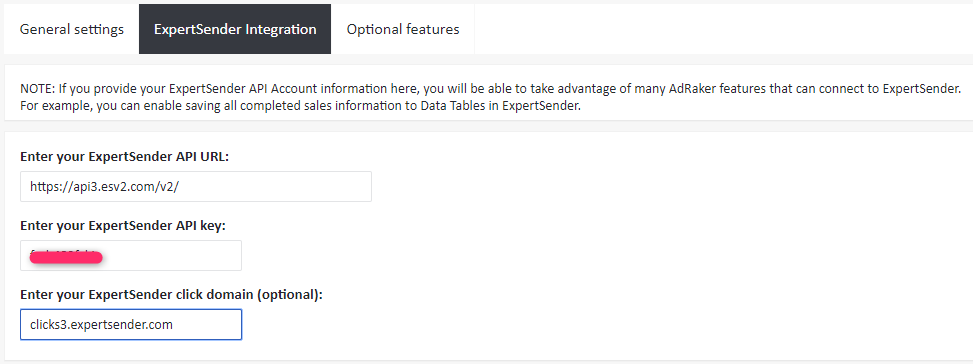
- In the ExpertSender Integration tab, you can connect your Web Module account with your ExpertSender account and thus gain access to many AdRaker features. For example, you can enable saving all information on sales completed by brand subscribers to Data Tablesin ExpertSender. To enable integration, enter:
- Your ExpertSender API URL (copy it from Settings > Business unit > API in the ExpertSender panel)
- The key to the API. Please use the hidden API key, which won’t be displayed in API and tasks logs in the ExpertSender user interface (if you don't have it yet, please consult your ExpertSender Account Manager).
- Optionally, enter your ExpertSender click domain (copied from ExpertSender Settings > Business Unit > Default Domains).

- In the Optional Features tab, you may enable the following functionalities:
- Storing data on website visits and completed sales in an external system (i.e. in ExpertSender Data Tables).
- Tracking product price change on the website (you may specify the percentage by which the price should change to generate an event and the period within which the change takes place).
- Click Save.
After you add a Website in the Web Module panel, you also have to adjust your website's code to connect to ExpertSender:
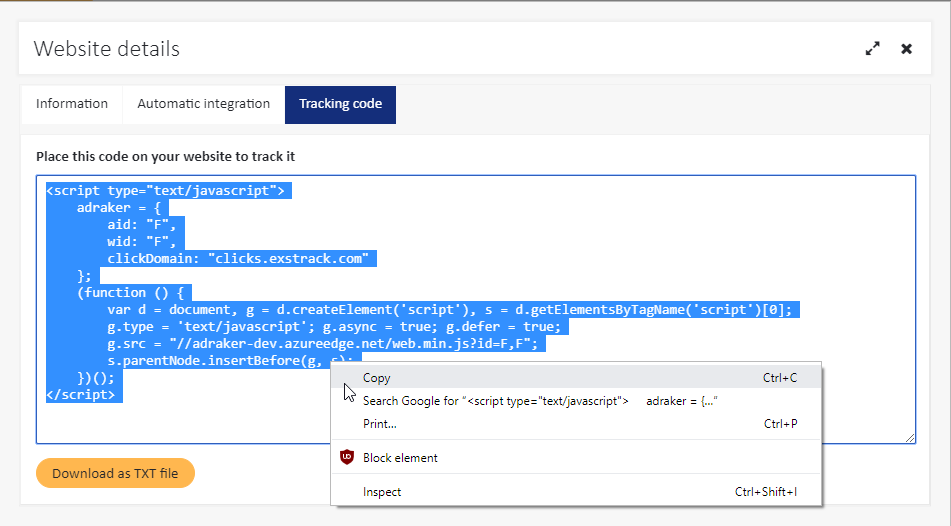
- On the list of websites, select Details in the Actions tab.

- Go to the Tracking code tab. It contains the JavaScript which you should copy and paste into the source code of your own website. Please remember the code will be different for each website which you enter in the system! An ideal place for you code is right before the closing </body> tag.

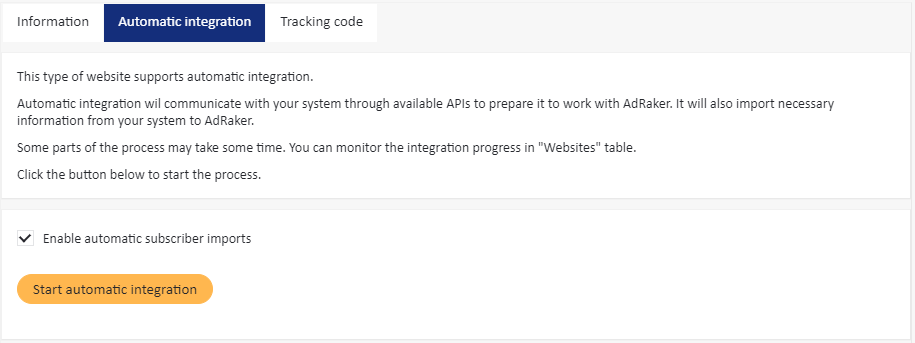
- Still in the Website details window, switch to Automatic integration. If your API URL and key are correct, you will be able to automatically import your subscribers from an ExpertSender subscriber list. To enable this, check the Enable automatic subscriber imports box and click Start automatic integration. This way, you will know which email addresses can be directly targeted and sent messages about, for example, an abandoned cart, and which cannot.


Product feed#
Adding a comprehensive list of products which you offer in your online store is the next crucial step in the setup of the Web Module. Without a product feed, we cannot generate product recommendations or display abandoned carts.
To add a new product feed, follow these steps:
- Select Scheduled Tasks > Product feeds from the left-hand navigation.
- Click Add a new product feed.
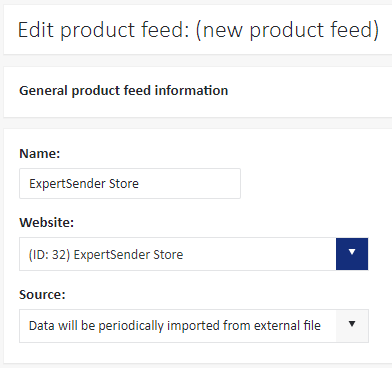
- Under General product feed information, enter the name of the feed and specify the website which includes the products in the feed.

- Specify the source of the feed. There are two available options:
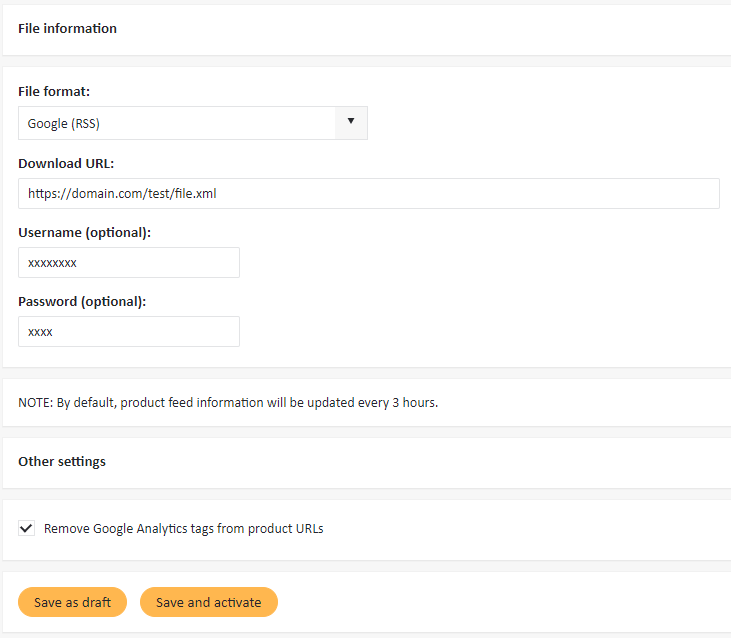
- Data will be periodically imported from external file: The feed is provided directly by the client and has to updated on their side (either manually or automatically). The file should contain the following information: id, name, price, URL to the product page, URL to the product image. This is essential, as products which lack any of this information will not be taken into account by the system! If you select this option, complete the following fields:
- File format: ExpertSender supports Google RSS, Google TSV and a number of XML variants
- Download URL: the URL at which the file with the product feed will be available
- Username, Password: the credentials necessary to access the file (if applicable)
- Remove Google Analytics tags from product URLs: you may choose to strip your URLs from Google Analytics tags if you don't need them
- Data will be gathered from website traffic: A self-building feed. It uses a script which goes to the client's store website and analyses product pages one by one. It is able to recognize product names, prices and images and on their basis it builds a product catalog on its own. Having selected this option, you need to specify the following:
- Inactivity time after which a product is considered obsolete: some products may acquire obsolete status, if nobody visits their page. By default, such products will be deleted every three hours. However, when their website is viewed, the products will be re-added to the feed.
- Remove Google Analytics tags from product URLs: you may choose to strip your URLs from Google Analytics tags if you don't need them

- Data will be periodically imported from external file: The feed is provided directly by the client and has to updated on their side (either manually or automatically). The file should contain the following information: id, name, price, URL to the product page, URL to the product image. This is essential, as products which lack any of this information will not be taken into account by the system! If you select this option, complete the following fields:
- Save your product feed as draft or save and activate it.
Please note that the products which are not available in the product feed will not be taken into account in the core Web Module functionalities, such as the recommendation engine and abandoned carts. This is due to the fact that these functionalities only check product IDs, with the remaining data (product names, prices, images) being extracted from the product feed.
Activate the website#
The finishing touch is to activate the website. Select Websites from the left-hand navigation and go to the tab Inactive. Under Actions, click on the Activate icon.
That's it!#
At this point, ExpertSender may need some time to configure the system on our side, for example, links which will be placed on product pages or the cart website. But very soon, you will be able to leverage the web channel!