Customer 360 profile
Customer 360 is a magnifying glass that lets you take a close look at each of your customers’ activity. Total spending, cart contents, the value of the last order – a record of all this data, from historical to real-time, is exactly what you’ll find here.
To access the individual Customer 360 profile, go to the Customers > Customers. Then, browse the grid table or use the quick search function to find a customer you want to inspect. Click the Customer 360 icon in the last column.
The customer profile consists of two parts. On the left, you will see statistics about the customer. On the right, you will see the timeline, i.e., a list of the customer’s activities on your website, both past and in real time.
Customer 360 – statistics and customer data
The top bar is the customer’s business card, showing their first and last name, unique ID number, the date the profile was created (i.e., when the customer’s data was imported into the system), and their assigned RFM segment.
Next to it is the Edit customer button, which opens a separate tab when clicked. Here you can make corrections or add new information about the customer.
Below the bar, you’ll find a set of statistics about the customer’s behavior during their visits to your website. In the first row, we’ve placed three key pieces of information:
- Total spent – the sum of the customer’s spending, calculated from the moment their data was added to the ExpertSender platform. Below it, you’ll also find information about the total number of orders placed by the customer and the number of returns.
- Average order value – the average value of all orders placed by the customer, including the average product price in the cart.
- Last activity – the date of the customer’s most recent action. This can be any interaction the customer has with your website or with communication you send them (excluding pop-ups).
The amounts shown in the statistics are given in the currency declared when you registered your ExpertSender account. If you have websites using different currencies connected to your account, we’ll convert the statistics for those websites into the currency provided at registration.
Below the statistics, you’ll find information about the cart, the wish list, and the customer’s last order.
The Cart shows the value of all unpurchased items currently in the customer’s cart.
In the same window, you also have access to the customer’s wish list. There you’ll find the total value of the products on the list, as well as details of each product.
Use the toggle to switch between the cart view and the wish list.
The Last order section shows the details of the customer’s most recent purchase on your website. Here you’ll find the total value of the order and a list of the items purchased.
Below, you’ll find customer data grouped into three separate categories for easier customer identification and quick access to data:
- Personal data – here you’ll find the customer’s first and last name, date of birth, and gender.
- Contact – contains the contact details provided by the customer, e.g., email address, phone number, and their assigned CRM ID number.
- Custom attributes – information that lets you personalize communication with the customer. Attributes are used in segmentation, which you use in campaigns and scenarios.
You can edit all this data by clicking the Edit customer button located in the bar at the top of the page.
Consents
In the Consents section, you’ll find a table with all the consents the customer has granted, revoked, or that are awaiting their confirmation. These statuses can change over time and have different sources, so the table also shows the date of the last consent status change and the event that caused it:
- Import – the consent status was updated through a customer data file import.
- Customer 360 profile – the consent status was changed manually while editing the customer profile. This lets you change the email and SMS consent status, but not web push or mobile push. If you change a consent status to Granted, and there is an active scenario with the Sign-up starting point, that requires this specific consent, you can decide whether the customer should enter this scenario.
- Website form or tracking – the customer filled out and submitted a form on your website. This applies to forms created in ECDP as well as forms added another way, from which we collect data via a tracking script. For more details, see the article How to automatically move customer data from forms on your website to ECDP.
- Spam complaint – the customer marked your message as spam.
- Confirmation message – the customer confirmed something, e.g., a newsletter sign-up, by clicking a link in the confirmation message they received.
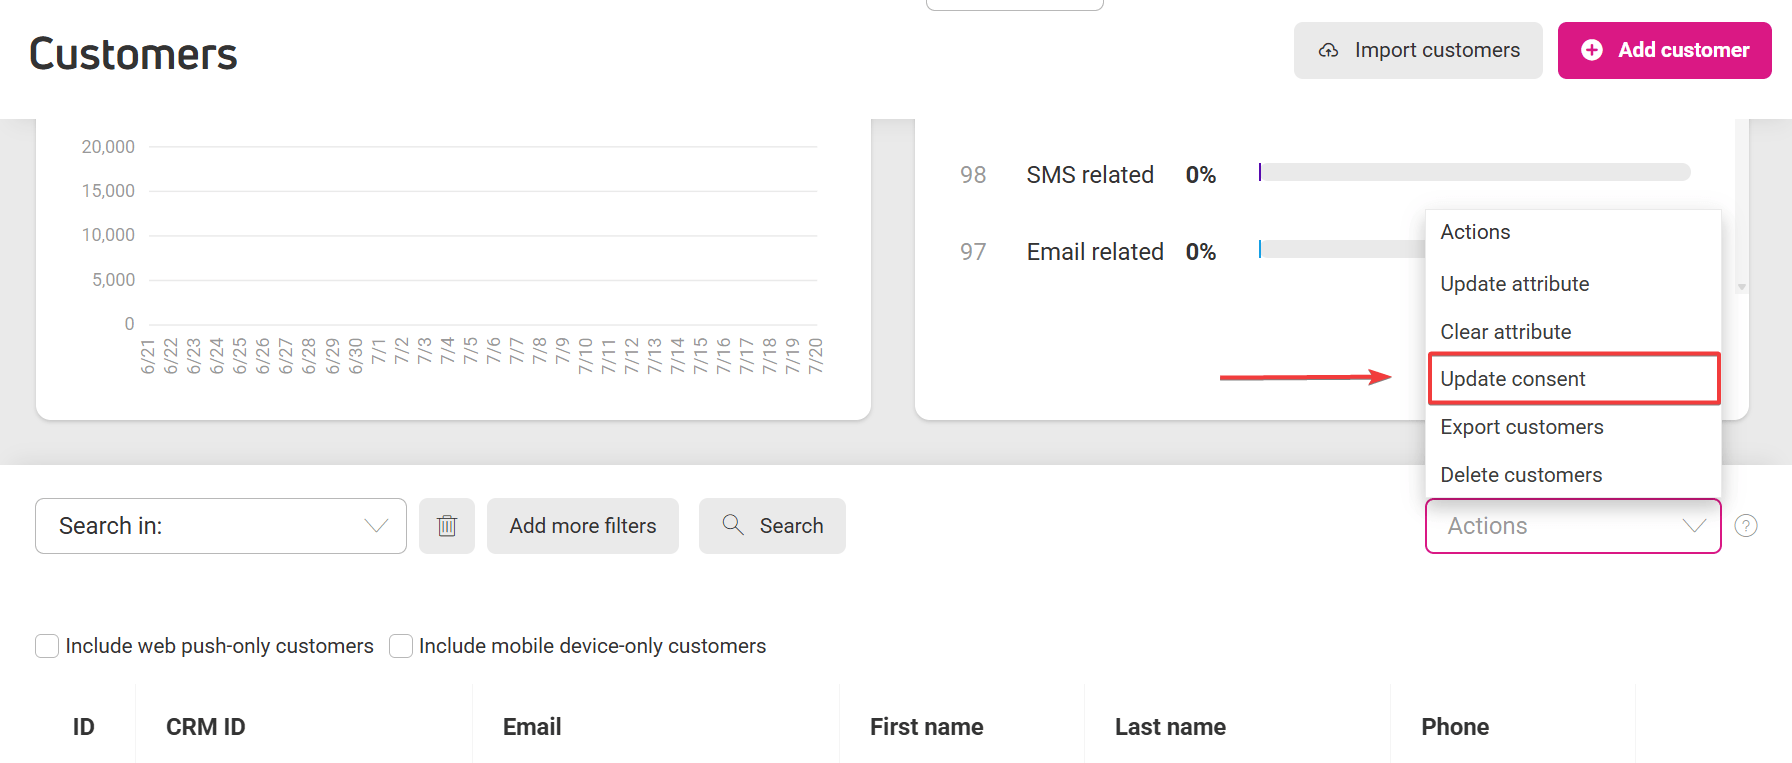
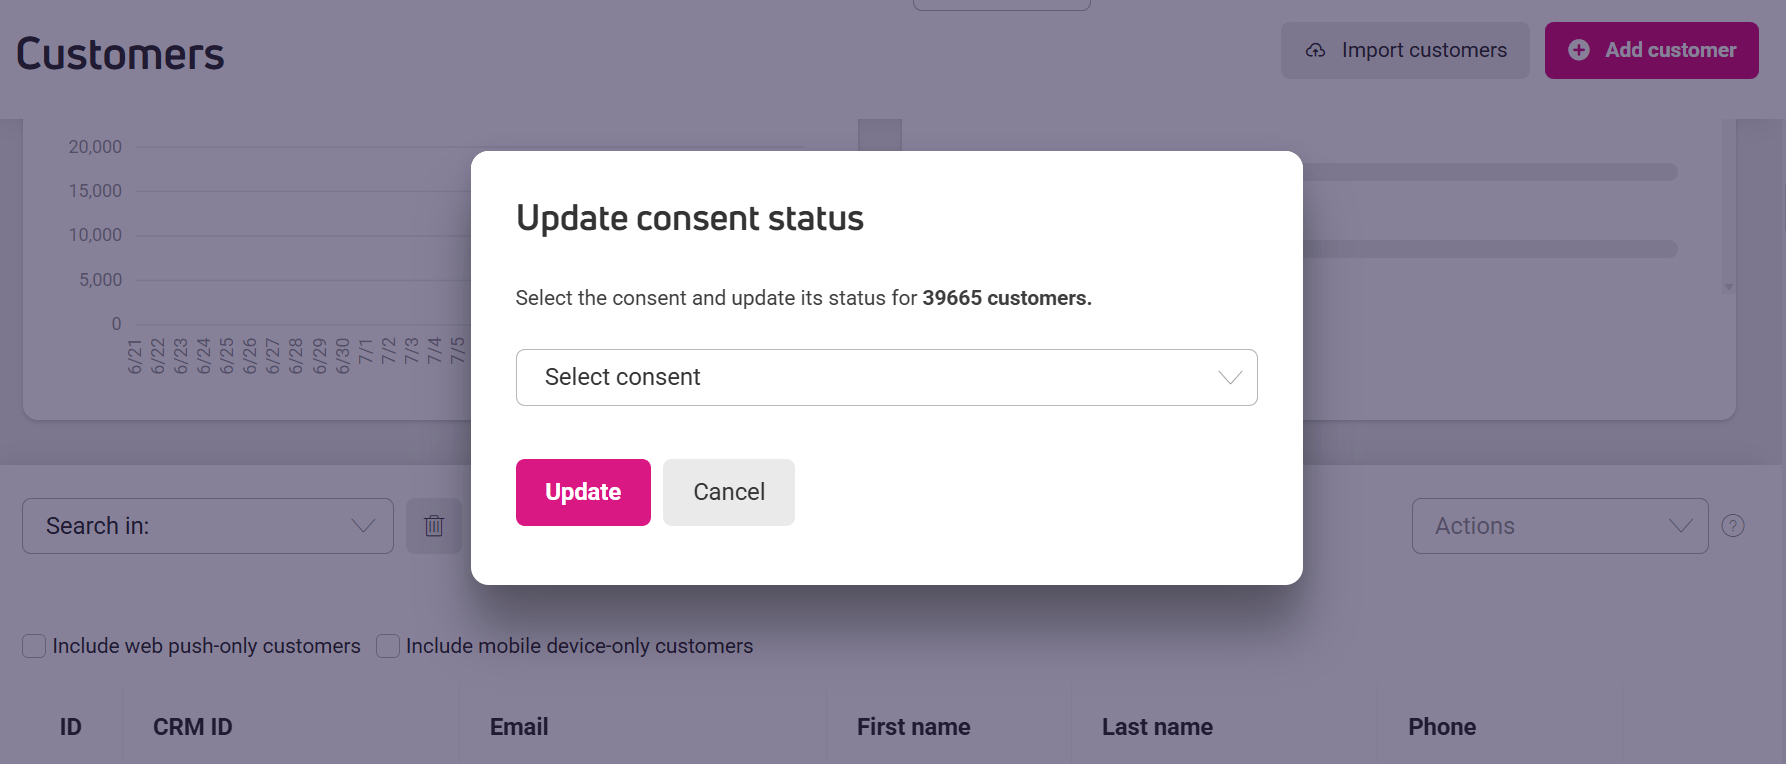
- Update through customer dashboard – the consent status changed as a result of a consent update performed on a large set of customer data in the Customers dashboard.


- API – the consent status was updated via the API using the POST /customers method.
- Web push opt-in – the customer agreed to receive web push notifications from your website.
- Scenario – the consent status changed while the customer was going through a scenario.
- Visitor recognition – the consent status changed when a visitor to your website was recognized by our script as an existing customer.
Mobile devices
The last section is Mobile devices – information about the devices belonging to a given customer that have your app installed. A single customer can have multiple devices assigned. The device data we display includes:
- App name
- Operating system icon
- Device status – active or inactive
- Token
- Device brand and model
- In the device details, you will find:
- the activation date, i.e., when your app was installed on the device
- the deactivation date and its reason:
- Duplicate customer – this profile was recognized as a duplicate of an existing customer in the database, so the device data was moved to the original profile and this one was deactivated.
- Unsubscribe – the customer uninstalled the app.
Customer 360 – timeline
In the panel on the right, you can track the customer’s activity on your website. There you’ll find historical data, e.g., consents granted for contact, as well as a record of the customer’s real-time activity, i.e., while they are browsing your website.
Activities are displayed as separate tabs. Each one contains the name of the event, the name of the business unit (e.g., a website or store) where the action was recorded, and the time it occurred. The time is updated continuously to better illustrate the customer’s journey through your website. This lets you, for example, track how much time passed between the customer adding products to their cart and placing the order.
Tabs showing real-time events are marked as Live. On the tab, you’ll also see the continuously updated address of the subpage the customer is currently on.
At the bottom edge of the tab, there’s an arrow – click it. There you’ll find a list of all the actions the customer performs on your website during the observed period. The most recent actions are shown at the top.
When the customer completes a purchase, the tab loses its Live marking and gains a green cart icon labeled Order. This is a sign that the customer’s journey has ended. Despite the change in the tab’s status, you still have access to all its stages – just click the arrow at the bottom edge of the tab, as mentioned above.