Integrating your online store with ExpertSender CDP
This guide walks you through connecting your online store with ExpertSender CDP. You’ll learn how to track customer activity and send both historical and current customer and order data to the platform.
Here’s what the integration process looks like:
- Add our tracking code to monitor customer activity in your store.
- Set up the customer information your platform needs – attributes and consents.
- Import your existing customer database.
- Set up automatic customer data collection using API, ExpertSender CDP forms, or form scraping on your website.
- Import your historical order data.
- Configure automatic order data transfer through API or tracking script.
Follow these steps to get the most from your marketing efforts from day one with ExpertSender CDP.
Tracking website traffic
Tracking website traffic lets you continuously send customer data to our platform. To make this happen, you need to add our tracking code to your website.
Installing the tracking code on your store’s website
Installing our tracking code is straightforward. You can handle it yourself or ask your IT team for help.
If you want to install the code yourself, we recommend using Google Tag Manager:
- Log into your ExpertSender account.
- In the left panel, go to the Settings > Web Tracking.

- In the last column, find and click the Tracking Code icon.
- Copy the code or download it as a text file.

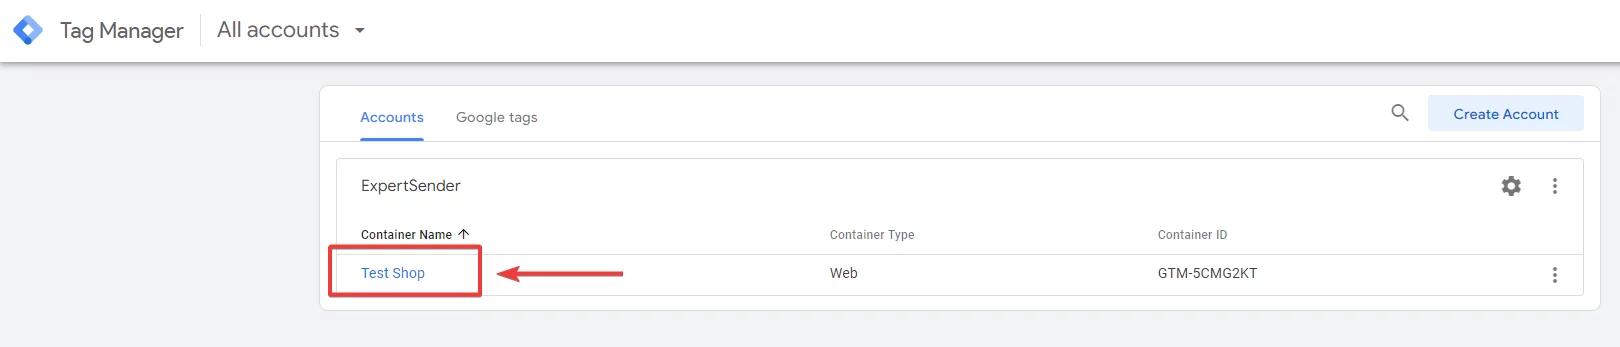
- Log into Google Tag Manager.
- Navigate to the container connected to your website.

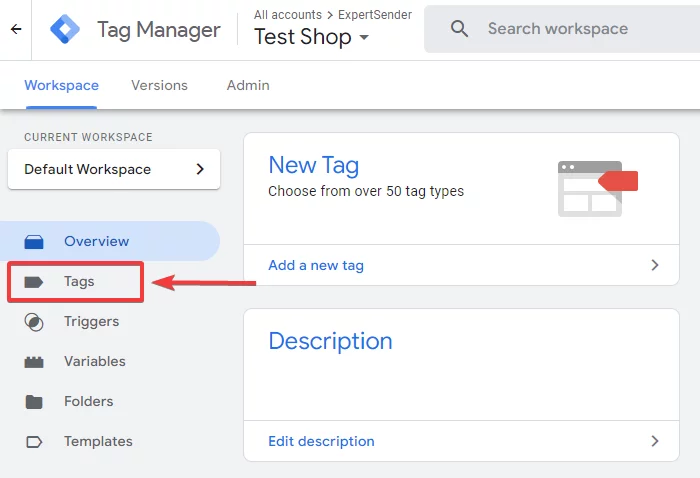
- Go to Tags tab.

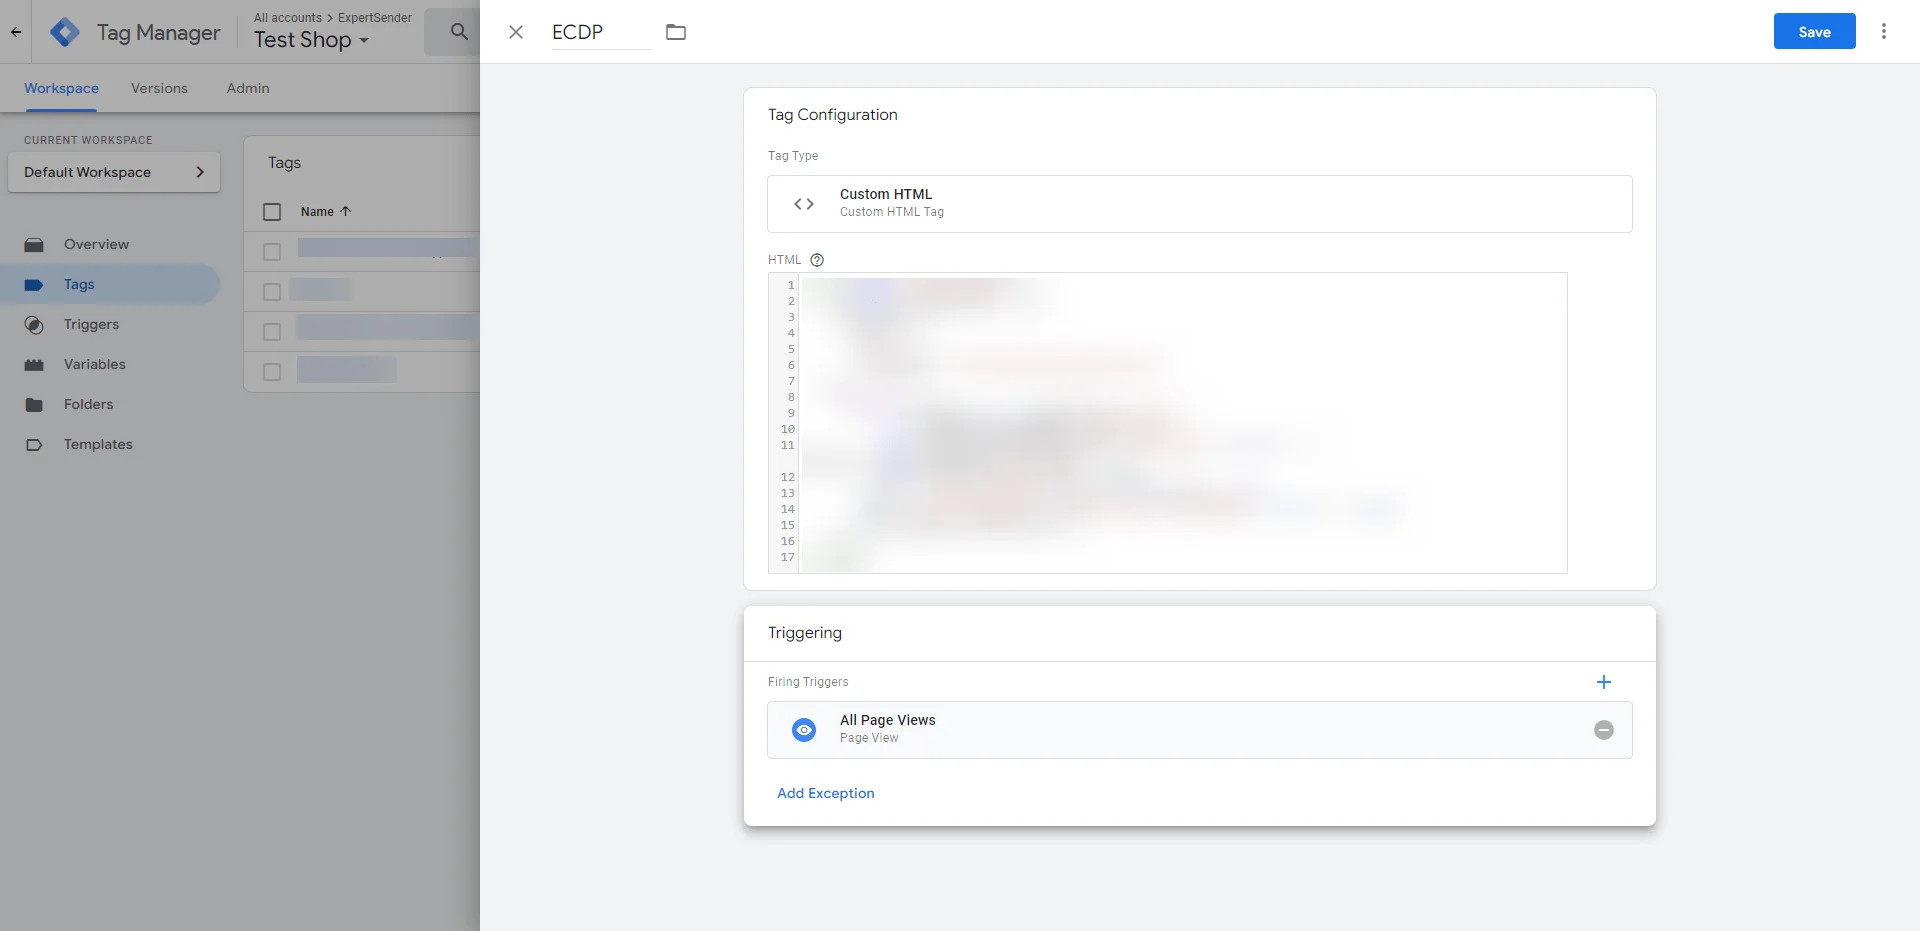
- Click New to create a new tag.

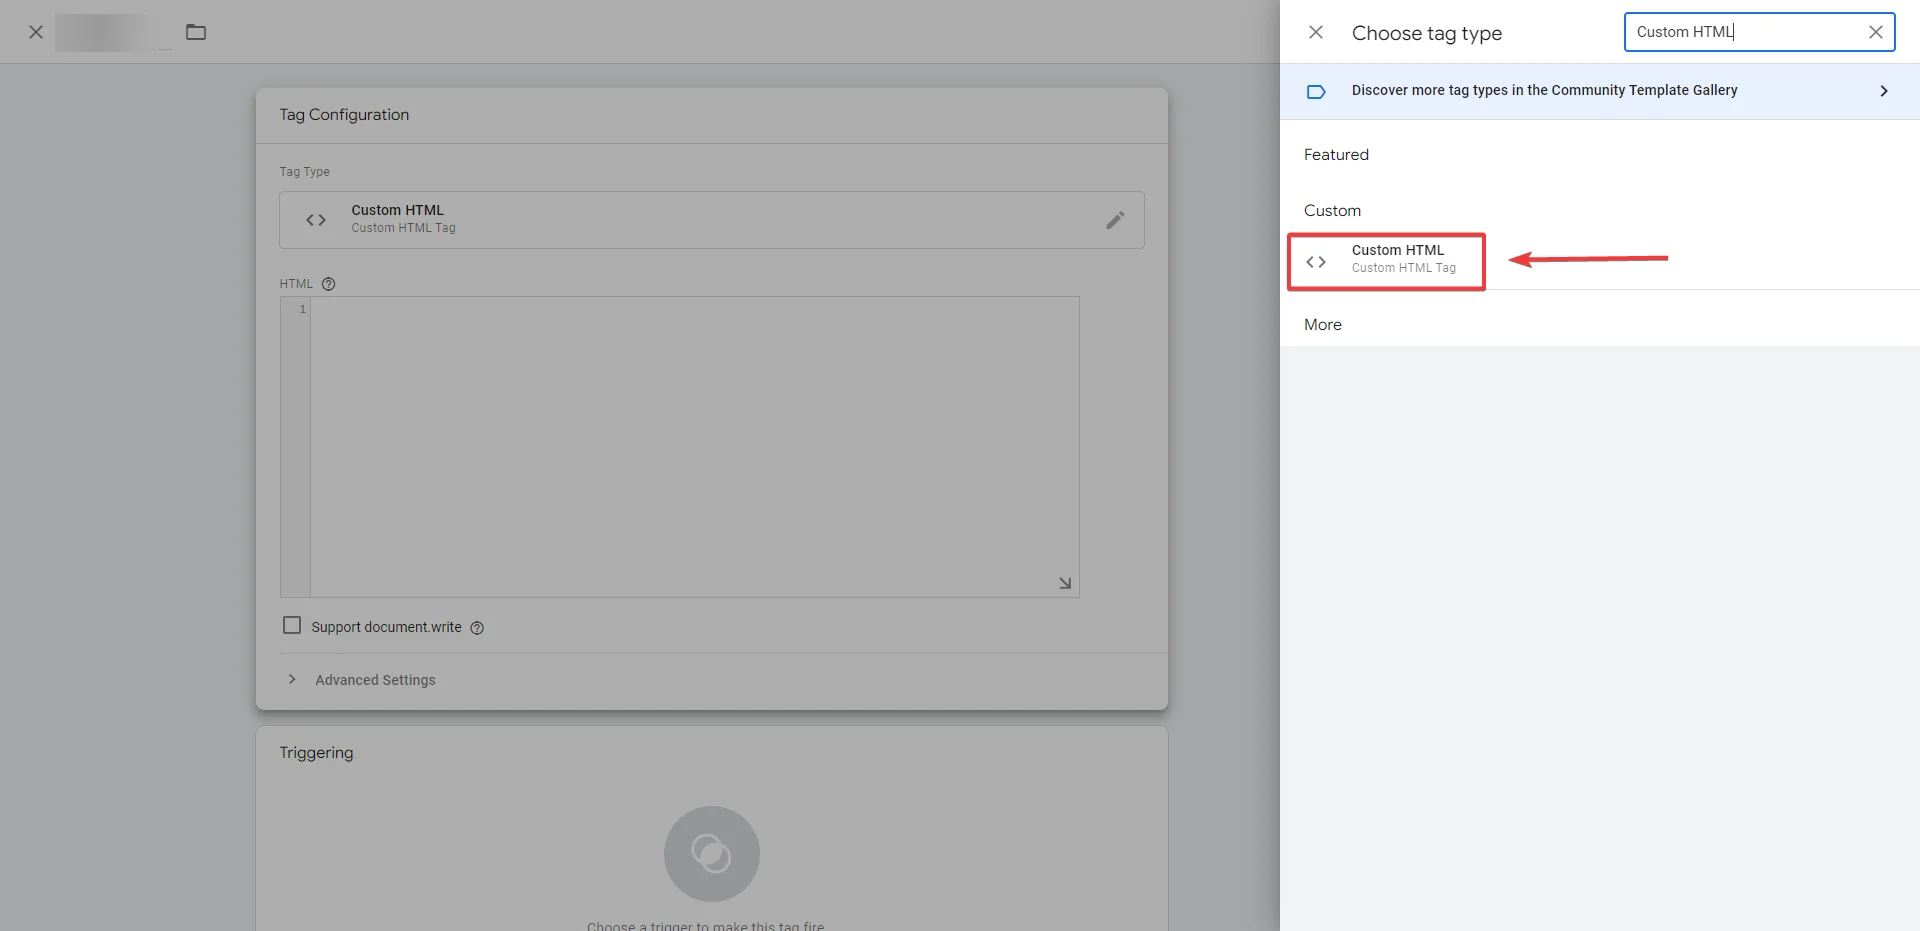
- Name your tag, for example, ‘ExpertSender tracking code’, and click the Tag Configuration section.
- Select Custom HTML.

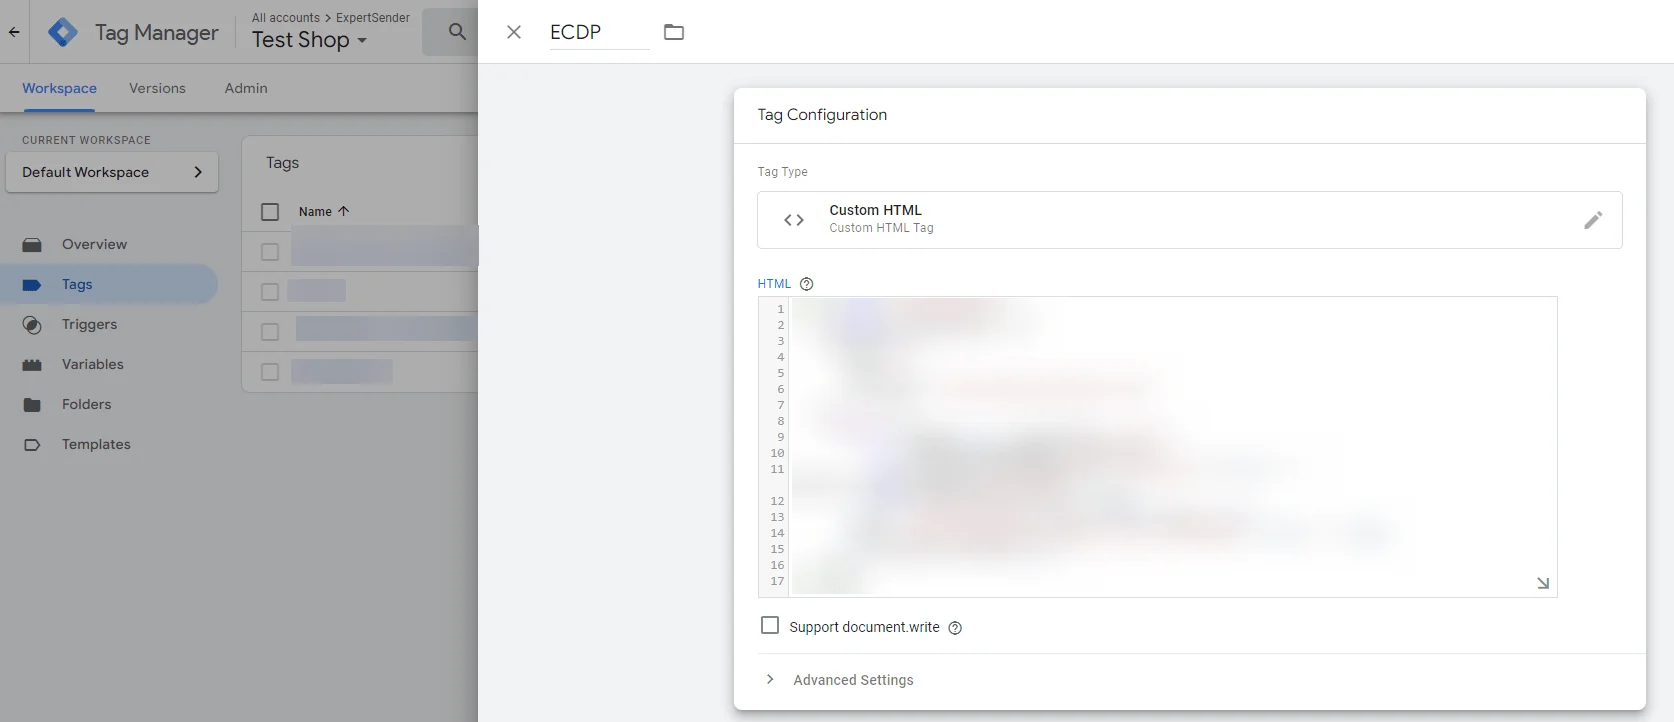
- In the HTML section, paste the tracking code you copied from our platform.

- Save your changes.
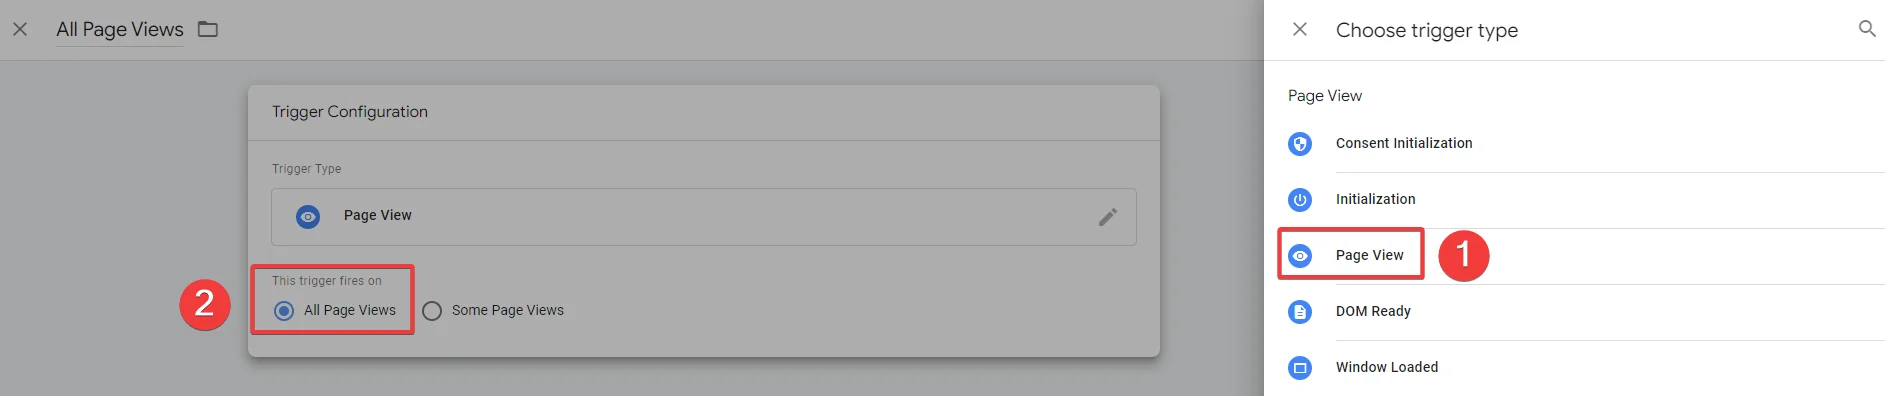
- In the Rules tab, set when the ExpertSender code will run on your website.
- Select the Page Views rule and then select All Pages. This makes the code run on every page of your website.

- This is how the properly configured tag looks like:
- Save your changes.
- Test that the code works correctly – click Preview in the top right corner.
- Visit your website and do something, like adding a product to your cart.
- Return to the preview window and verify that your tag has been called.
- Close the preview window and click Publish.

If you don’t use Google Tag Manager, you have two other options:
Necessary customer information
Here’s what customer information you need in ExpertSender CDP to use the platform effectively.
Customer attributes – system and non-standard
We use system attributes to store customer data in the platform. You can find the complete list here: Customer system attributes.
You don’t need to import every attribute on the list. We only require the ones that help us identify customers in both the platform and your store. You can enter this data in the Settings > Customers section.
If you group and segment your customers by attributes beyond our the system ones, you can add them to the platform following this guide: Adding custom attributes.
Marketing consents
Marketing consent is the foundation of customer communication. Consents can vary by channel – email, SMS, or web push. Each customer can have multiple contact consents in the platform. What matters most is that customers give these consents knowingly.
Learn how to add consents to the platform in this article: Adding consents.
Billing terms for using ExpertSender CDP
You need to specify exactly what marketing consents each customer has given. This is essential for using the platform properly.
It’s also how we calculate your billing – we only count customers who have given at least one marketing consent. Keep this in mind when processing data in the ECDP system.
How to submit customer information to ExpertSender CDP?
Importing existing customer data
Start your integration by importing customer data from a file containing your current customer database.
This feeds the platform with customer information and unlocks all platform features.
To learn about the import process, read this article: Import and export of customer data.
Setup current customer records
After importing customer data, connect the platform with your online store so new customer registrations (newsletter signups, account creation) automatically go to ExpertSender CDP.
We offer 3 ways to send current records to the platform:
- API.
- Forms created in ExpertSender CDP.
- Scraping forms on your website.
We explain these methods in detail here: Automating customer data transfer from signup forms.
Following our instructions ensures smooth website integration with our platform, which means better customer data management and more effective marketing.
Sending order information
Just like with customer data, our platform lets you build a database of orders from your online store. You can then use this data to create advanced product recommendations and engaging marketing campaigns.
Before you accumulate enough current orders in our platform, we recommend:
- Adding order and product attributes to the platform.
- Importing existing order data from your online store.
Order and product attributes
Before importing order data, enter your product and order attributes into the platform. This will improve data import, facilitate customer segmentation, personalization of communication and RFM analysis.
If you collect order data other than the system data, you can add it to the platform as described in the article: Order system attributes.
If you collect order data other than the system data, you can add it to the platform as described in the article: Creating custom order and product attributes.
Import of historical order data
Import historical orders from a file. How many orders should you import? Ideally, all orders from the last 1–2 years.
Since orders often contain numerical values in different formats (amounts, product quantities), prepare your file according to these guidelines: How to prepare an order file for import?
Configuration of submitting current orders #
After importing data, configure the platform’s connection to your online store to send information about current orders.
We provide two methods for submitting orders to ExpertSender CDP:
Method 1 – API #
Method description: Sending order data via API is the most precise integration method. It transfers data directly from your store, letting ExpertSender CDP track order details and status changes like returns or cancellations.
Scenarios supported by API: We recommend implementing API queries that support creating new orders, canceling orders, and processing full or partial refunds.
Each scenario requires sending specific information to ExpertSender CDP. Find more details here: Orders – API methods.
Method 2 – Tracking Script #
Method description: An alternative way to add current orders to the platform is using a script that tracks traffic on your website. This script automatically sends orders to the platform.
Method limitations: This script collects information from your website’s front-end, which means it can’t access your online store’s back-end. It can’t send information about returns or order cancellations – only API supports these features.