How to add an unsubscribe link to your emails?
Adding an unsubscribe link to your emails is both a legal requirement (like GDPR in Europe) and a best practice in email marketing. It empowers customers to manage their communication preferences while maintaining their trust in your brand.
The unsubscribe link should direct customers to a page confirming their successful newsletter opt-out. You can redirect your customers to such a page in your online store, or use the built-in solution in ExpertSender CDP.
Before adding unsubscribe links to your emails, set up the landing pages in the platform where customers will be directed after unsubscribing.
Landing pages – where does your unsubscribe link lead?#
Using the unsubscribe link, you can redirect recipients to:
- Your landing page, e.g., www.yourstore.com/unsubscribe-page. You can add it to the platform before or during message creation.
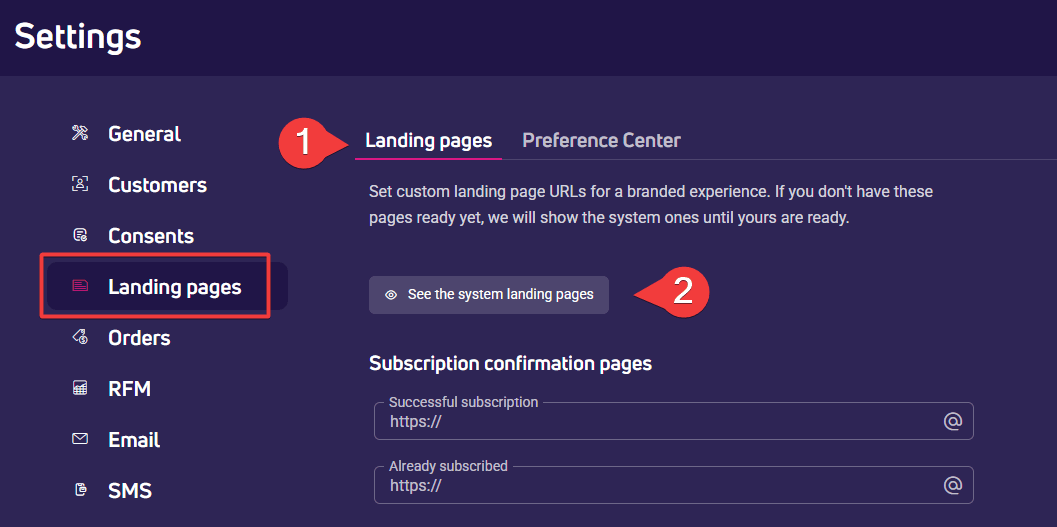
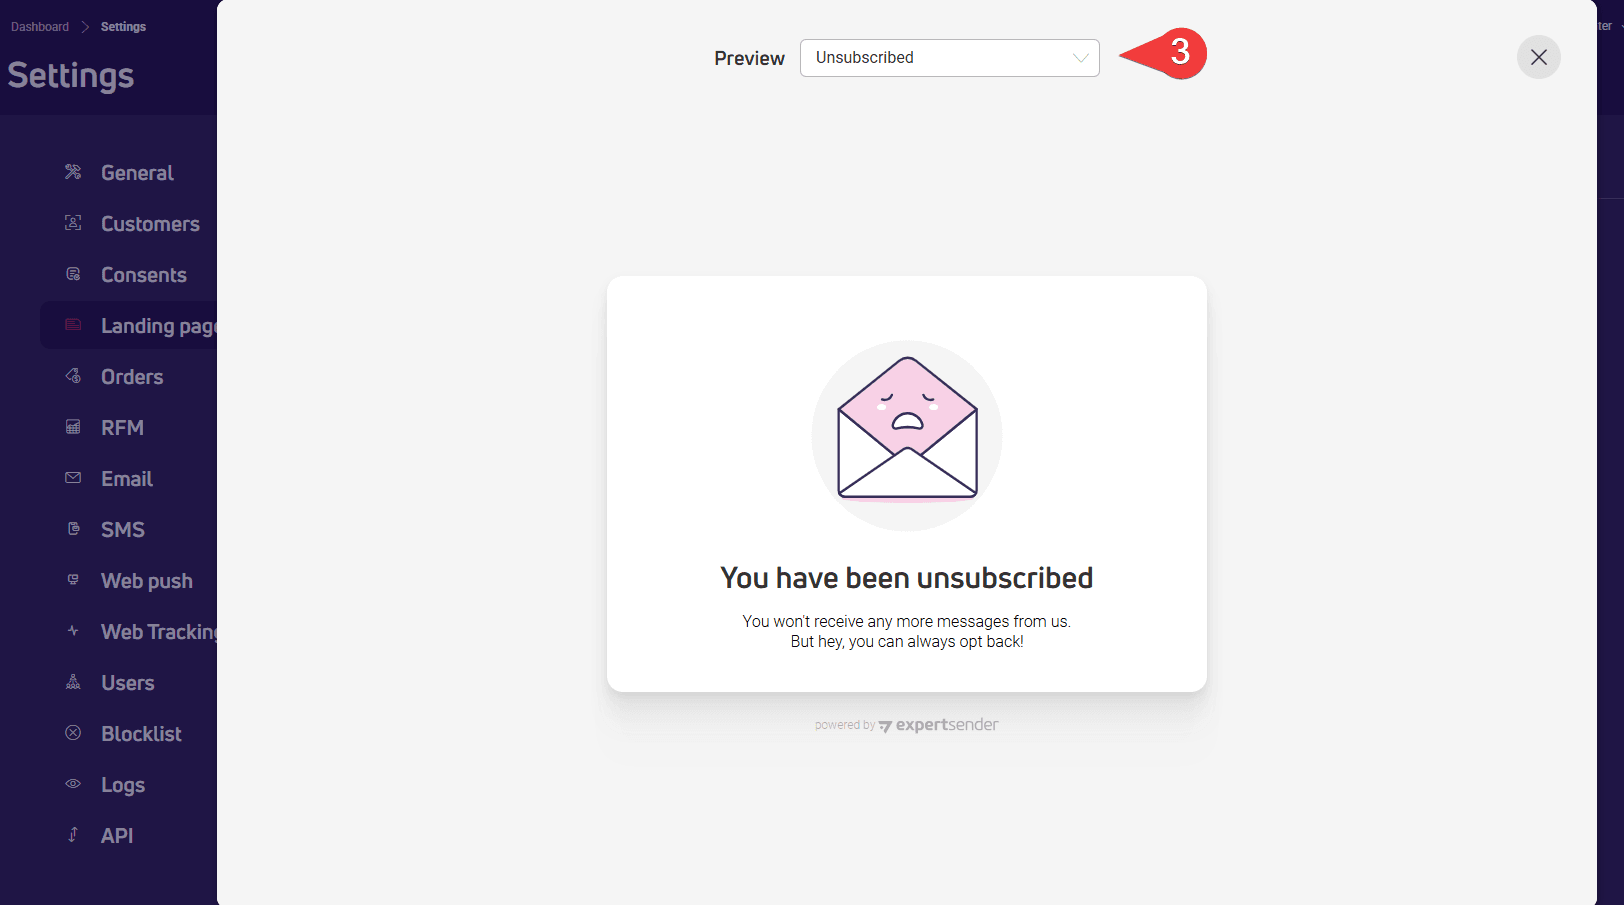
- System landing page available in the platform. Use this if your store’s landing page isn’t ready yet.
You can add custom landing pages in two places within the platform:
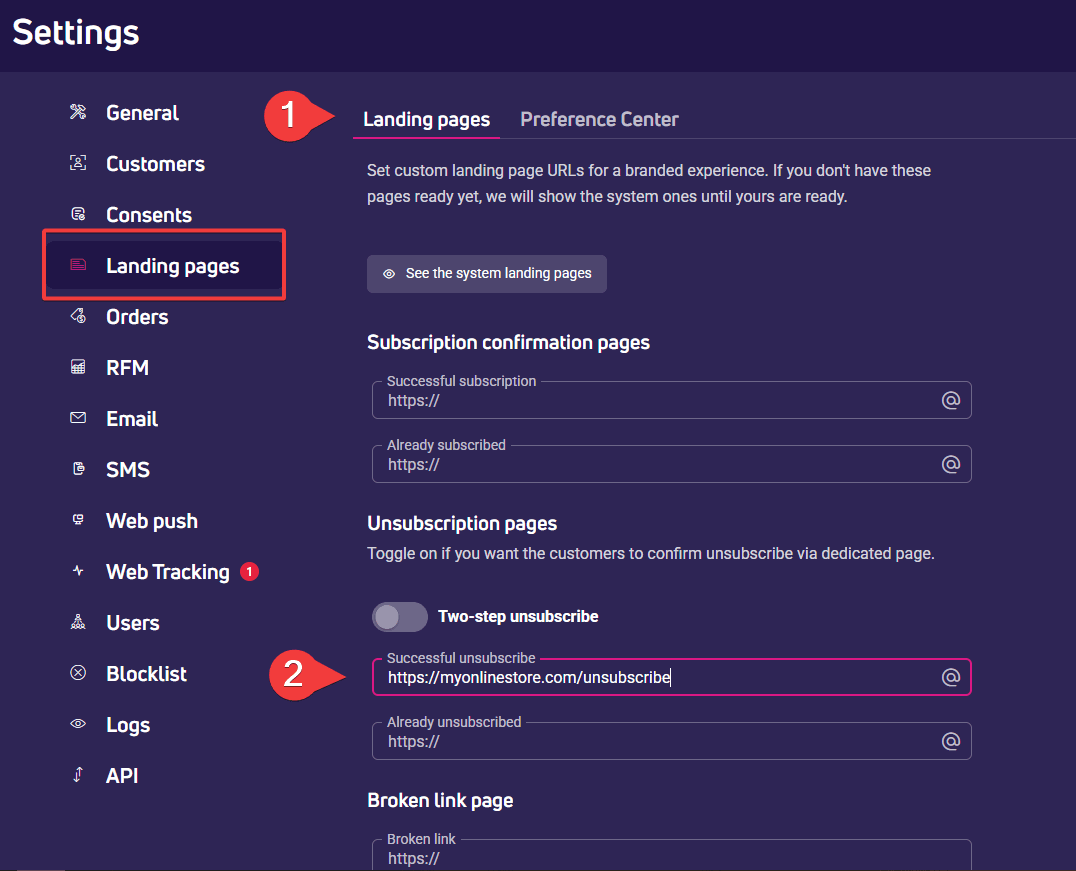
- In Settings, under the Landing pages section. Look for the Unsubscribtion pages part. Paste the URL of the page you typically use in such situations. Do this before creating messages to avoid repeatedly adding the address in the message editor.
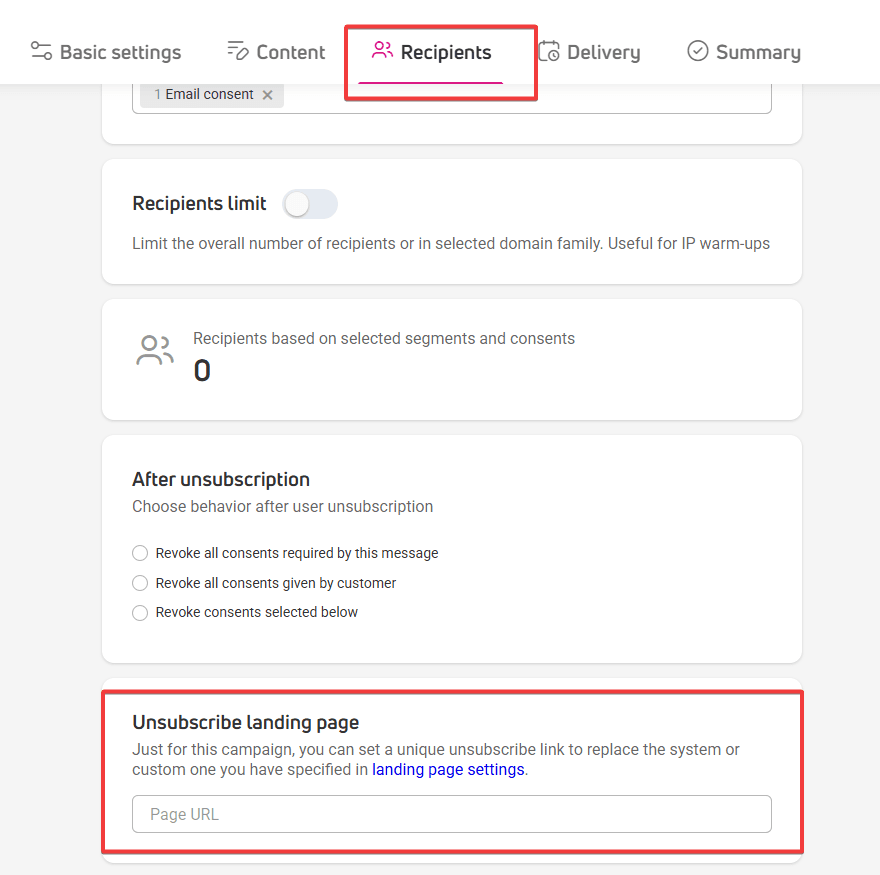
- In the message editor. Go to the Recipients step, to the Unsubscribe landing page section. You can insert a unique landing page address created specifically for this single message (or entire campaign).
Why should I add a landing page in the editor if it’s already been added in Settings?
This relates to the order in which we direct recipients.
Adding landing pages in both places isn’t mandatory but can be useful from a marketing perspective.
Our order of operations is as follows:
- First, we direct unsubscribing recipients to the landing page added in editor > Recipients > Unsubscribe landing page.

- If you leave that field empty, we’ll redirect unsubscribing recipients to your standard page added in Settings > Landing Pages > Unsubscribtion pages.

- If you include an unsubscribe link in your message, but we don’t find landing page addresses in either of the above locations, we’ll redirect recipients to the system page.


How to add an unsubscribe link to an email?
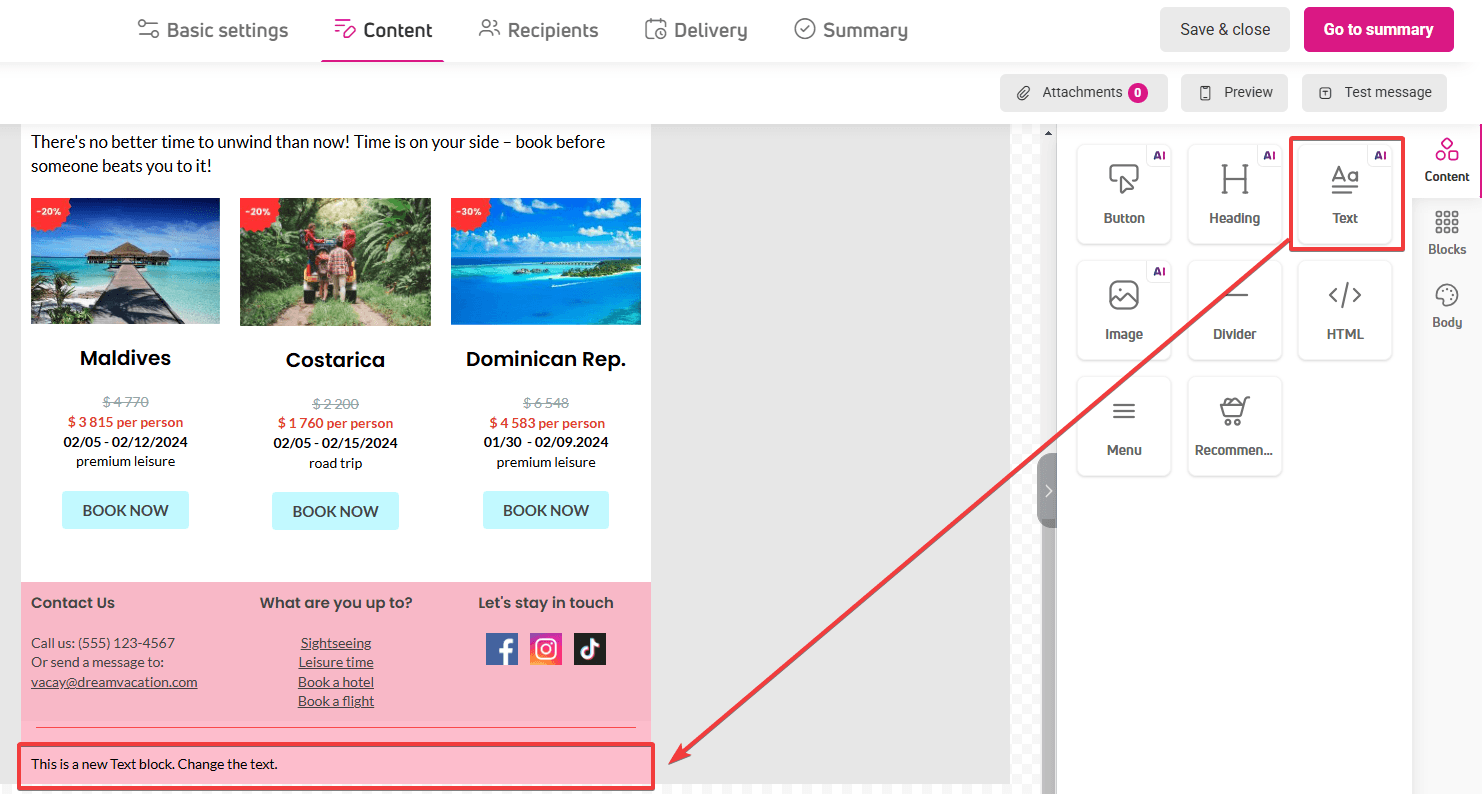
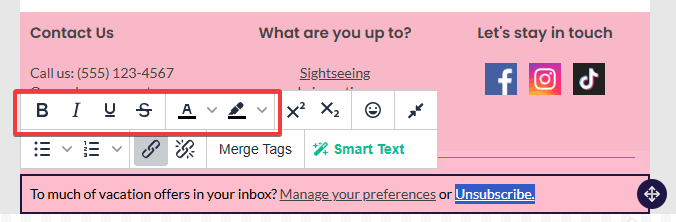
In most newsletters, the unsubscribe link looks similar – as an underlined call to action in a… link color.
You can add such a link easily in the content editor.
- Drag the Text block to the workspace.

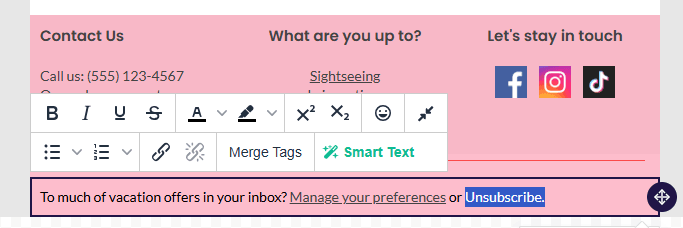
- Type the text that will be linked, e.g., Unsubscribe and select the text.

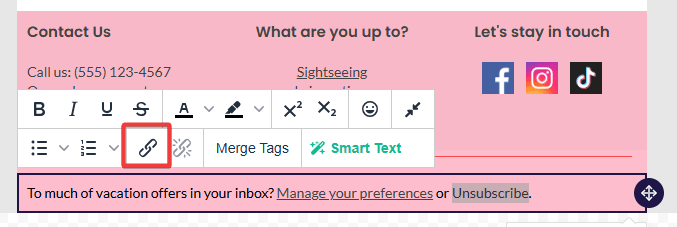
- In the contextual menu visible below the text, click the Insert/edit link icon.

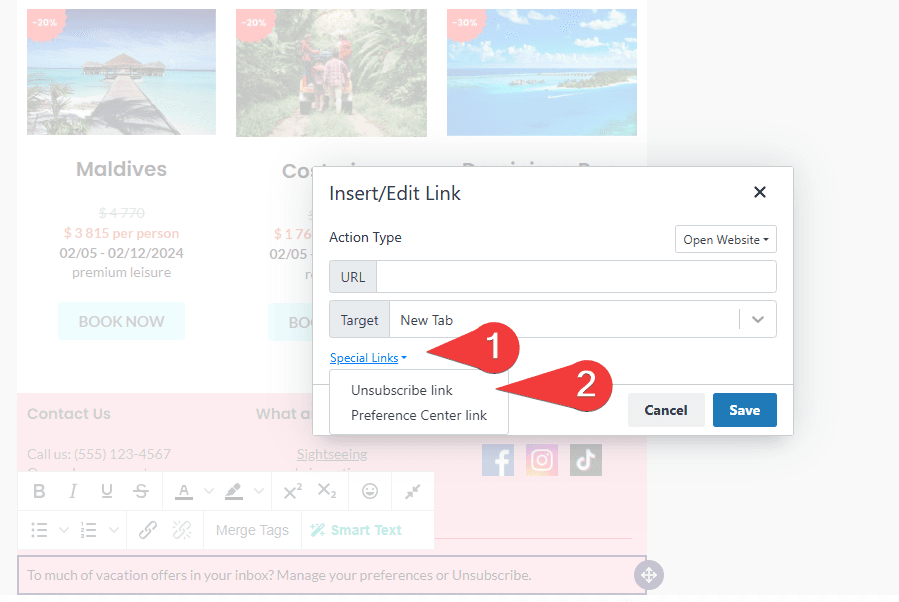
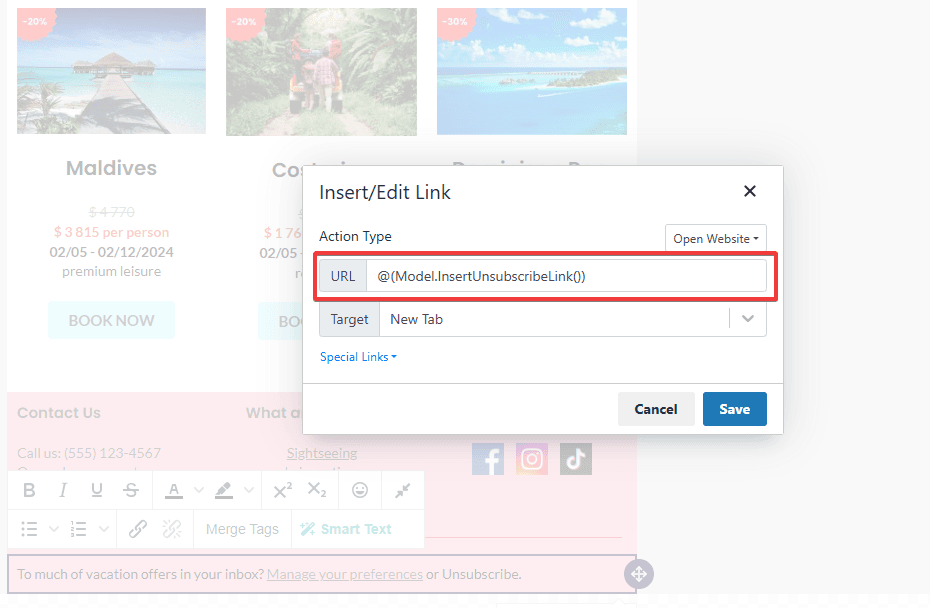
- A window with link settings will appear.
- Click Special Links and select Unsubscribe link.

- A dynamic content will appear in the URL input field. When the link is clicked, it will automatically redirect the recipient to the unsubscribe page.

- Save the settings.
- If you want to edit the link’s appearance, select the text again.
- Choose the link color and underline in the contextual menu.