How to add discount codes?
u can easily add discount codes to your email messages created in email editor. This can be done using the dynamic content feature, which allows you to personalize your email messages by inserting the recipient’s name or including unique promo codes.
To add discount codes to your email message, choose one of the following options for dynamic contents:
- Use discount code – @(Model.UseDiscountCode(discountCodeSetId)) – use this when adding discount codes that have been uploaded to ExpertSender CDP.
- Get remote content – @(Model.GetRemoteContent(“url”, boolIsUnique)) – use to add discount codes hosted externally, e.g., on your server.
You can access dynamic contents from the email editor while working on your newsletter by following these steps:
- Go to Content tab.
- Add a text block to your working space.
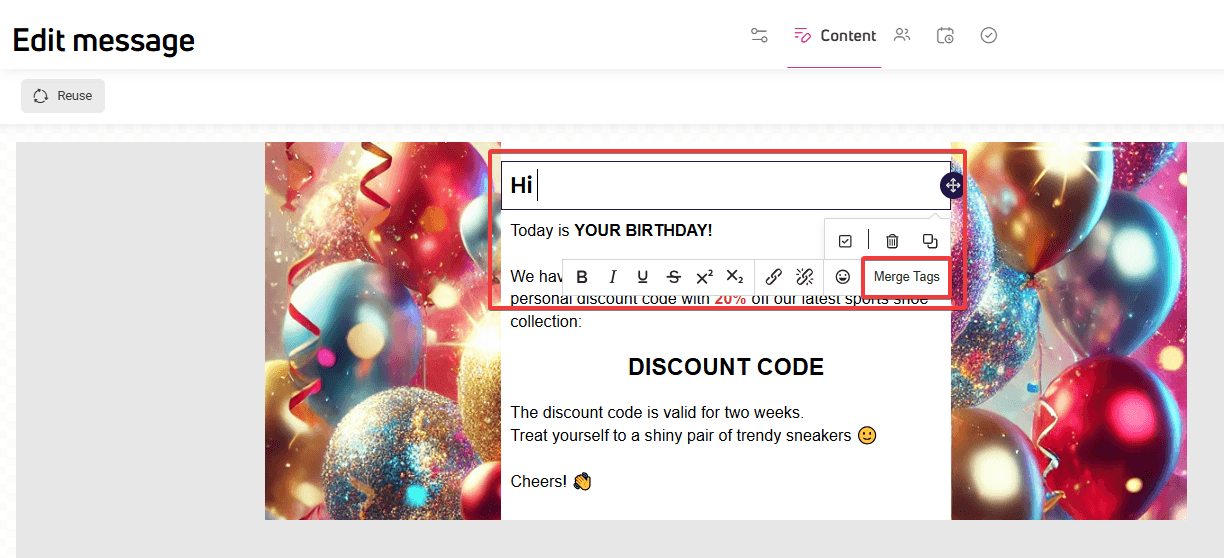
- Enter your message and click it. An edit menu appears above the working space.
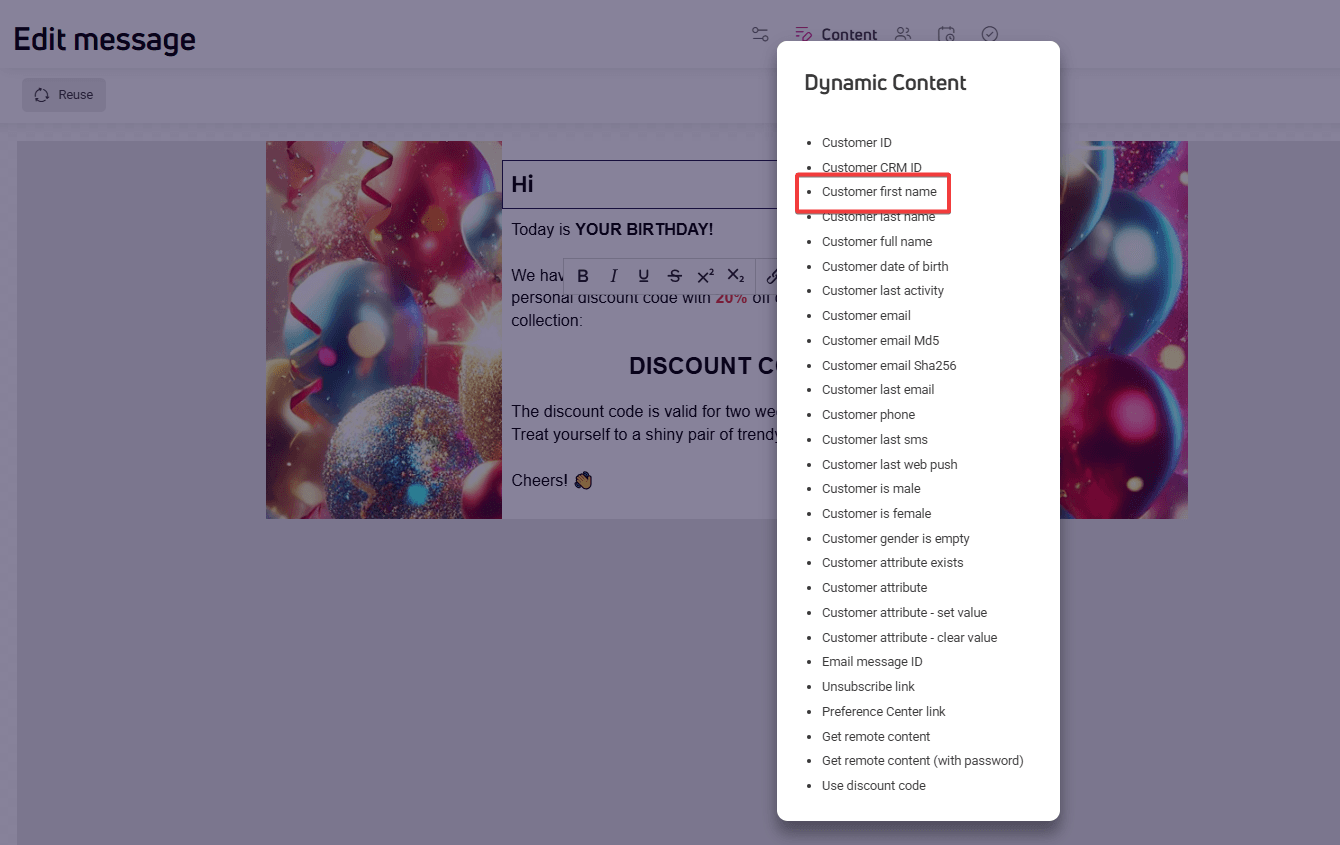
- Click Merge tags. A pop-up window appears with a list of dynamic content.
- Click on a respective dynamic content for your message.
- The chosen dynamic content is inserted in your message.
You can style the dynamic content to make it fit your newsletter design.
Use case #1: adding discount codes uploaded to ExpertSender CDP
Suppose you want to send a discount code to your regular customers on their birthdays. Before starting the campaign, make sure to:
- Create a discount code set in the platform.
- Upload all the birthday promo codes for this campaign to the created set.
Now, create the email message using the following example:
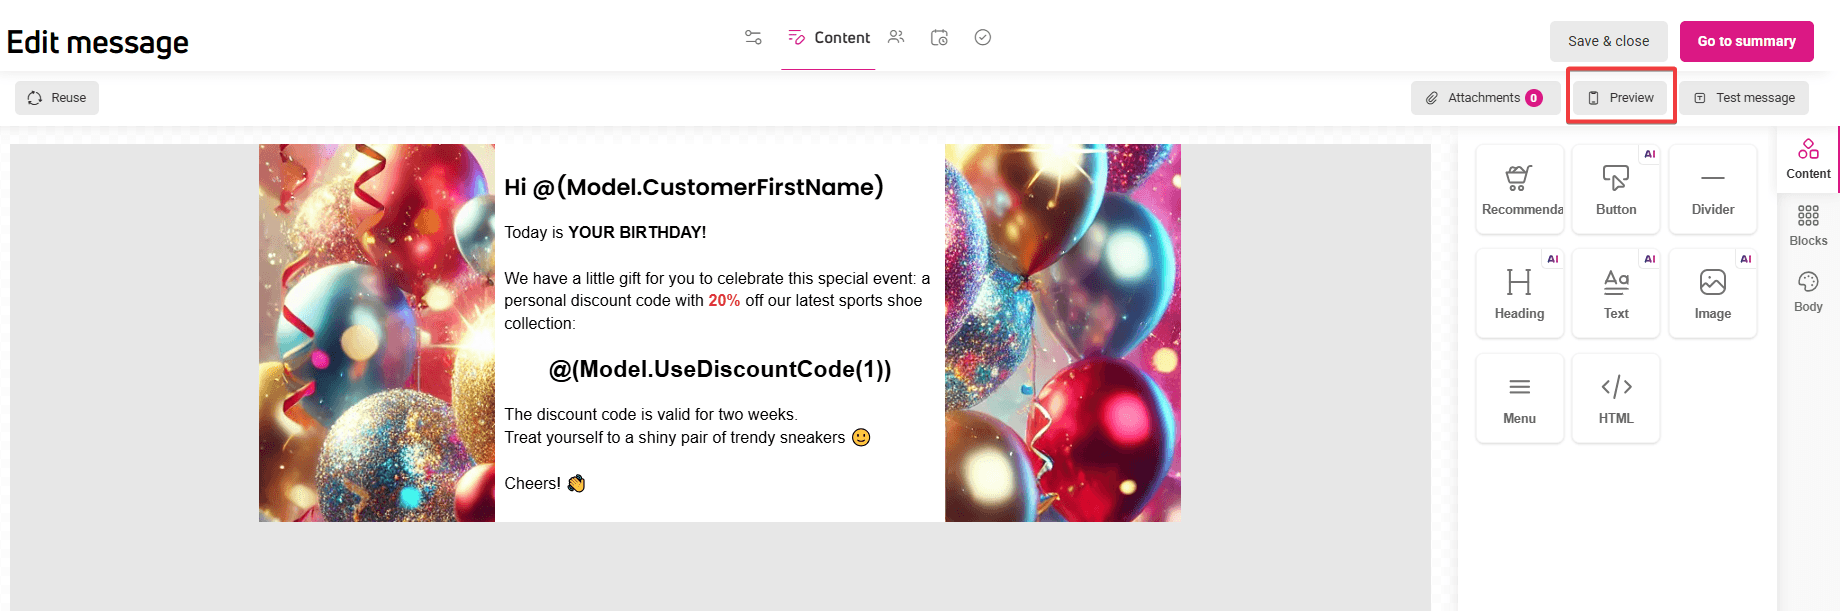
Hi! Today is YOUR BIRTHDAY!

We have a little gift for you to celebrate this special event: a  personal discount
code with 20% off our latest sports shoe collection:
@(Model.UseDiscountCode(2))

The discount code is valid for two weeks.

Treat yourself to a shiny pair of trendy sneakers

Cheers!
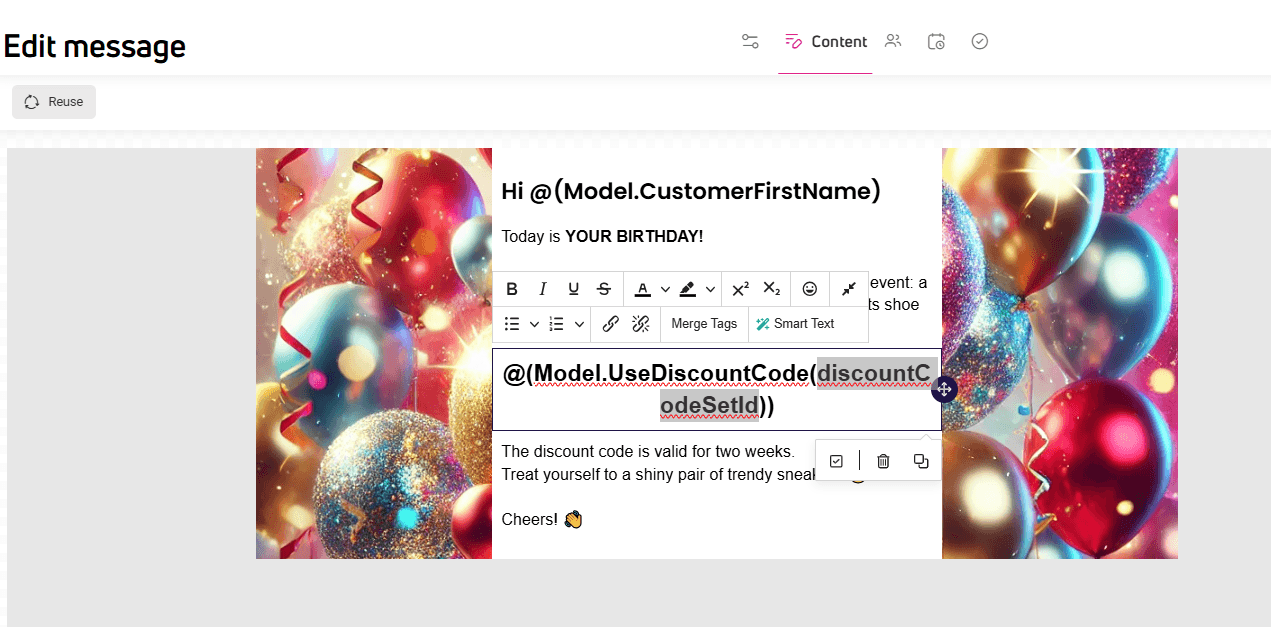
In this example, we used the dynamic content called Use the discount code: @(Model.UseDiscountCode(discountCodeSetId)).
When the customer opens this email, the dynamic content will be replaced with the first available promo code from the set you have created for this purpose.
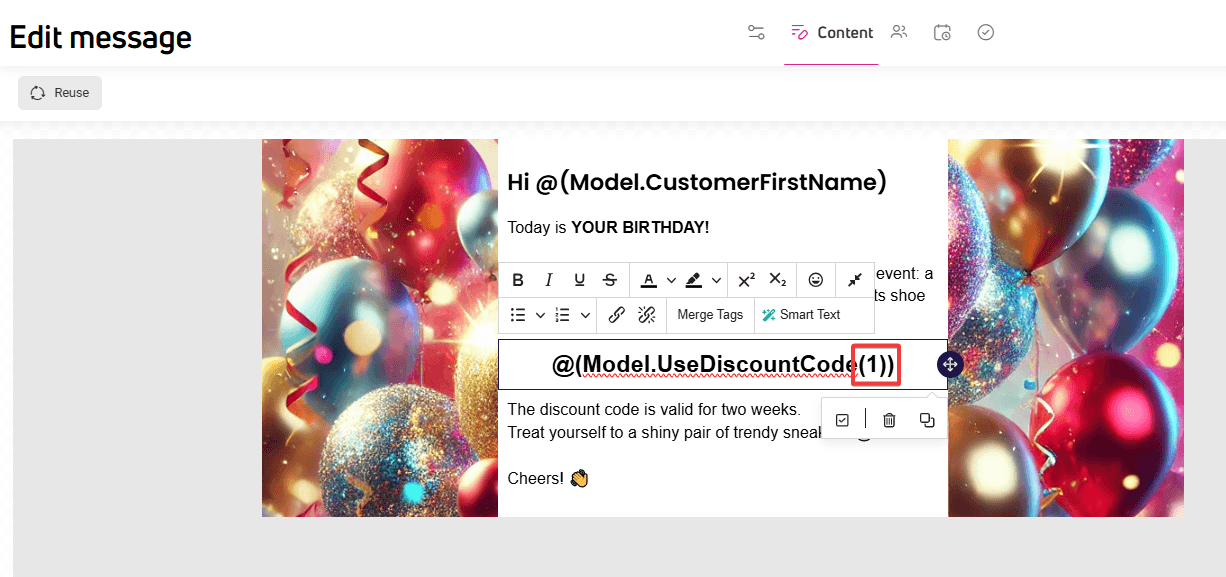
To make it work, replace the discountCodeSetId fragment with the ID of the discount code set. In the example, we did it with code set ID 2. It should look like this: @(Model.UseDiscountCode(2)).
Using an email example, we’ll show how to add a birthday discount code:
- In the editor, in the Content step, add the message you want to send to customers.
- Personalize the message by adding dynamic content that displays the customer’s name.

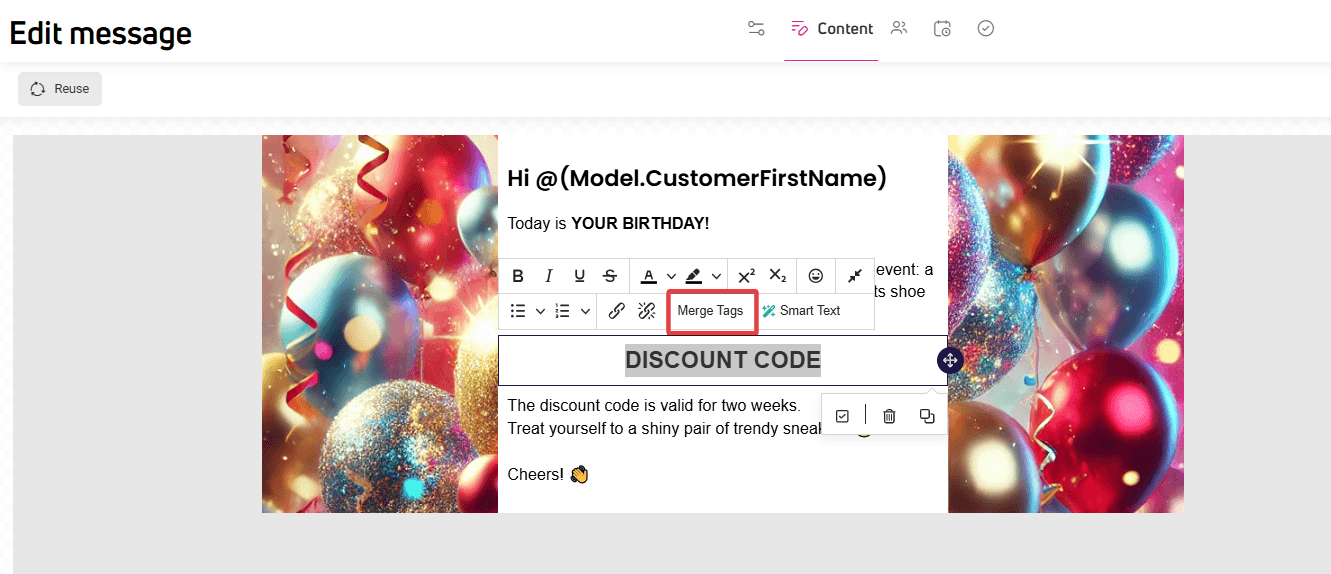
- Select Customer first name from the list. A script fragment will be automatically replaced with the recipient’s name when the email is opened.

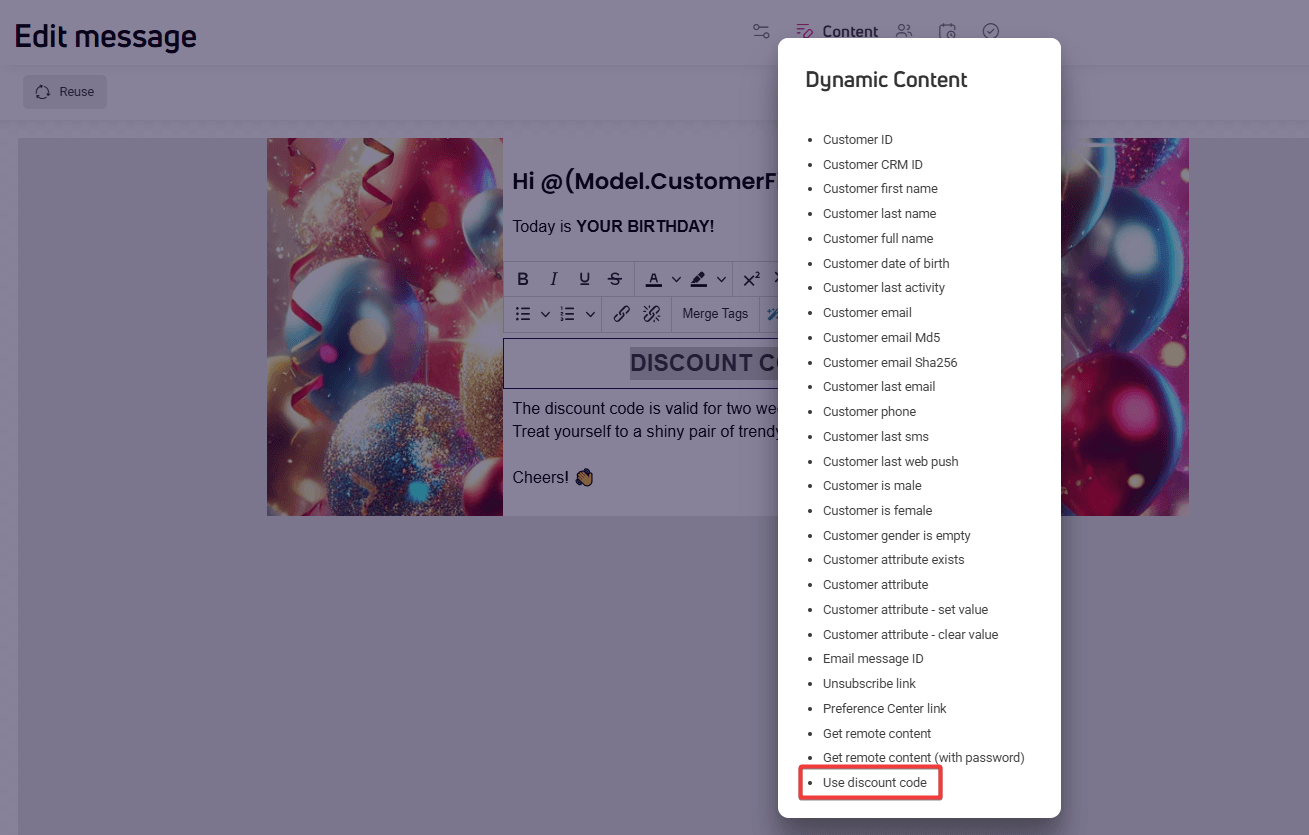
- In the spot where you want to insert the discount code, add the dynamic content Use discount code.


- Replace the discountCodeSetId fragment with the ID of the discount code set you want to pull the code from.


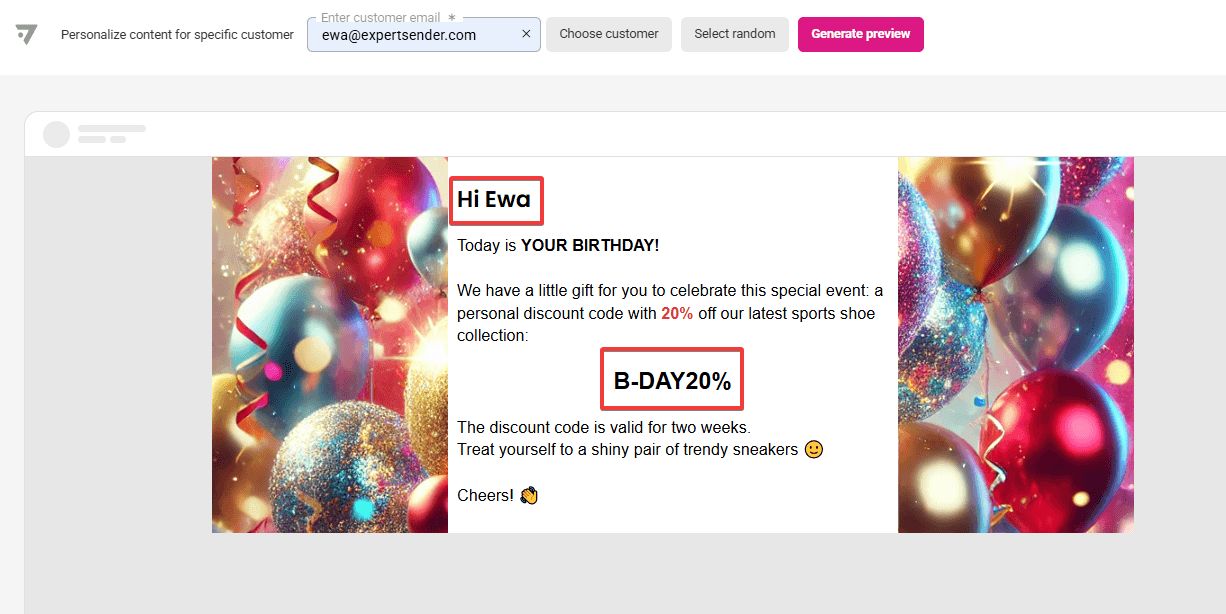
- Check how the message will look when opened:
- Click Preview in the top toolbar.

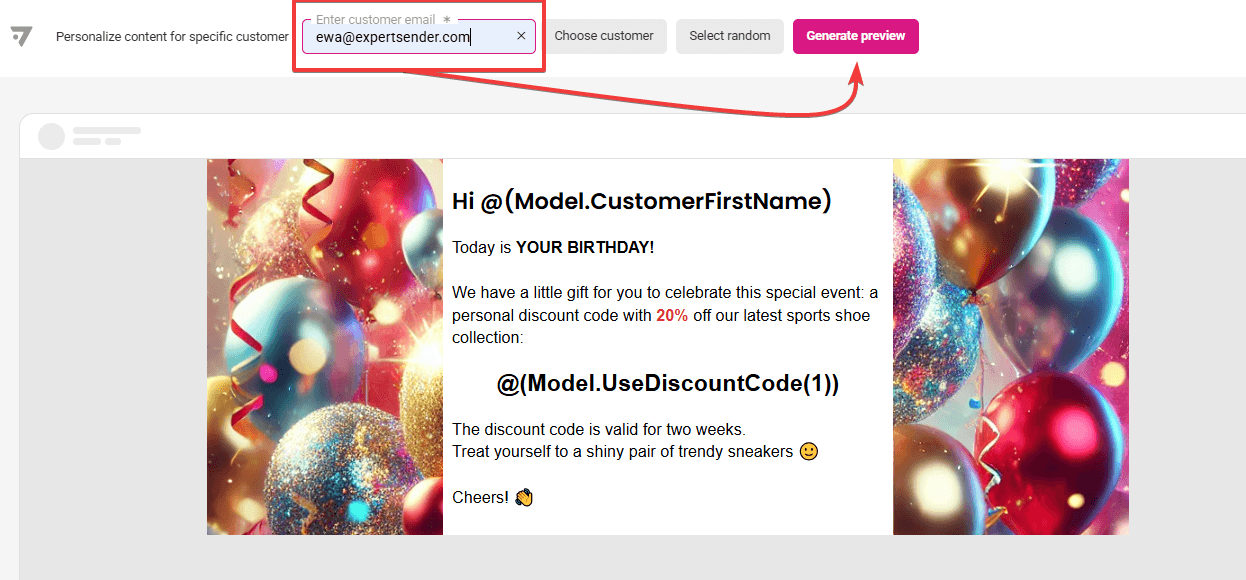
- Enter a test email address or choose customer data from your database.
- Click Generate preview.

- Dynamic content will be replaced with actual data.

- Click Preview in the top toolbar.
Use case #2: adding discount codes hosted on your server
This time, you want to include the discount codes hosted on your server in the email. To do that, you need to use the dynamic content called Get remote content and Get remote content (with password).
Get remote content
Once you select Get remote content, a following string will appear: @(Model.GetRemoteContent(“string url“, boolIsUnique)). Adjust it to display the content you want:
- Replace “string url” with the link where the content is available, e.g., discount codes.
- Replace boolIsUnique with true if each recipient should receive a unique code.
- Enter false to enable caching for 6 minutes, during which all recipients will receive the same code.
Here is an exemplary email message:
Hi! Today is YOUR BIRTHDAY!

We have a little gift for you to celebrate this special event: a  personal discount
code with 20% off our latest sports shoe collection:
@(Model.GetRemoteContent("https://www.myonlinestore.com/uploads/
birthday-promo-codes-20-off", true)).

The discount code is valid for two weeks.

Treat yourself to a shiny pair of trendy sneakers

Cheers!
Get remote content (with password)#
Use Get remote content (with password) to display content that requires authentication (HTTP Basic Authentication). A following string will appear: @(Model.GetRemoteContent(“string url“, “string username“, “string password“, boolIsUnique))
Adjust it to display the content you want:
- Replace “string url” with the link to the content.
- Replace “string username” and “string password” with the login credentials if the server requires authentication (HTTP Basic Authentication).
- Replace boolIsUnique with true if each recipient should receive unique content.
- Enter false to enable caching for 6 minutes, during which all recipients will receive the same content. If you do not set the boolIsUnique parameter, it will default to false.
Here is an exemplary email message:
Hi! Today is YOUR BIRTHDAY!

We have a little gift for you to celebrate this special event: a  personal discount
code with 20% off our latest sports shoe collection:
@(Model.GetRemoteContent(''www.myonlinestore.com/seasonsale/summer_25",
 "Adam Smith", "nxewgh60#", false))

The discount code is valid for two weeks.

Treat yourself to a shiny pair of trendy sneakers

Cheers!