How to create a reminder for a confirmation message?
Reminders are follow-up messages sent a few days after someone signs up for your newsletter. They help you:
- Bring back people who were close to confirming their signup – you give them a second chance without adding pressure.
- Build relationships before the signup is complete – you show that you want them to stay informed and not miss anything. A clear, friendly reminder helps leave a good impression of your brand.
- Steadily grow your subscriber count – one well-timed reminder can lift your signup rate.
- Reduce lead acquisition costs – reminders increase chance of conversion without extra spending.
Reminders are part of the confirmation message series and you add them in the same wizard. If you don’t have a confirmation message yet, start with How to add a confirmation message to your newsletter subscription.
How reminders work in ECDP
You can create up to two reminders for each confirmation message. You add reminders manually – they’re not created automatically.
A reminder is sent when:
- The recipient didn’t click the activation link in the confirmation.
- You set a reminder with a specific time delay.
A reminder is not sent when:
- The recipient has already confirmed the signup.
- The email address is on the blocked list.
- The time set in the reminder configuration has already passed since the previous message.
- The recipient entered the double opt-in process before you configured the reminder and their time window has already passed.
Will a reminder reach people who signed up earlier?
No. Reminders count their delay from the previous message in the sequence, so they only cover people who are still within that time window.
For example: if you set the first reminder today with a 7-day delay, it will reach people who received the confirmation message within the last 7 days.
The maximum delay for each reminder is 7 days, so about two weeks after the confirmation message was sent we won’t send any more reminders. This is why it’s worth setting up reminders before you add new customers to the double opt-in process.
The confirmation link is valid for 30 days and this has no effect on reminder timing. These are two independent rules.
How to set a reminder timing
You set the delay for each reminder in relation to the previous message in the sequence. You can choose:
- Daily delays: from 1 to 7 days.
- Hourly delays: from 1 to 168 hours.
How to calculate the sending time correctly?
- The confirmation message was sent on August 2 at 12:00 PM.
- The delay for the first reminder is set to 2 days and 7 hours. It will be delivered on August 4 at 7:00 PM.
- The delay for the second reminder is set to 2 days and 14 hours after the first reminder. It will be delivered on August 7 at 9:00 AM.
We recommend setting the first reminder after 24-48 hours. It’s an effective window because the signup is still fresh in the recipient’s mind, and you give them enough time to react.
How to add a reminder
- In the side menu, go to Settings > Consents > Confirmations.
- Choose one option:
- Create new confirmation – if you’re creating a new message series.
- Edit – if you want to update an existing confirmation.
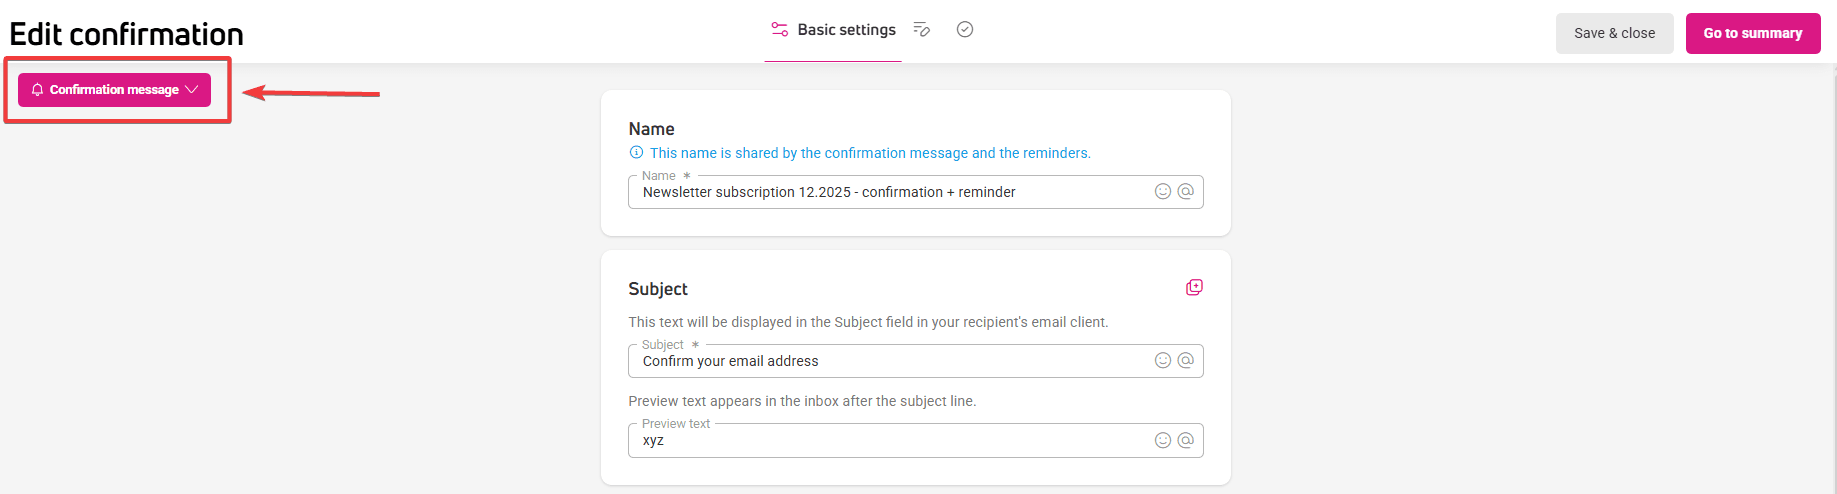
- In the editor, find the dropdown button on the left. Click it to add a reminder. You can add up to two reminders.

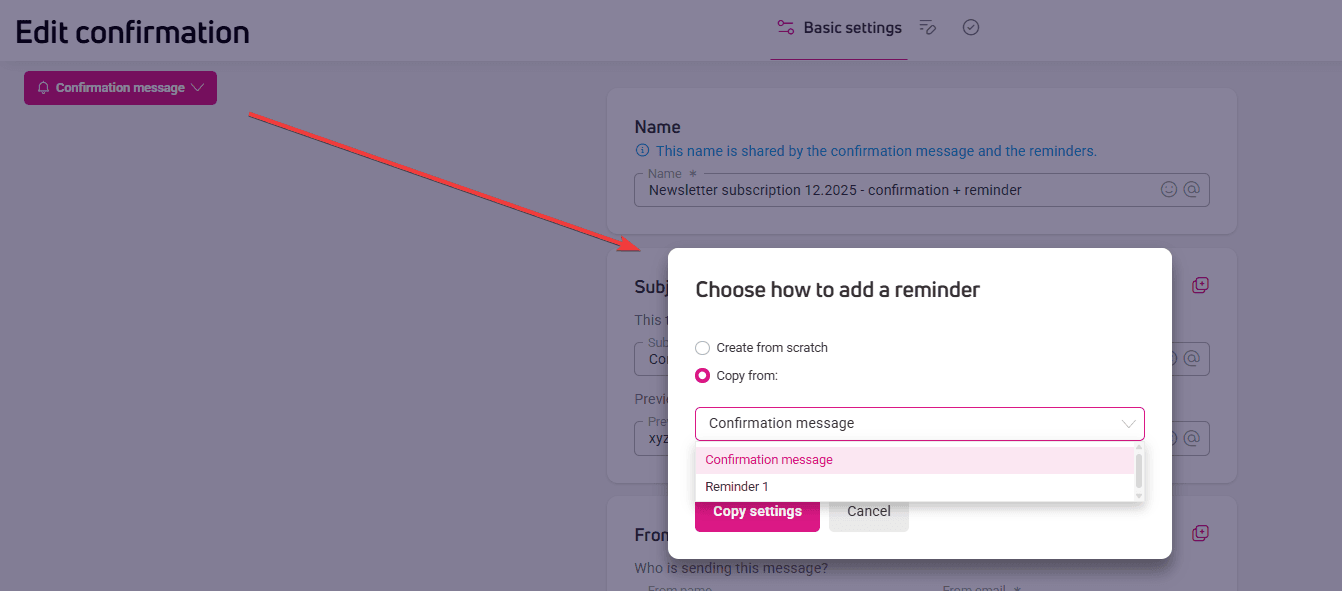
- Choose one of the options:
- Create from scratch.
- Copy from – pick a message from the sequence you’re working on.

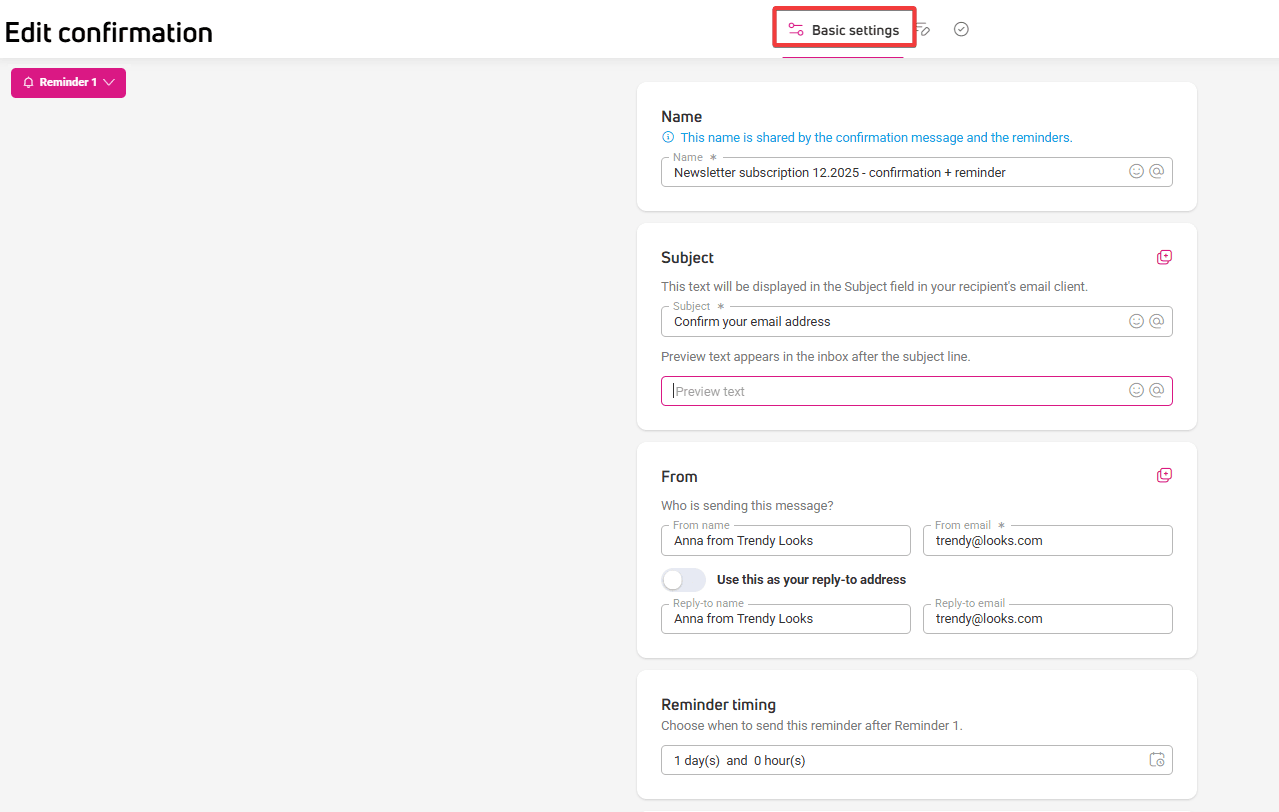
- In the Basic settings tab, add:
- A shared name for confirmation and its reminders. This name appears in the table under Settings > Consent > Confirmations.
- The subject line.
- The sender and reply-to settings.
- The reminder’s sending time.
- Tracking parameters – shared across the confirmation and all reminders.

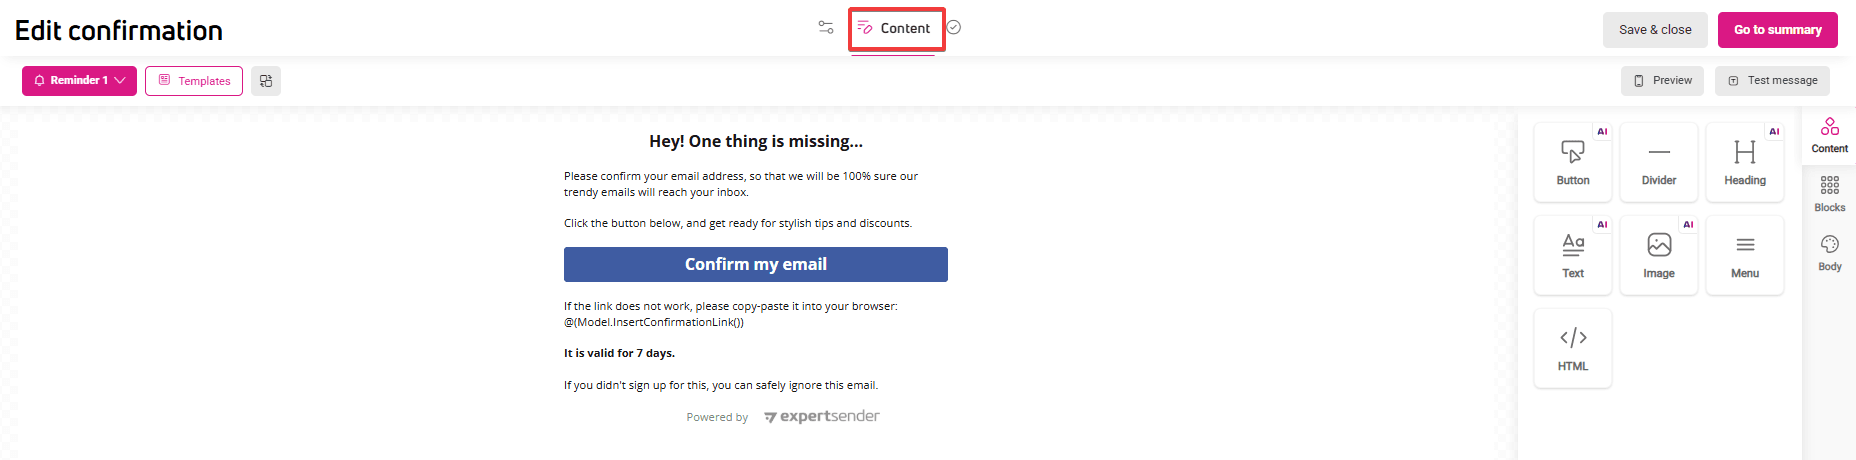
- Next, create the reminder content. Make sure to include a confirmation link in the message, for example under a button.

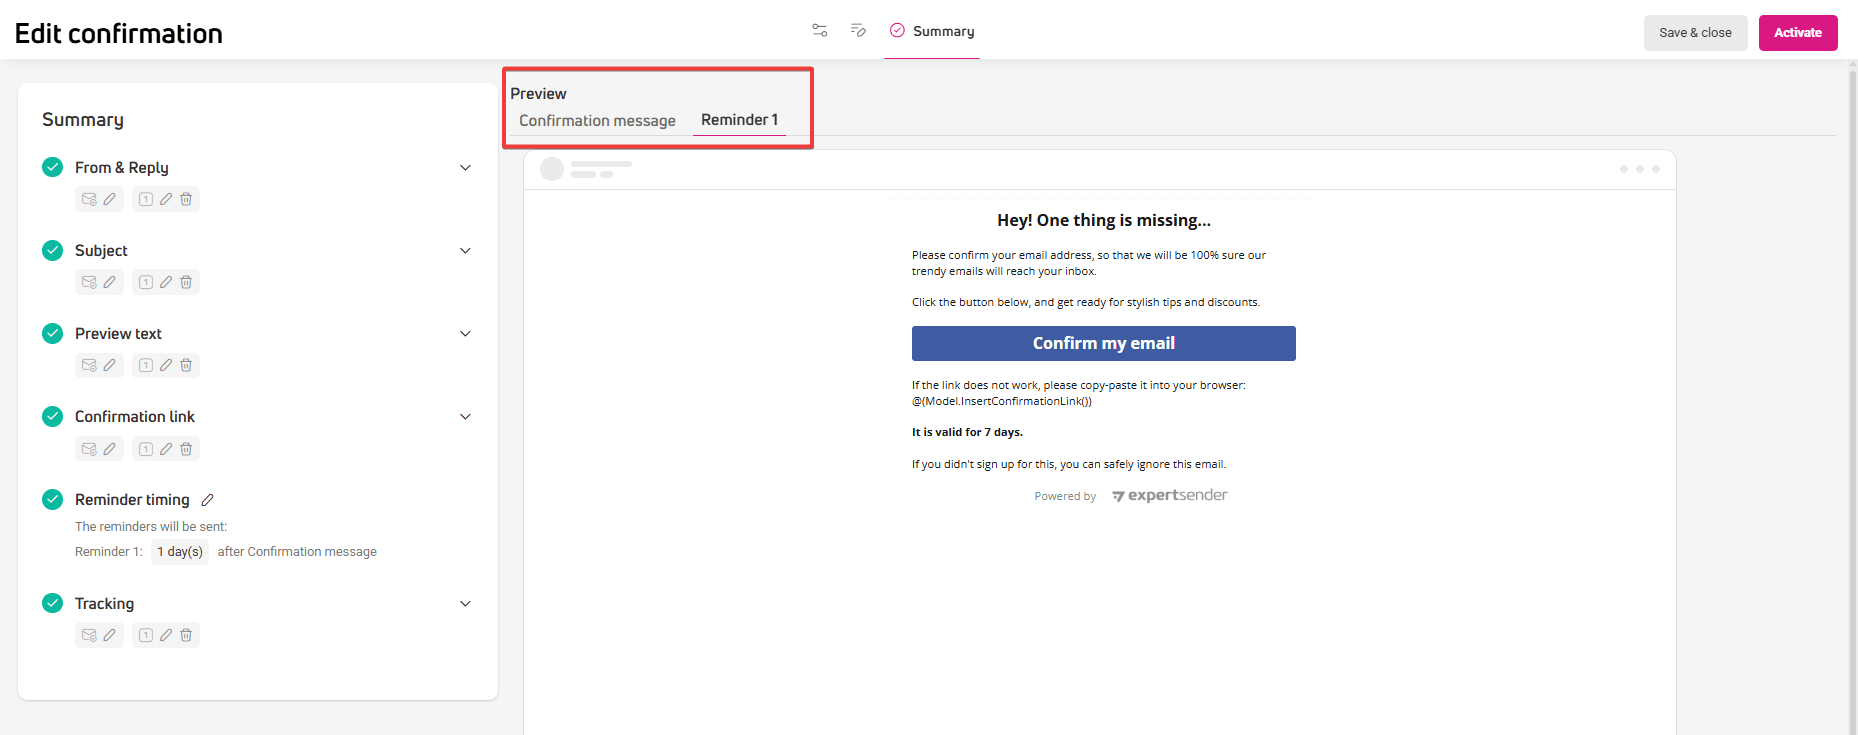
- In the Summary tab, you’ll see a full overview of all settings and a preview of each message.

- When everything is ready, click Send.
Checking how well reminders work
One of the most useful metrics for evaluating your reminders is the signup rate (opt-in rate). You’ll find it in the table under Settings > Consents > Confirmations, and in each confirmation’s individual report.
The report lets you see how many people confirmed their signup without a reminder and how many did it after receiving one. If the rate goes up after a reminder, it means your message did its job.
Summary
- You can add up to two reminders for one confirmation message.
- All messages in a sequence share one name in the table under Settings > Consents > Confirmations.
- Tracking settings apply to the entire sequence – the confirmation and both reminders.
- Each reminder counts its delay from the previous message in the sequence.
- You can reuse the subject line and sender settings across messages.